Prerequisites
What you need before provisioning clusters
-
GitOps Enterprise licenseThis documentation set covers functionality available to accounts with both the AWS and Azure license.
-
A continuous-deployment repoUsed by ArgoCD to sync manifests to your clusters.
-
AWS: at least 2 private subnets with internet accessRequired for both the Agent and cluster provisioning on EKS.
-
Azure: a private subnet with internet accessRequired for both the Agent and cluster provisioning on AKS.
Onboarding
Bootstrapping your cloud agents via Terraform
Once bootstrapping is complete, continue to Getting Started for an overview of the platform.
Getting Started
What GitOps Manager gives you
This section assumes Prerequisites and Onboarding are complete — your environment is ready and cloud agents are bootstrapped.
GitOps Manager combines External DNS, Traefik, Argo, and ArgoCD with ECK for monitoring, plus a set of open-source CI/CD actions and workflows — giving you everything needed to stand up multi-cloud, global CI/CD pipelines in as little as a day.
Continue with:
Creating a New Cluster
A step-by-step walkthrough for registering a new EKS or AKS cluster in GitOps Manager.
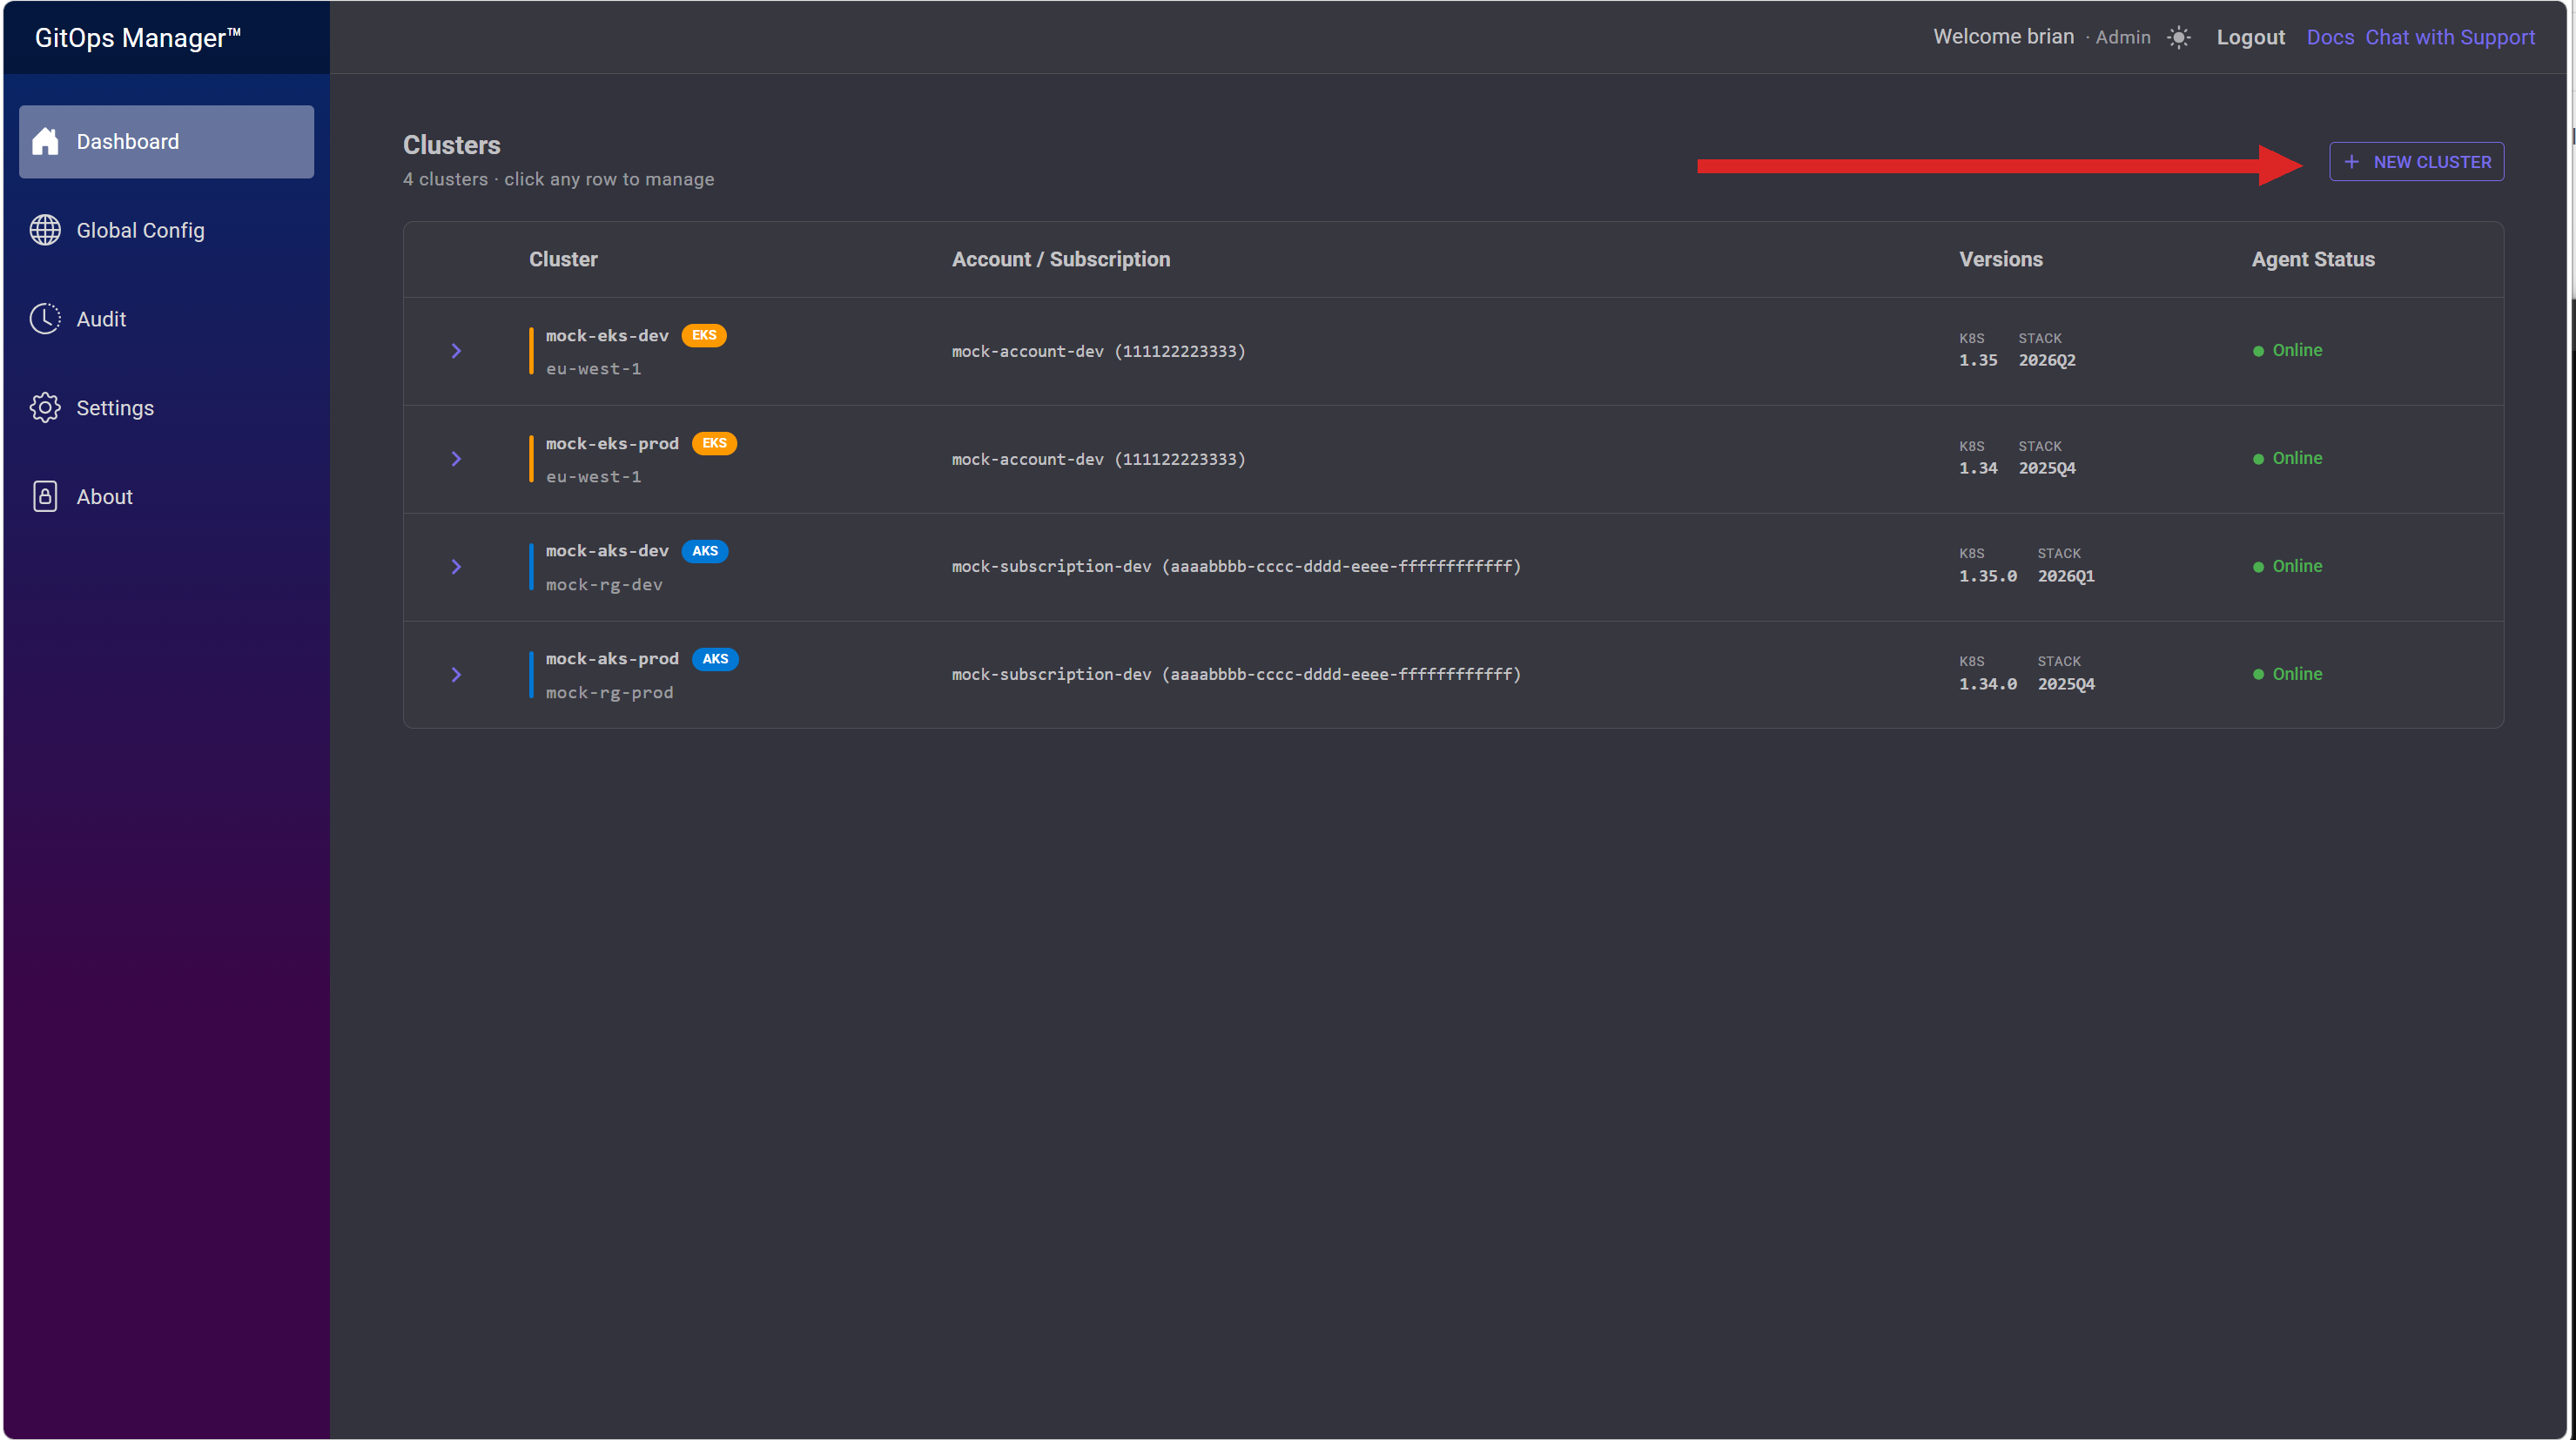
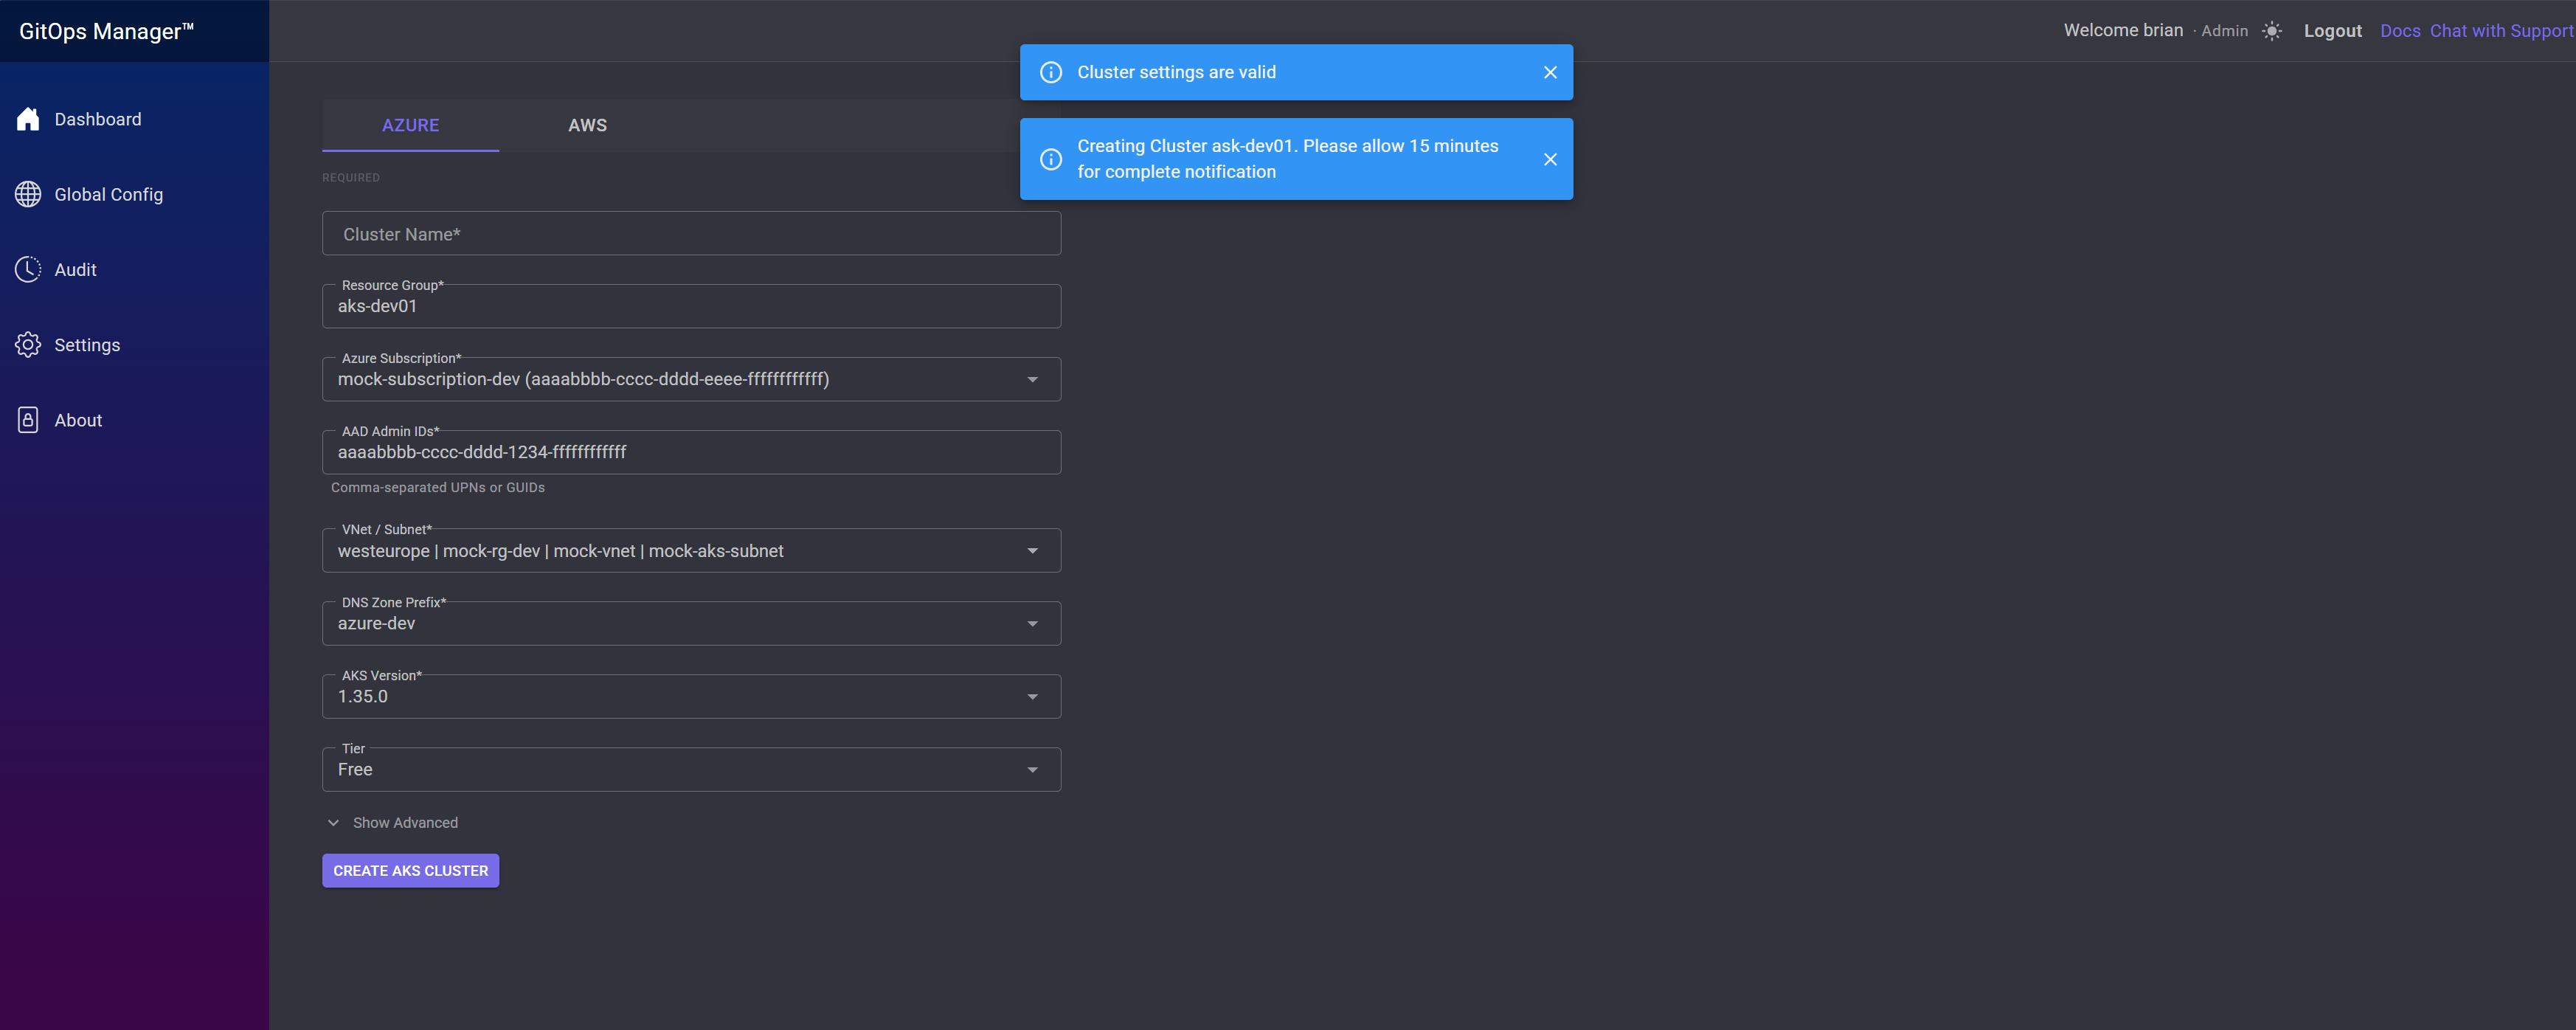
From the Dashboard, click New Cluster in the top-right corner of the Clusters panel.
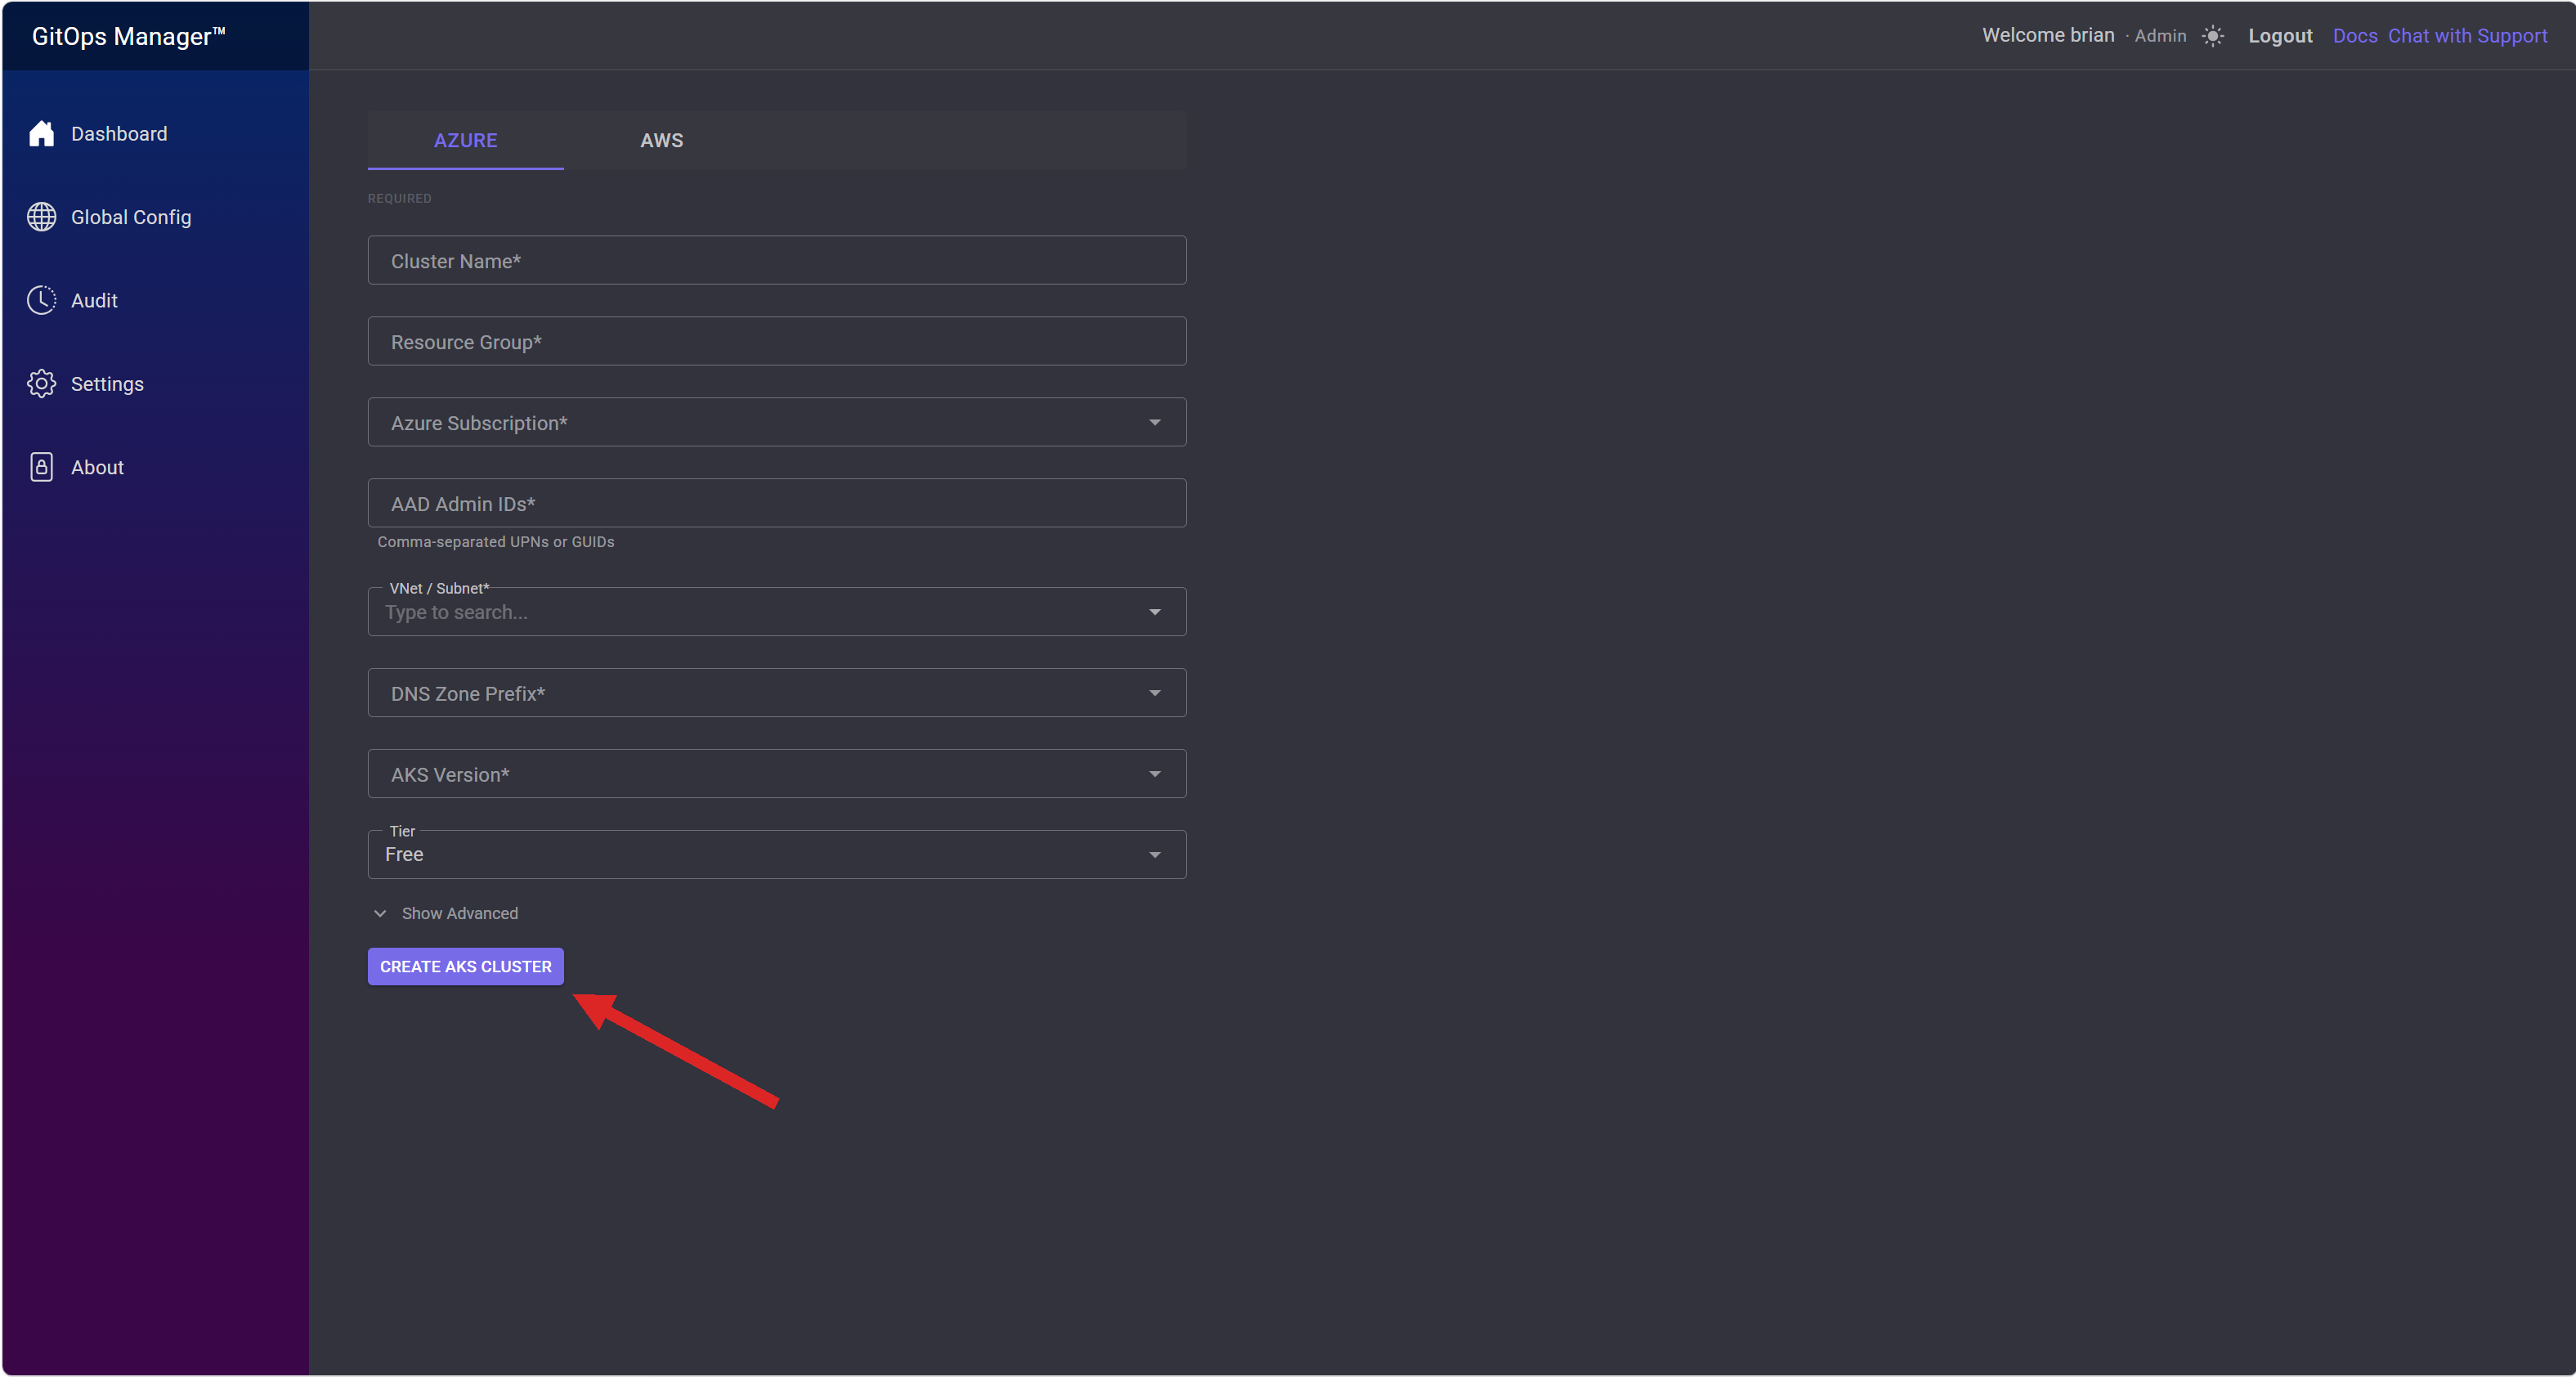
Most fields are pre-populated dropdowns pulled live from the account:
- Azure Subscription, VNet / Subnet, DNS Zone Prefix, and AKS Version — select from the dropdown, no need to type these out. For VNet / Subnet, you can also type part of a tag name to filter the list down.
You only need to fill in three fields yourself:
- Cluster Name
- Resource Group
- AAD Admin IDs — the object ID of the AAD group whose members will be cluster admins
Advanced settings (optional, collapsed by default) cover the maintenance schedule, the size of the system-tainted nodepool1, the tainted "general" pool created alongside the cluster, and networking configuration.
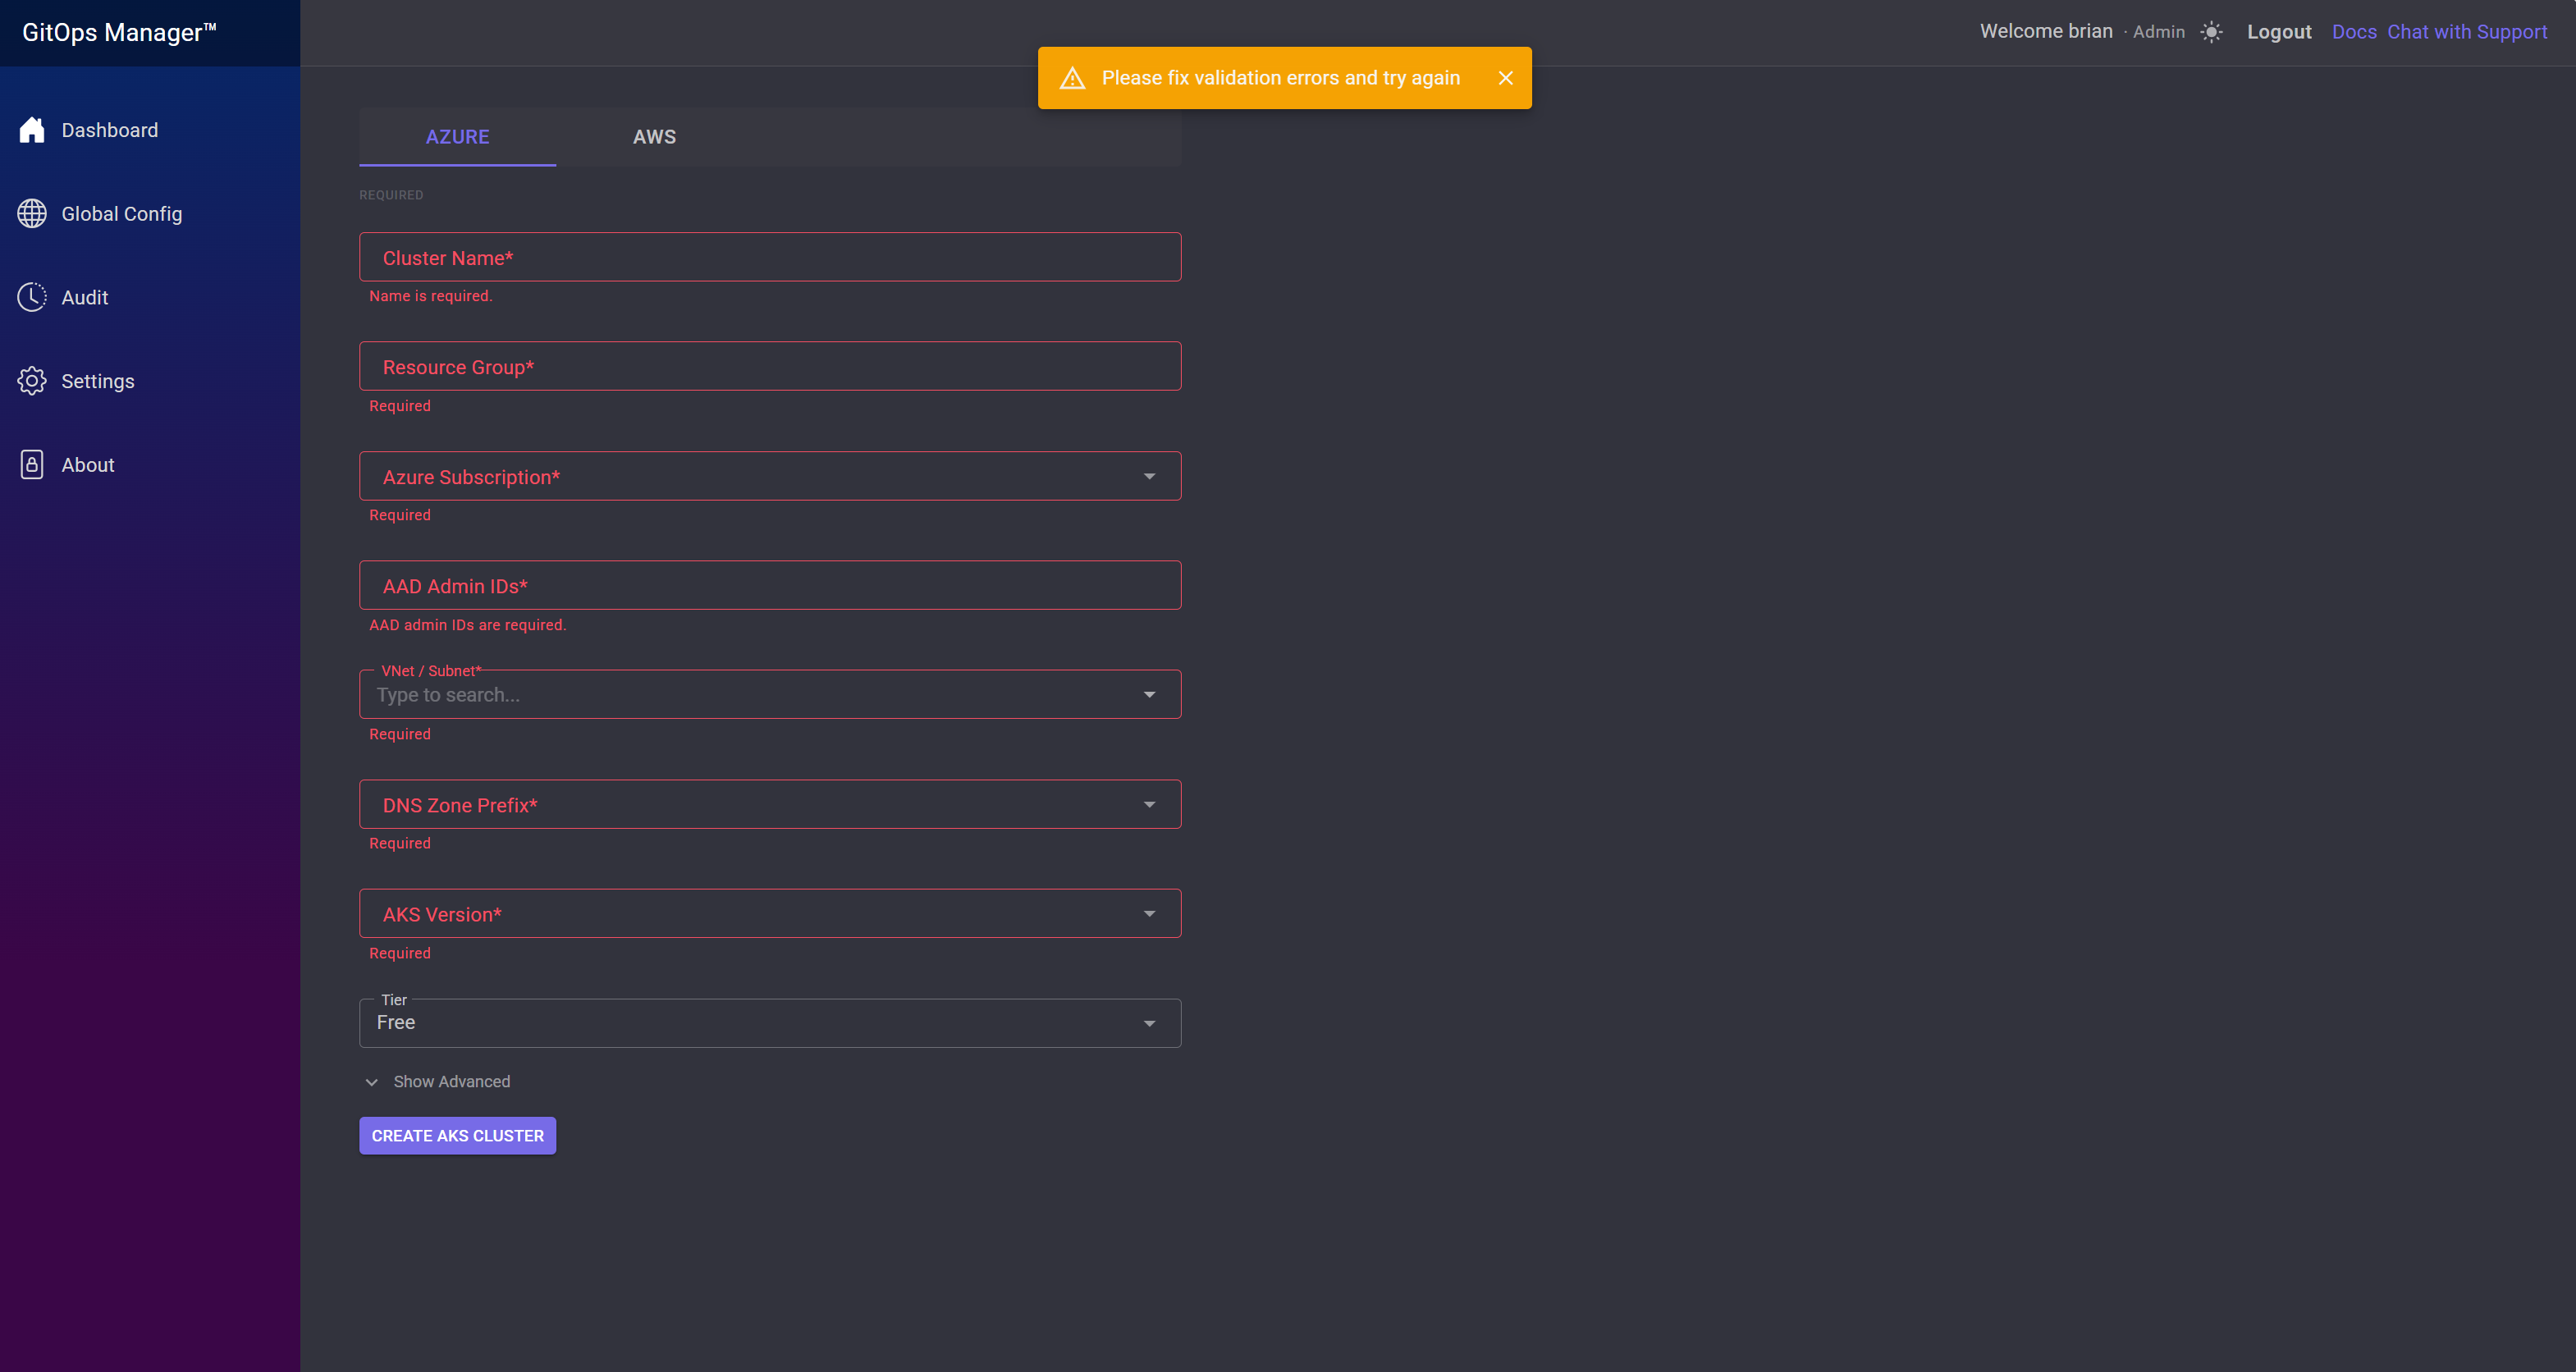
Clicking Create AKS Cluster before all required fields are filled highlights the missing ones in red.
Once validation passes, you'll see a "Cluster settings are valid" notification followed by a "Creating Cluster" notification — cluster creation has started. Allow about 15 minutes for it to complete.
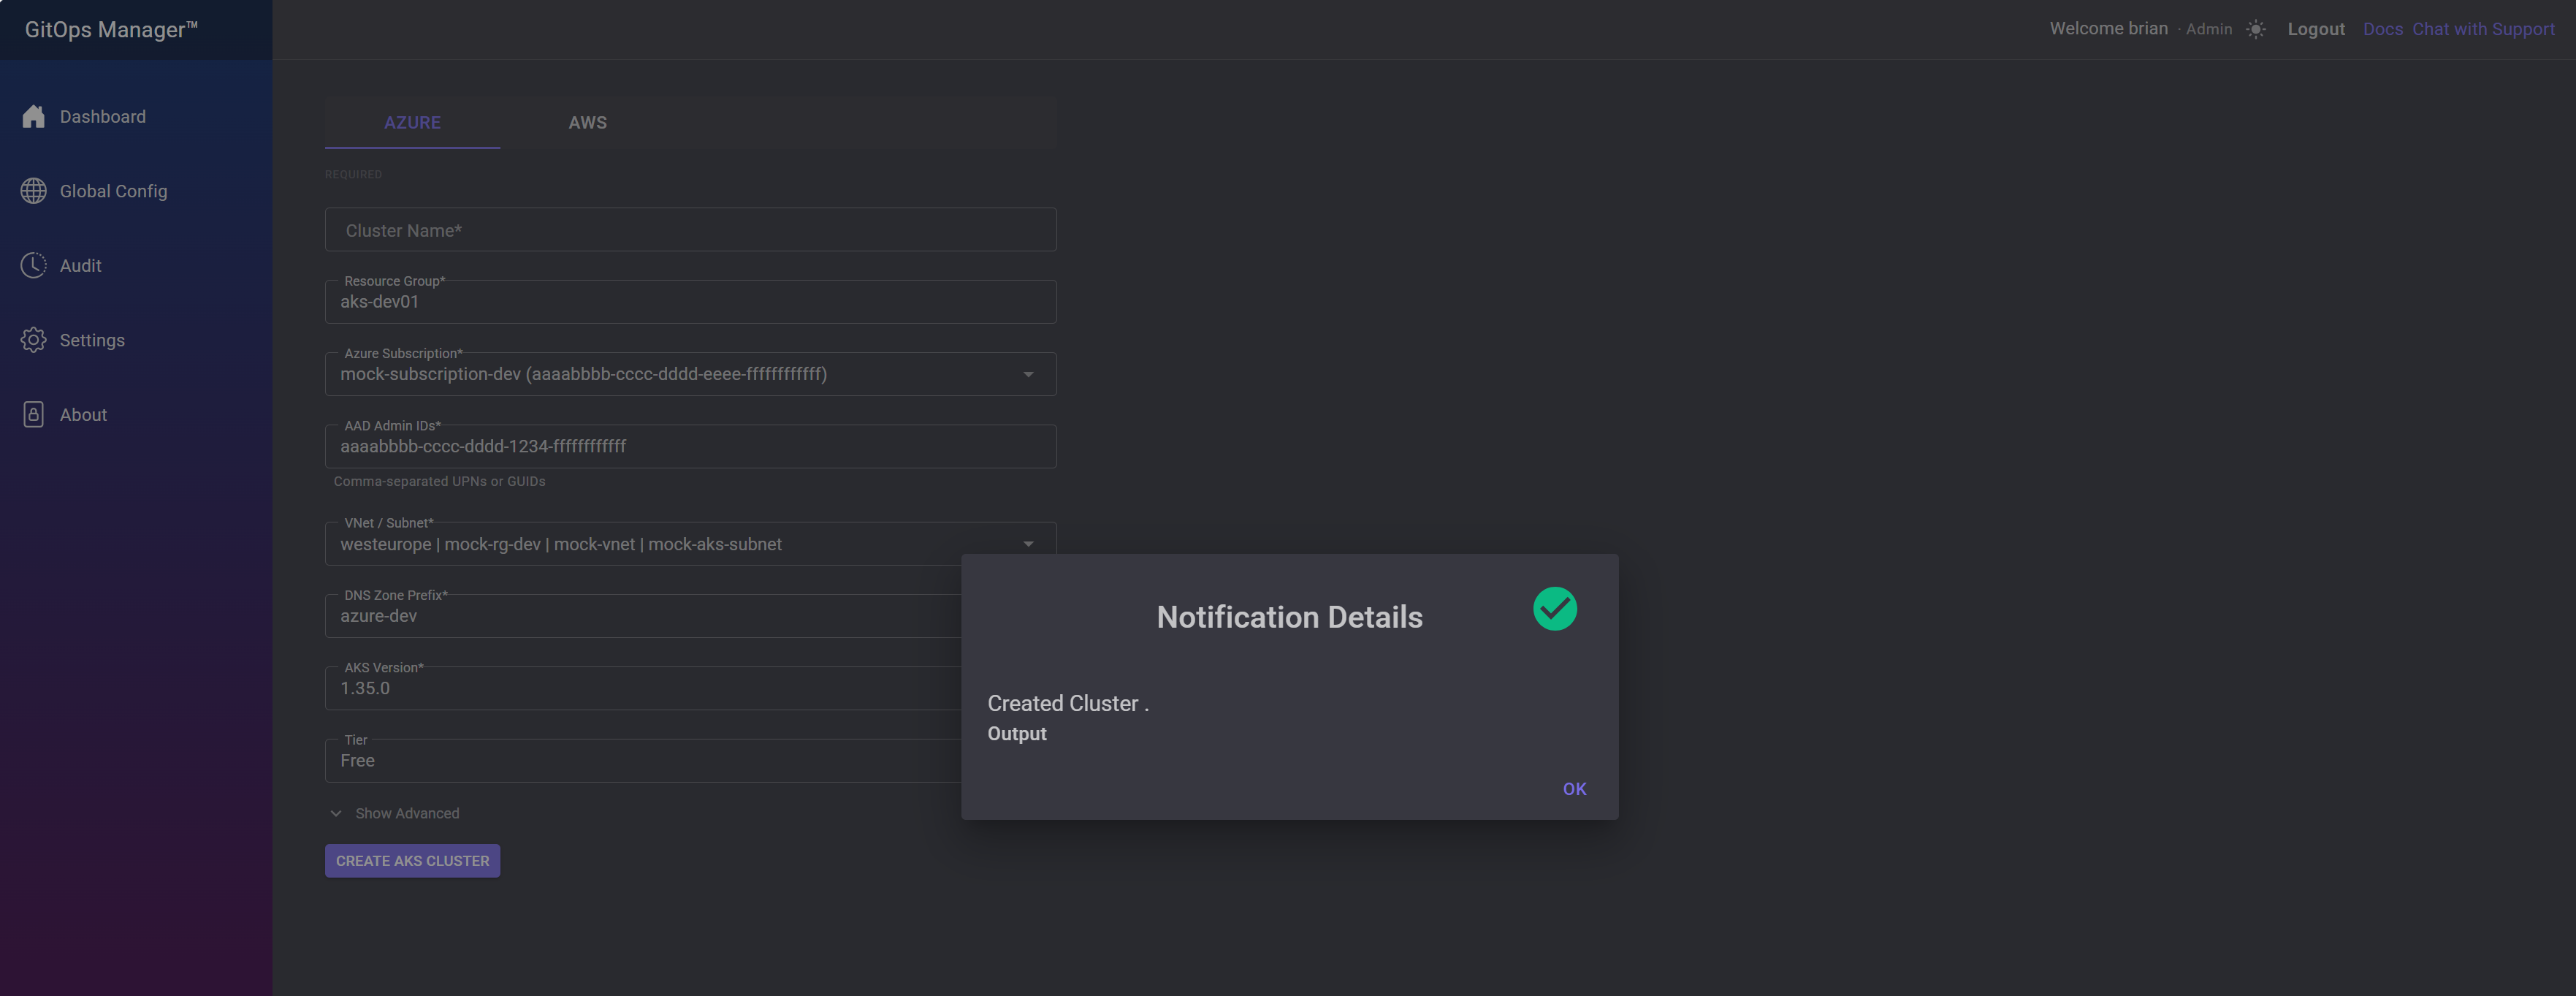
If you stay on this page, after about 15 minutes you'll see a notification confirming the cluster and its initial node pools have been created.
Manage a Cluster
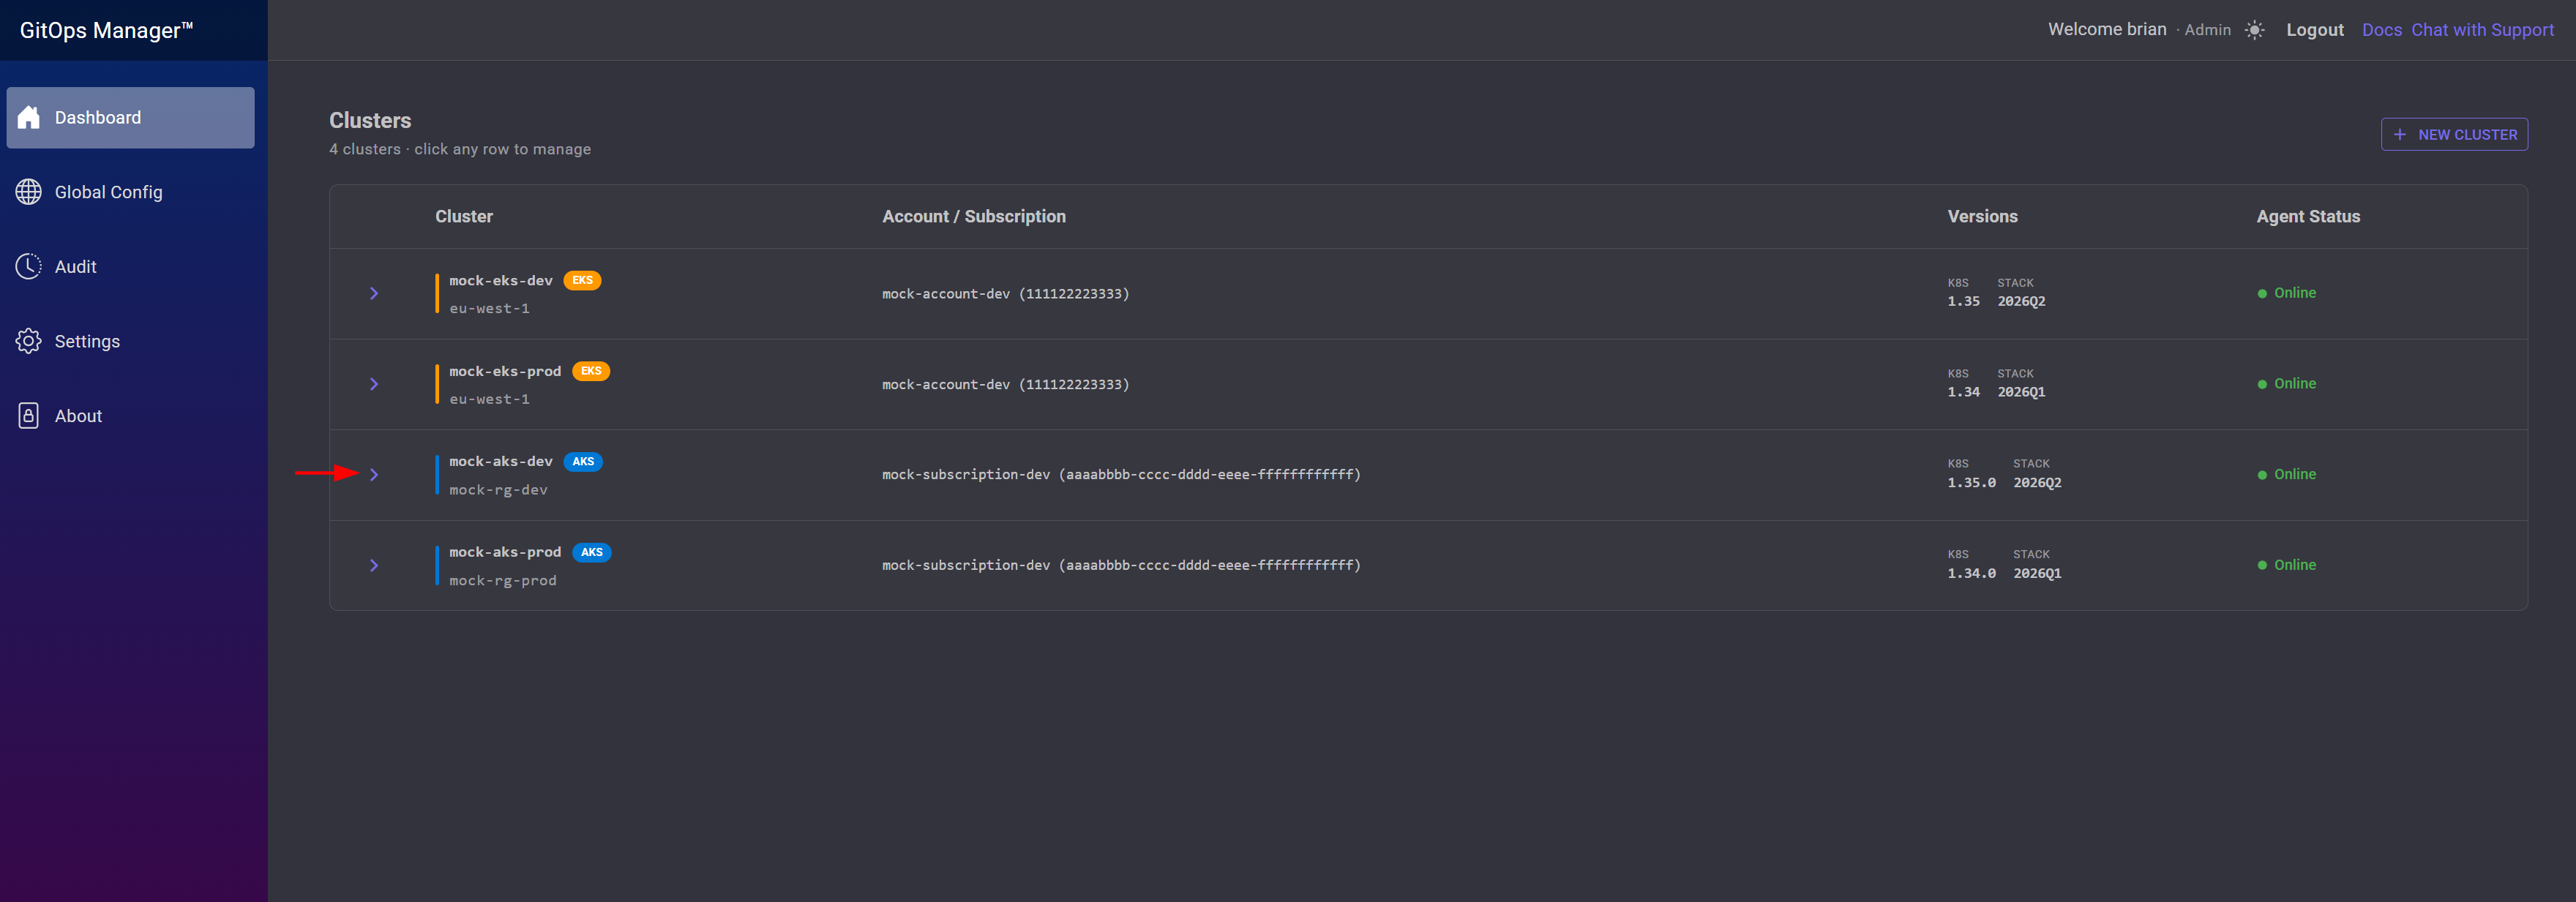
Opening a cluster from the dashboard to manage it.
Once a cluster is on the dashboard, click the expand arrow on its row to open cluster management — node pools, namespaces, identity, and maintenance.
From here:
Managing Node Pools
Adding node pools to an existing cluster — three ways, with an ECK example.
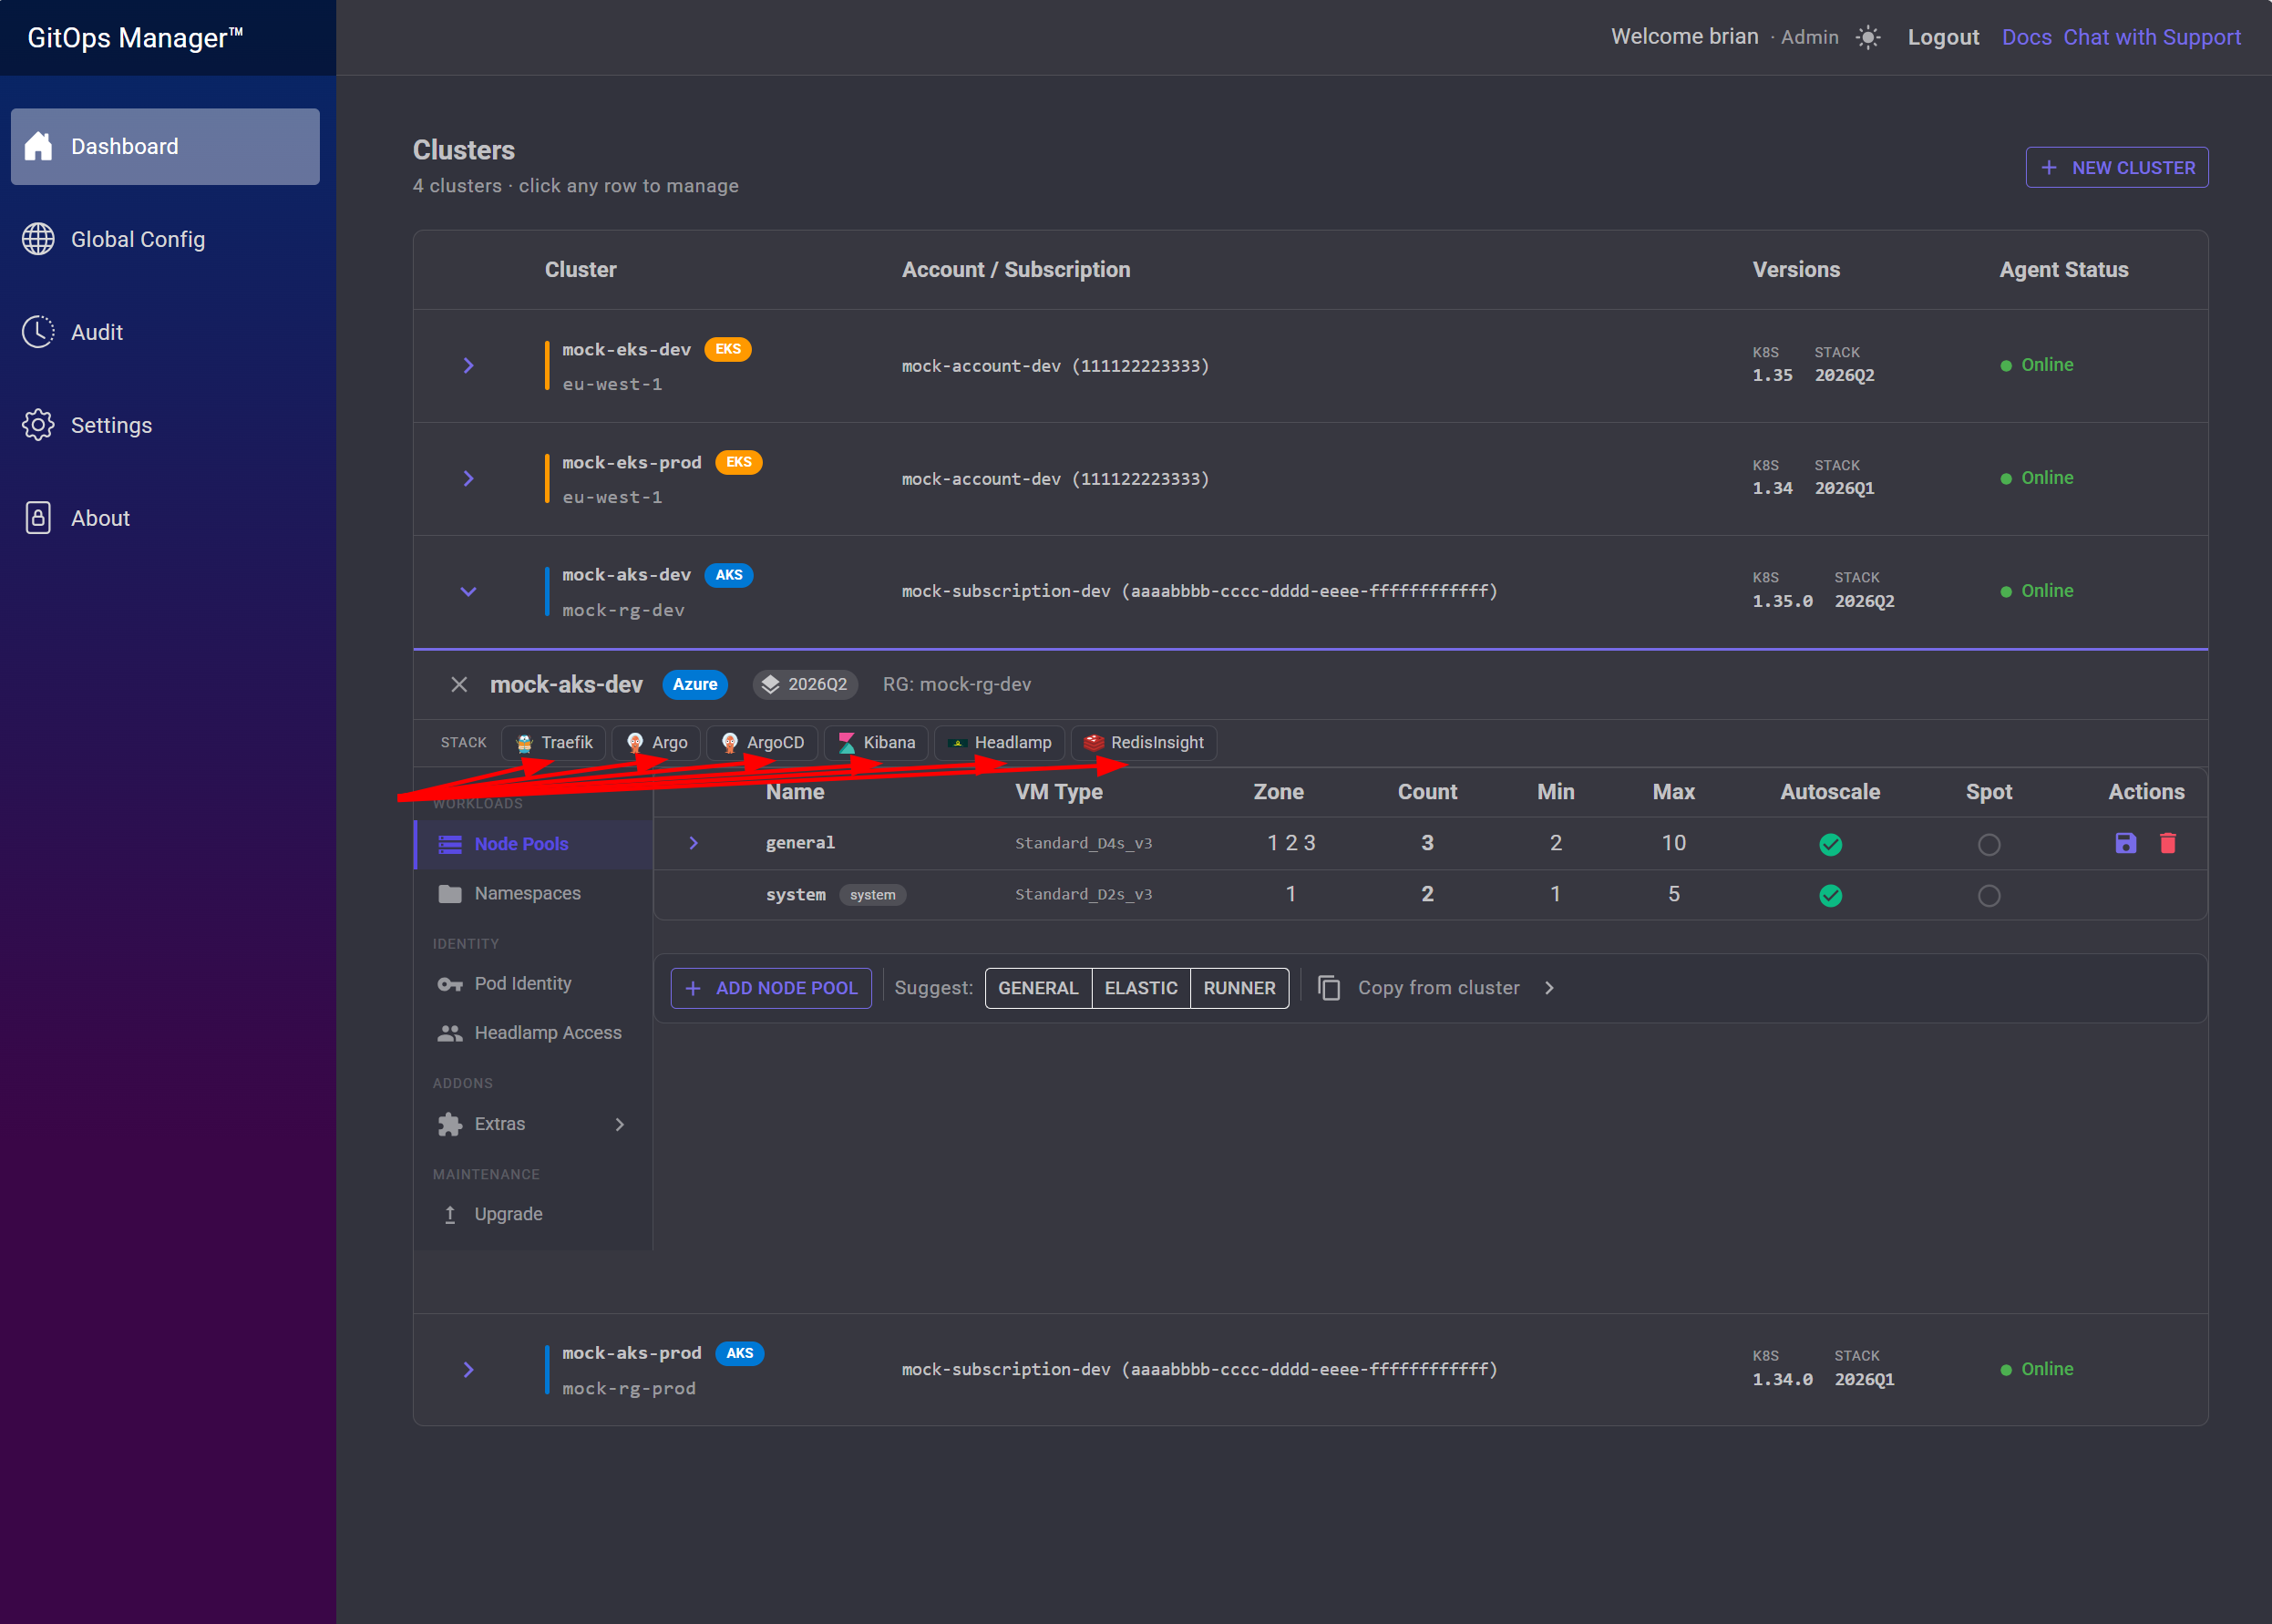
Click Node Pools in the left sidebar of the cluster panel.
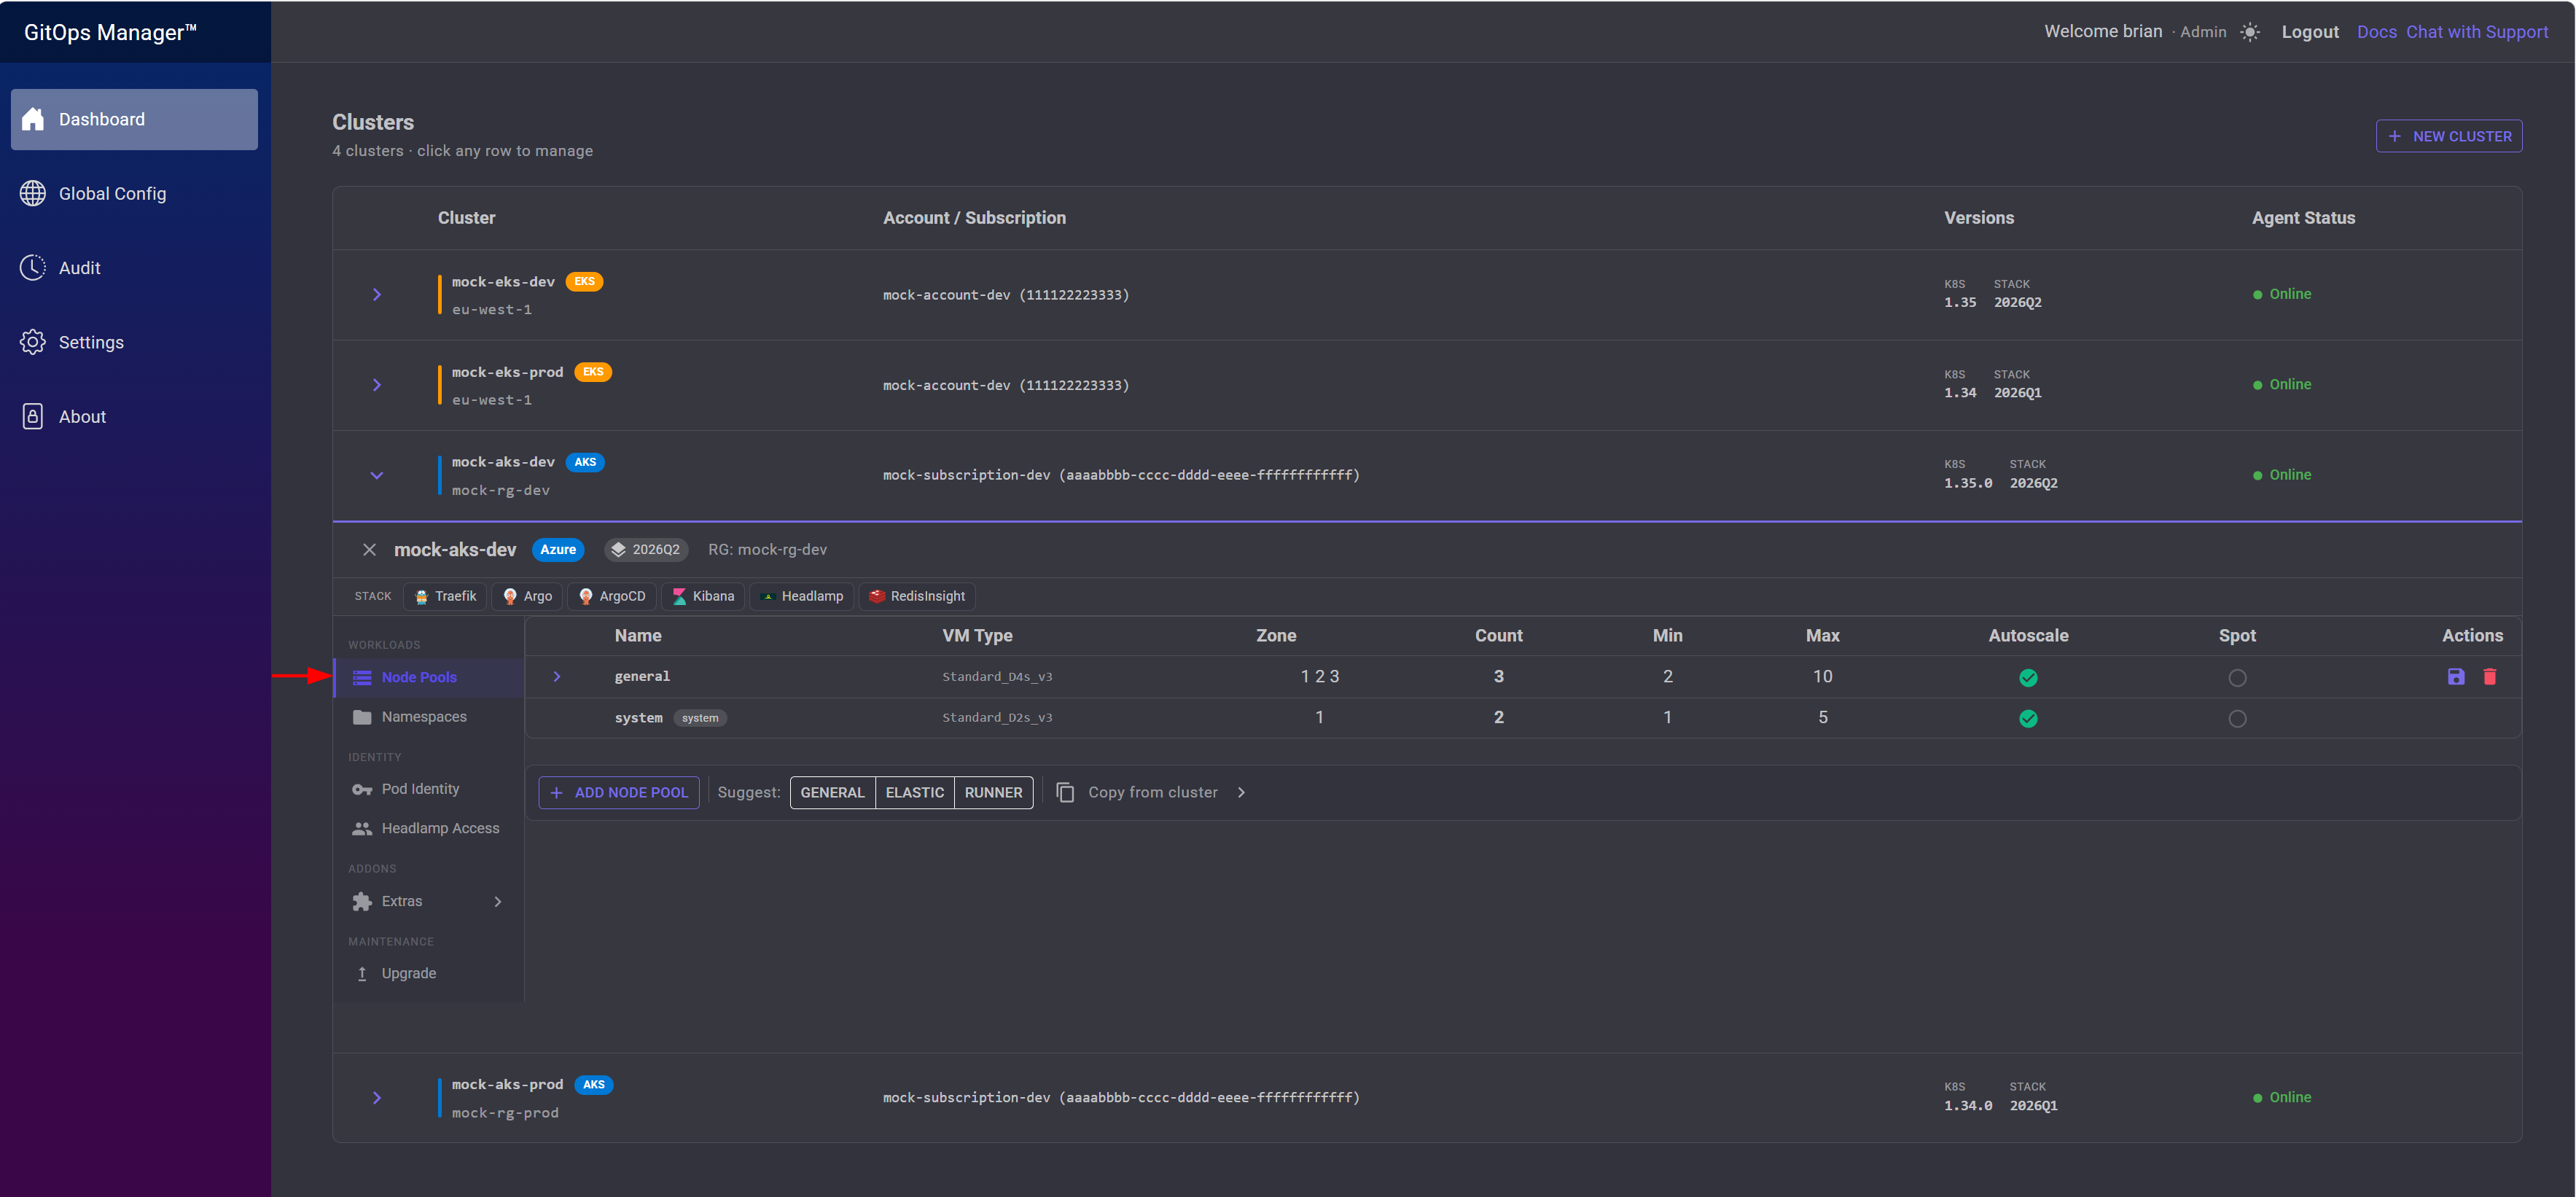
Add Node Pool — start from scratch and specify everything yourself: name/taint, VM size, and the rest of the settings.
Suggest (General / Elastic / Runner) — pre-fills a pool with sensible defaults for that workload type.
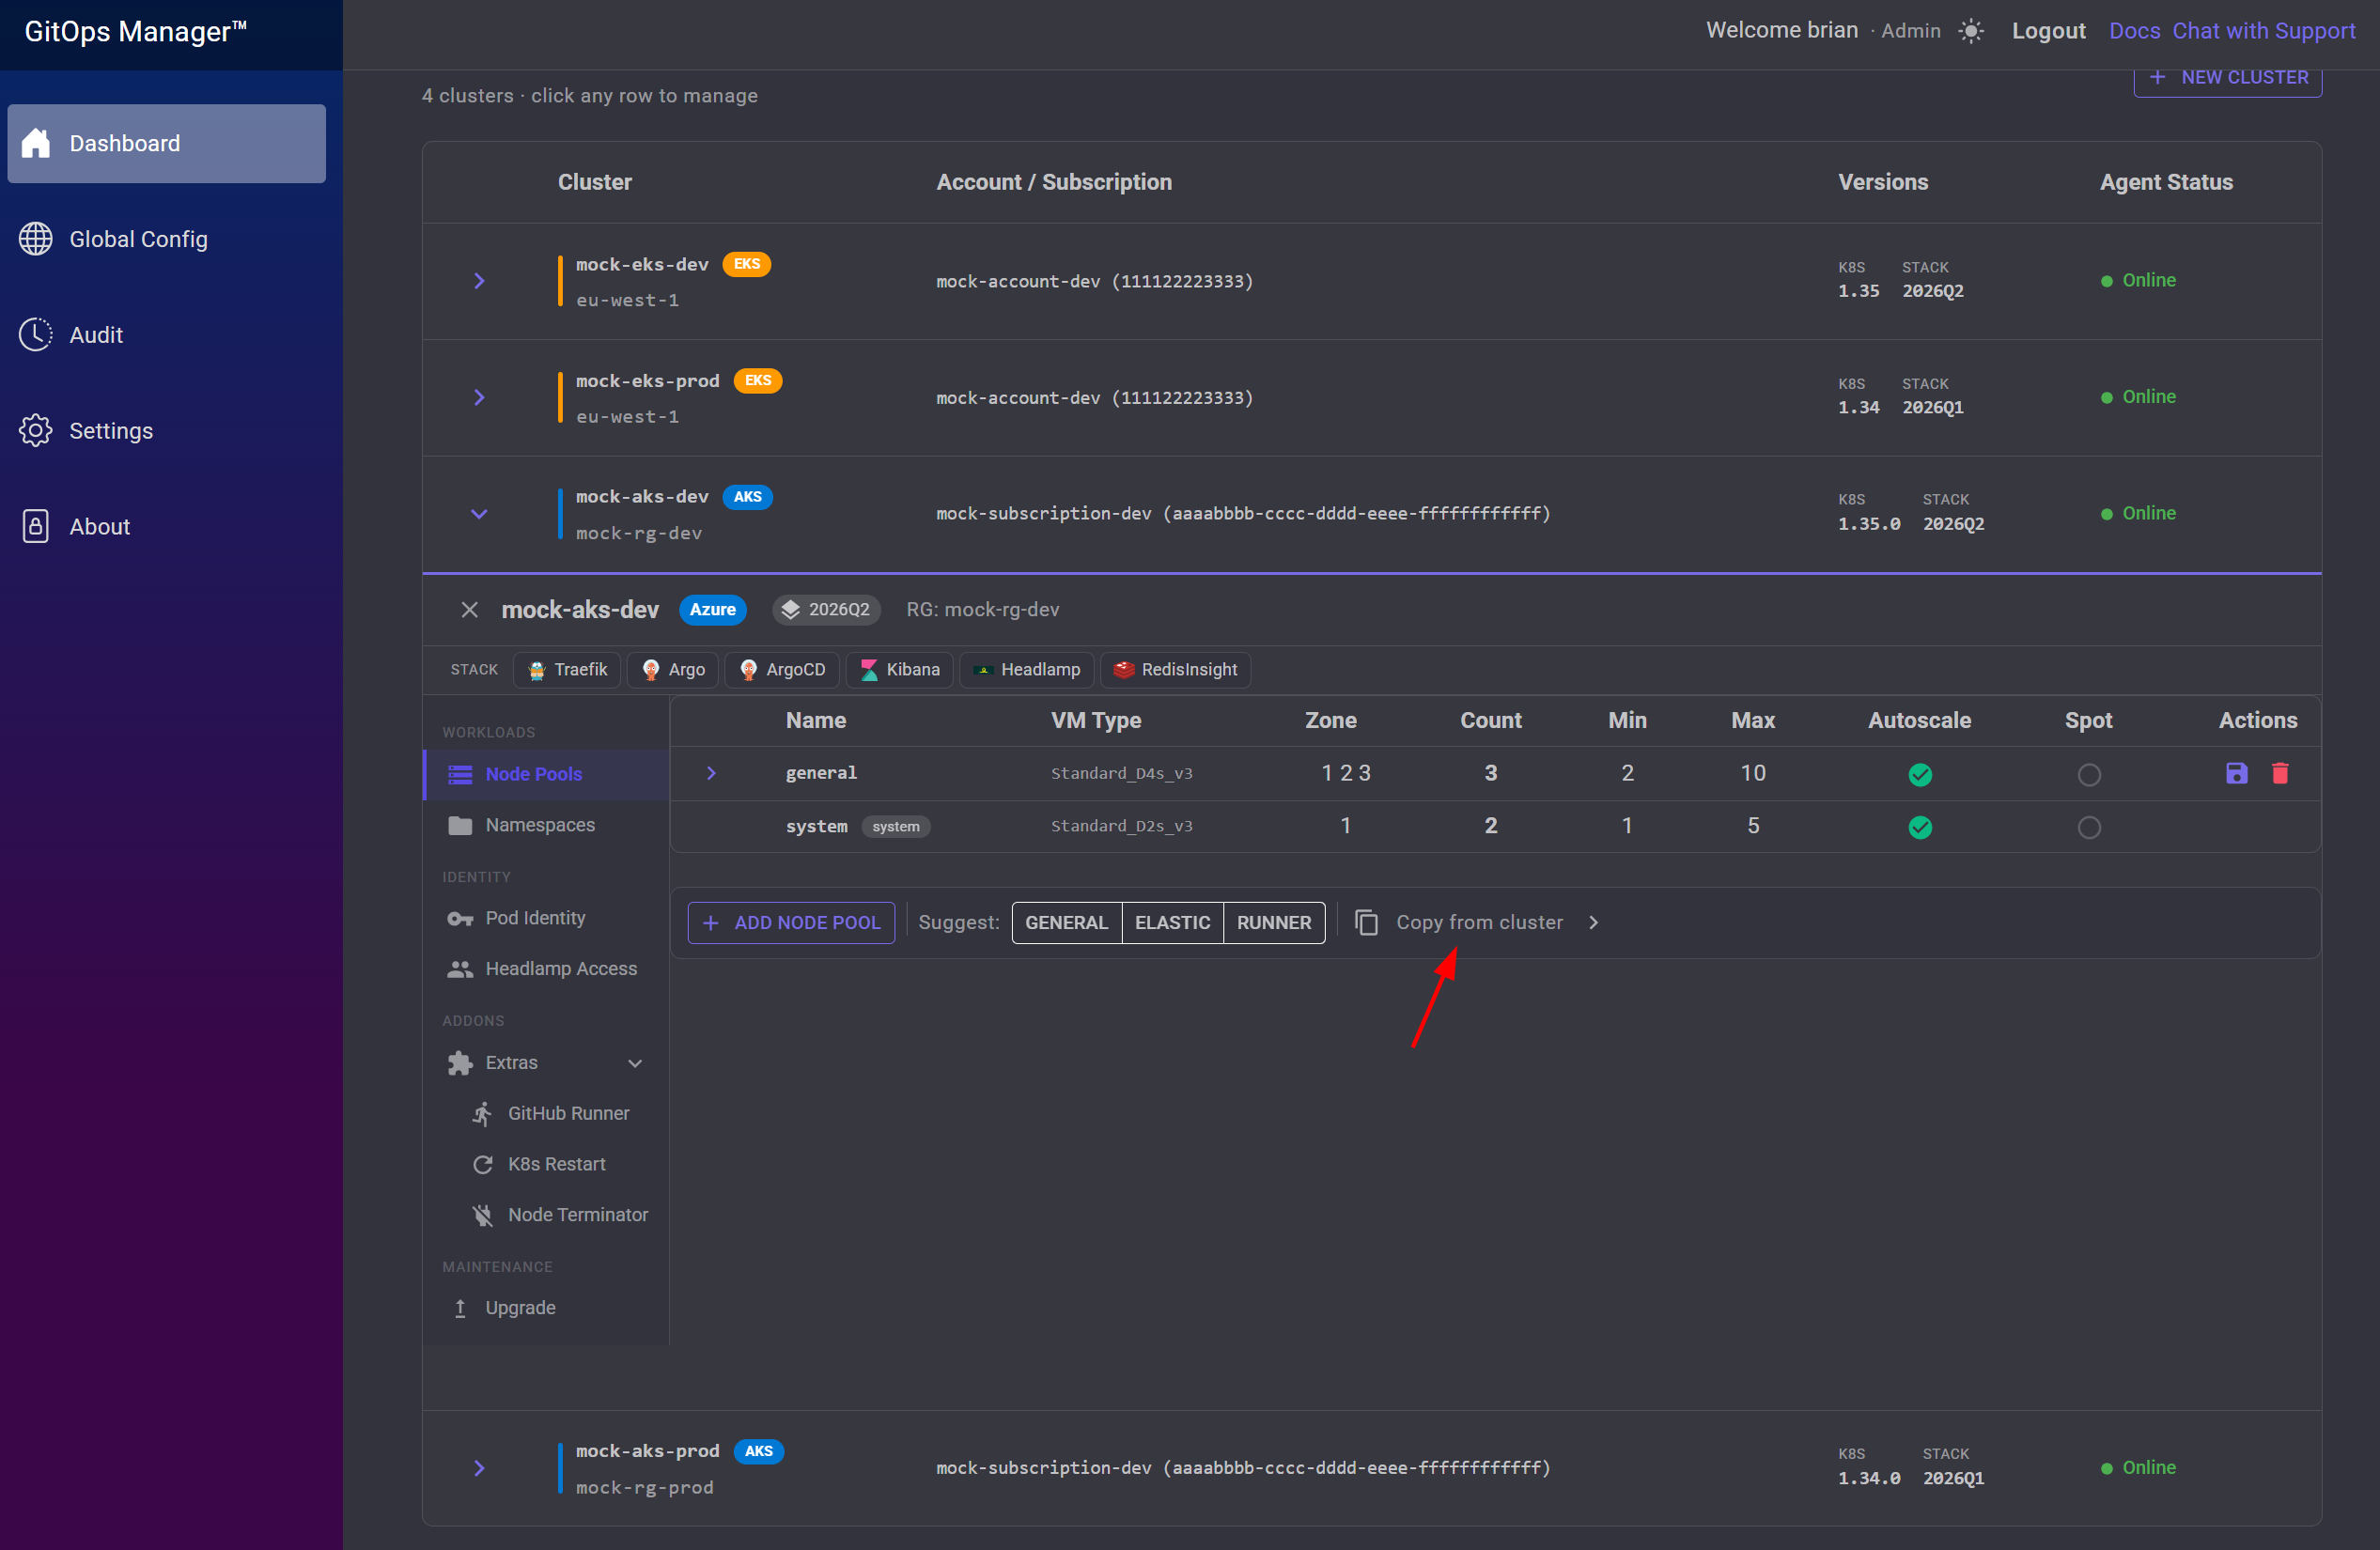
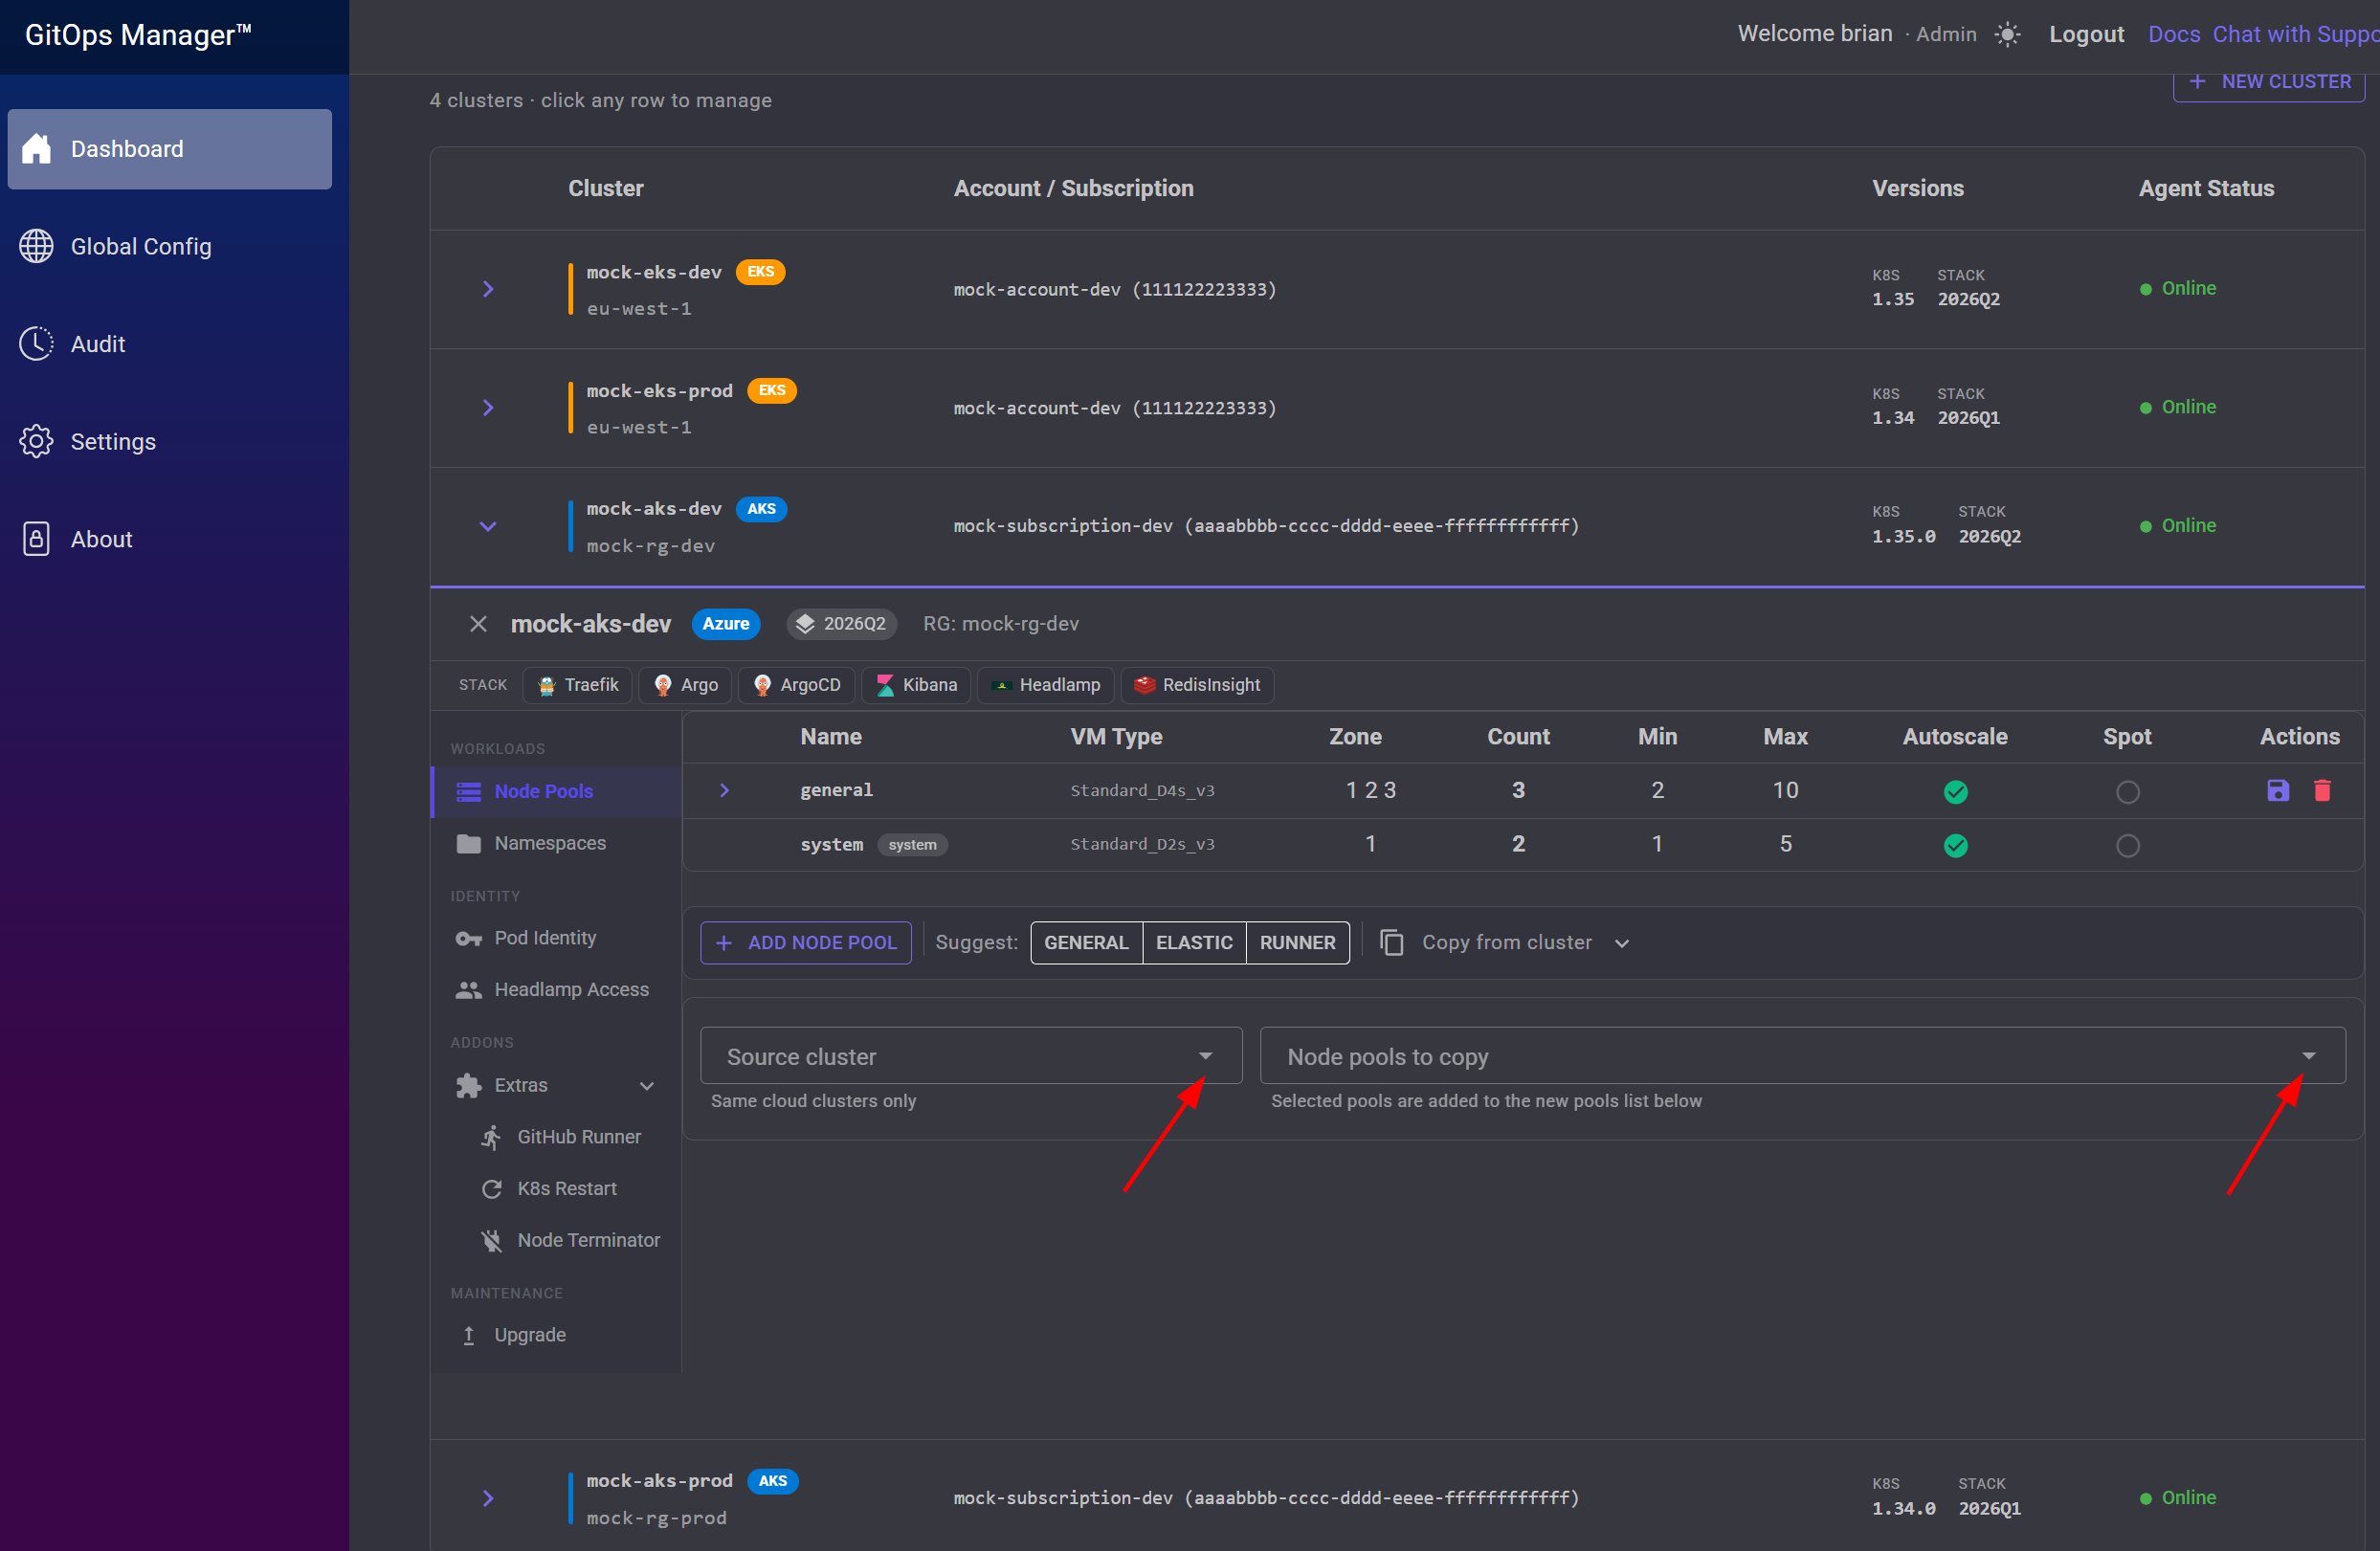
Copy from cluster — pick another cluster and one of its node pools to copy its settings into a new row here.
Whichever method(s) you use, once all the node pools you want are queued up, click Create All to provision them together.
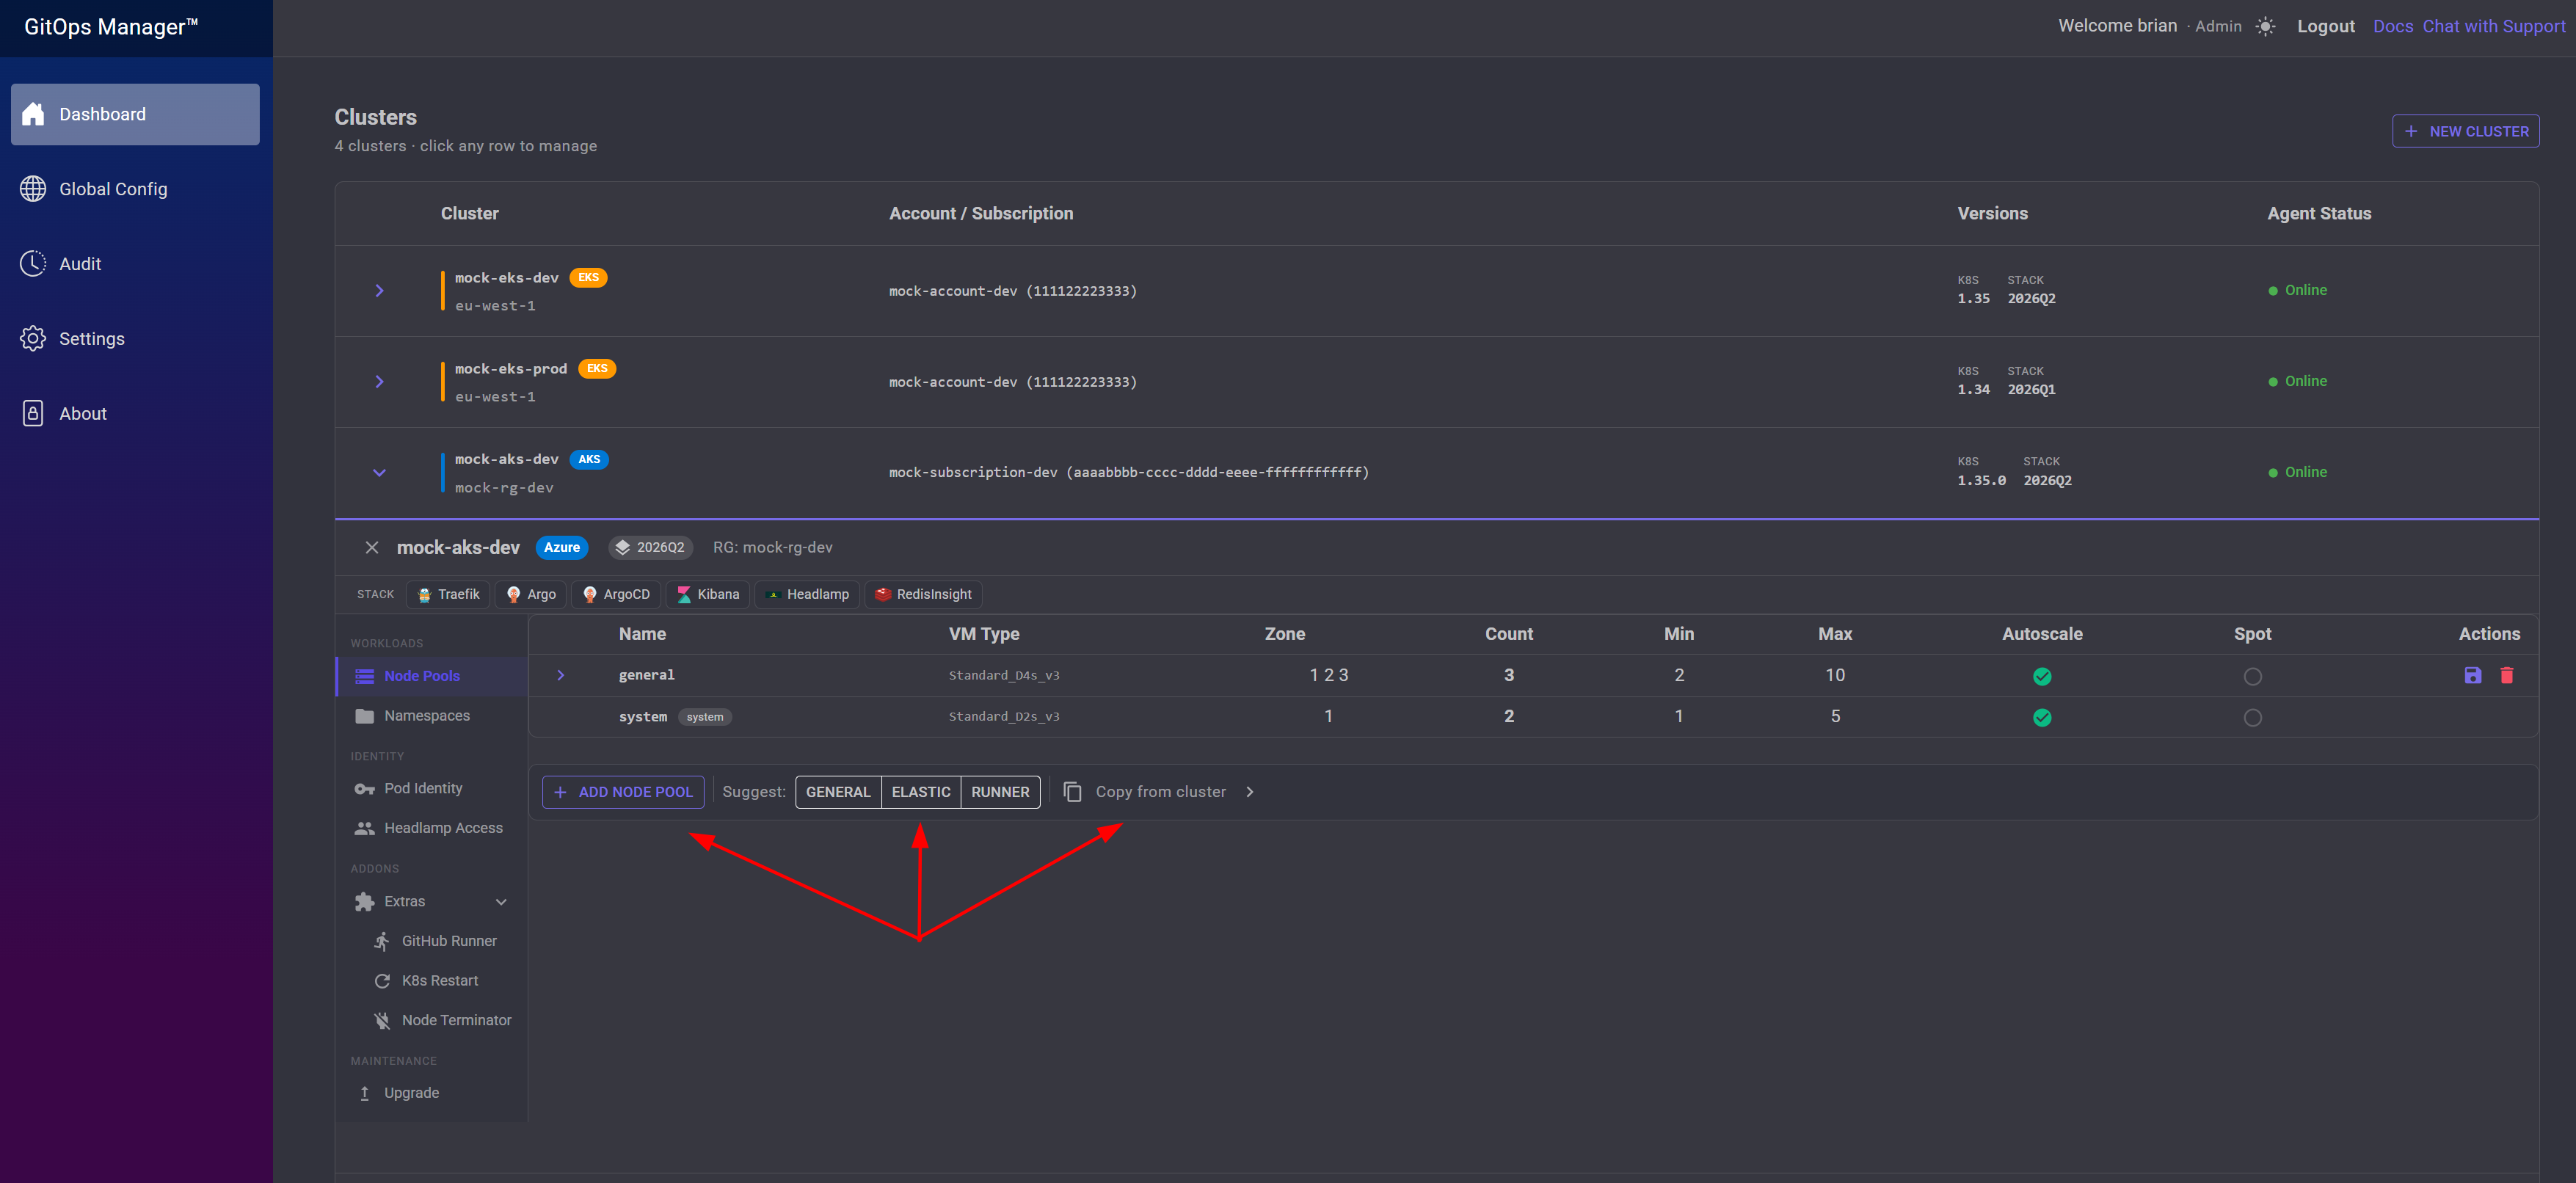
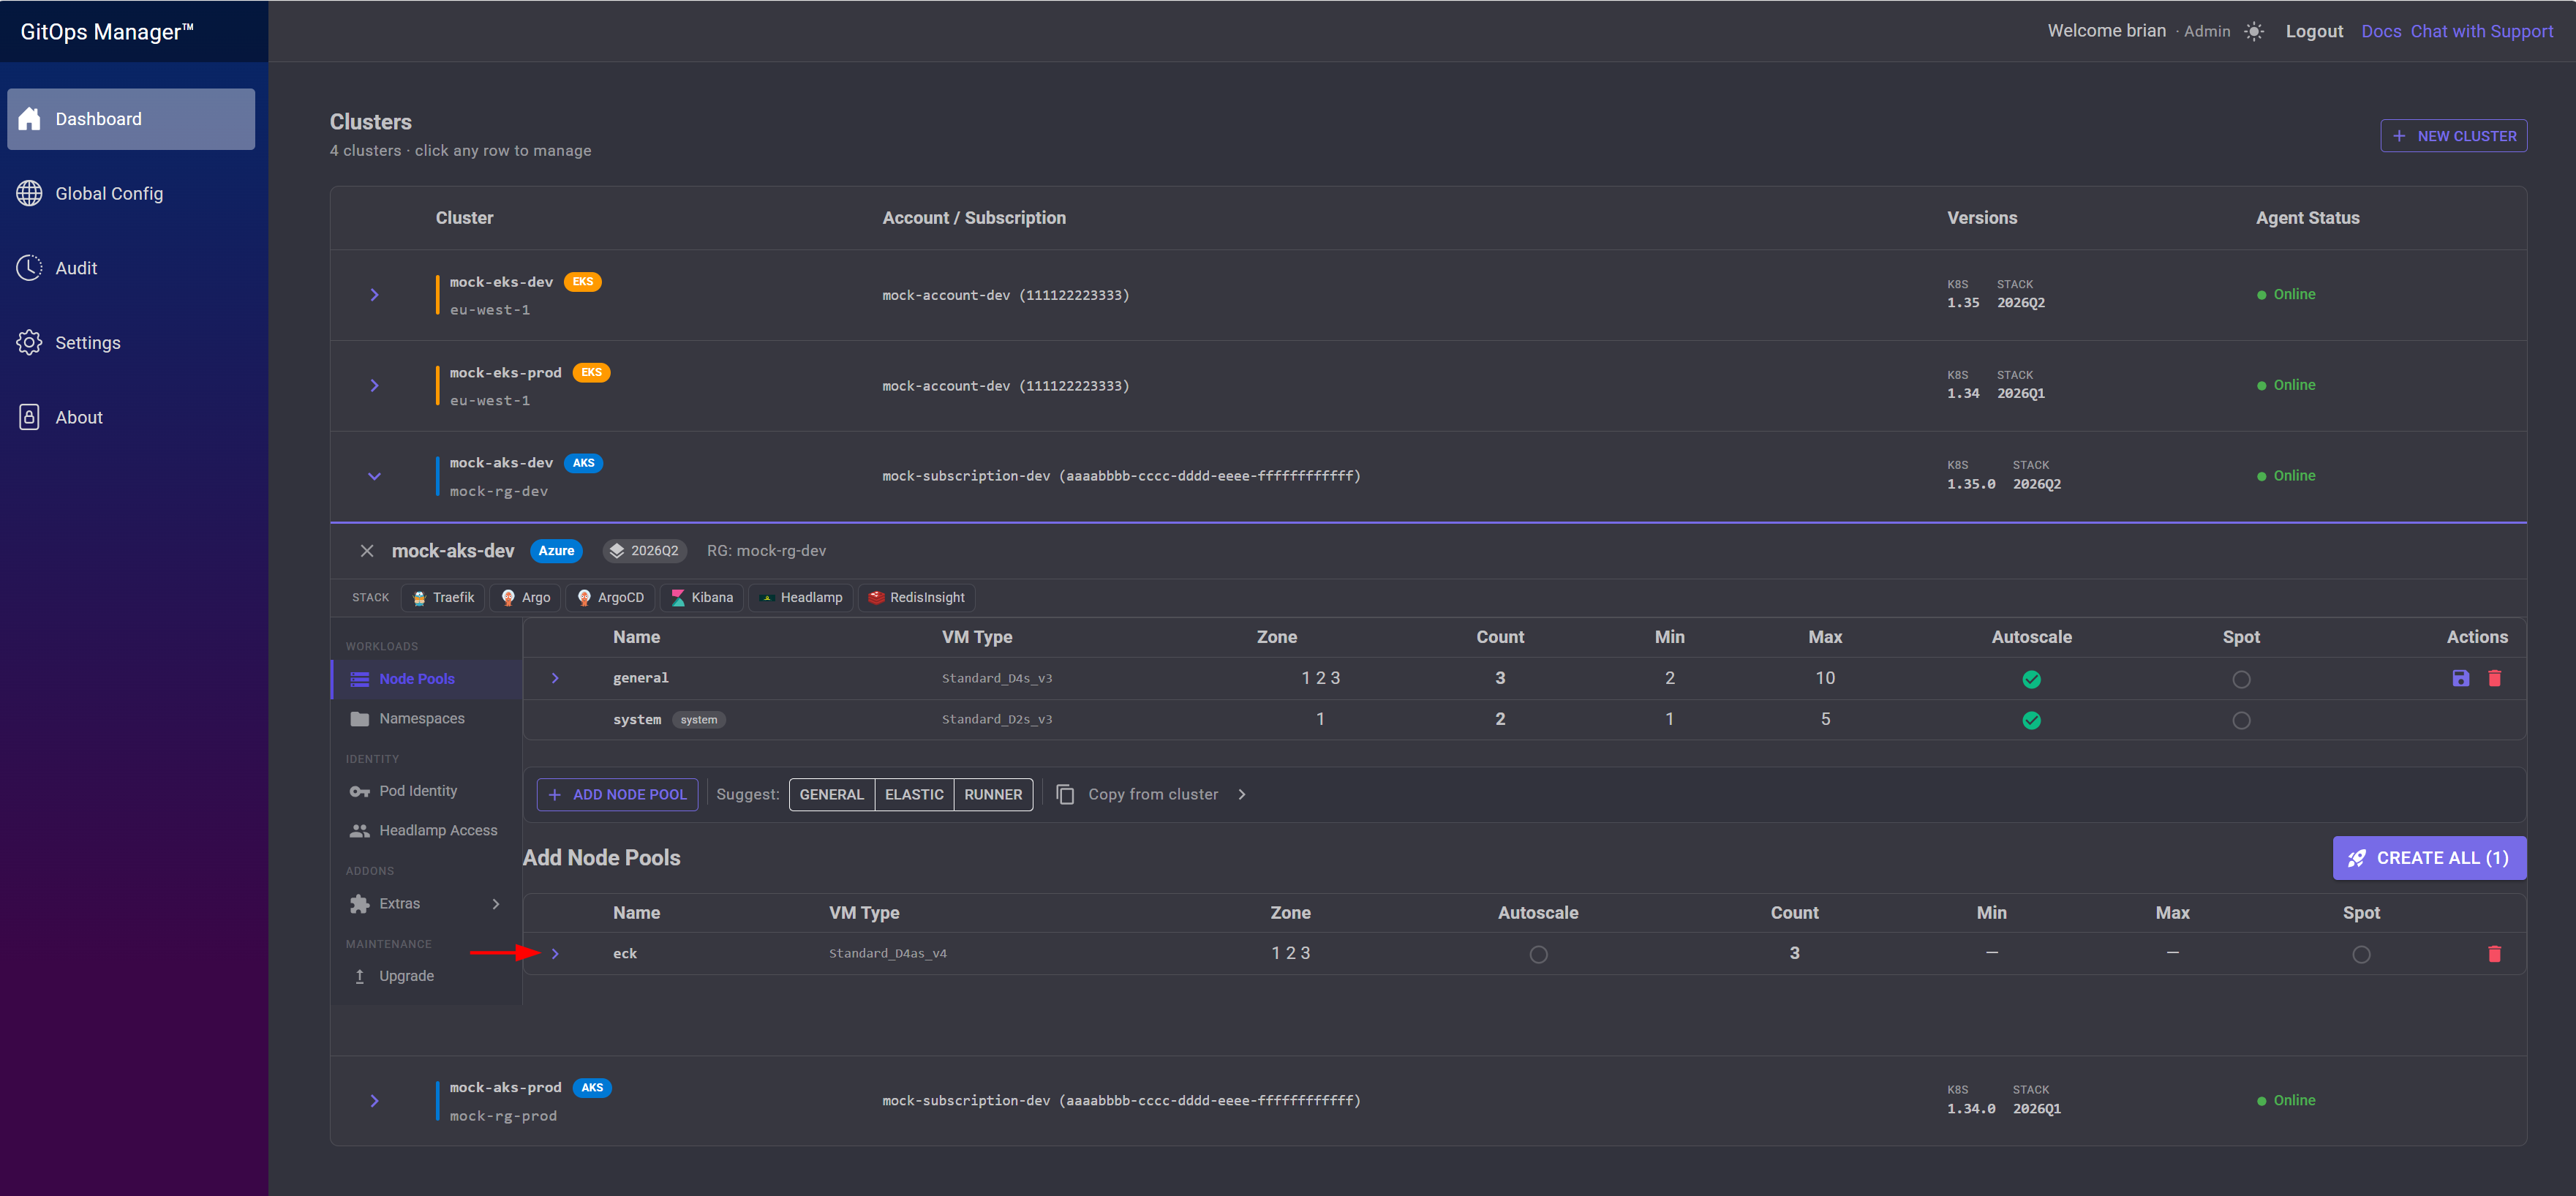
Click Add Node Pool to queue a blank row. It needs at minimum a name and a VM type before it can be created — everything else (zone, scaling, disk, labels/taints) is yours to configure.
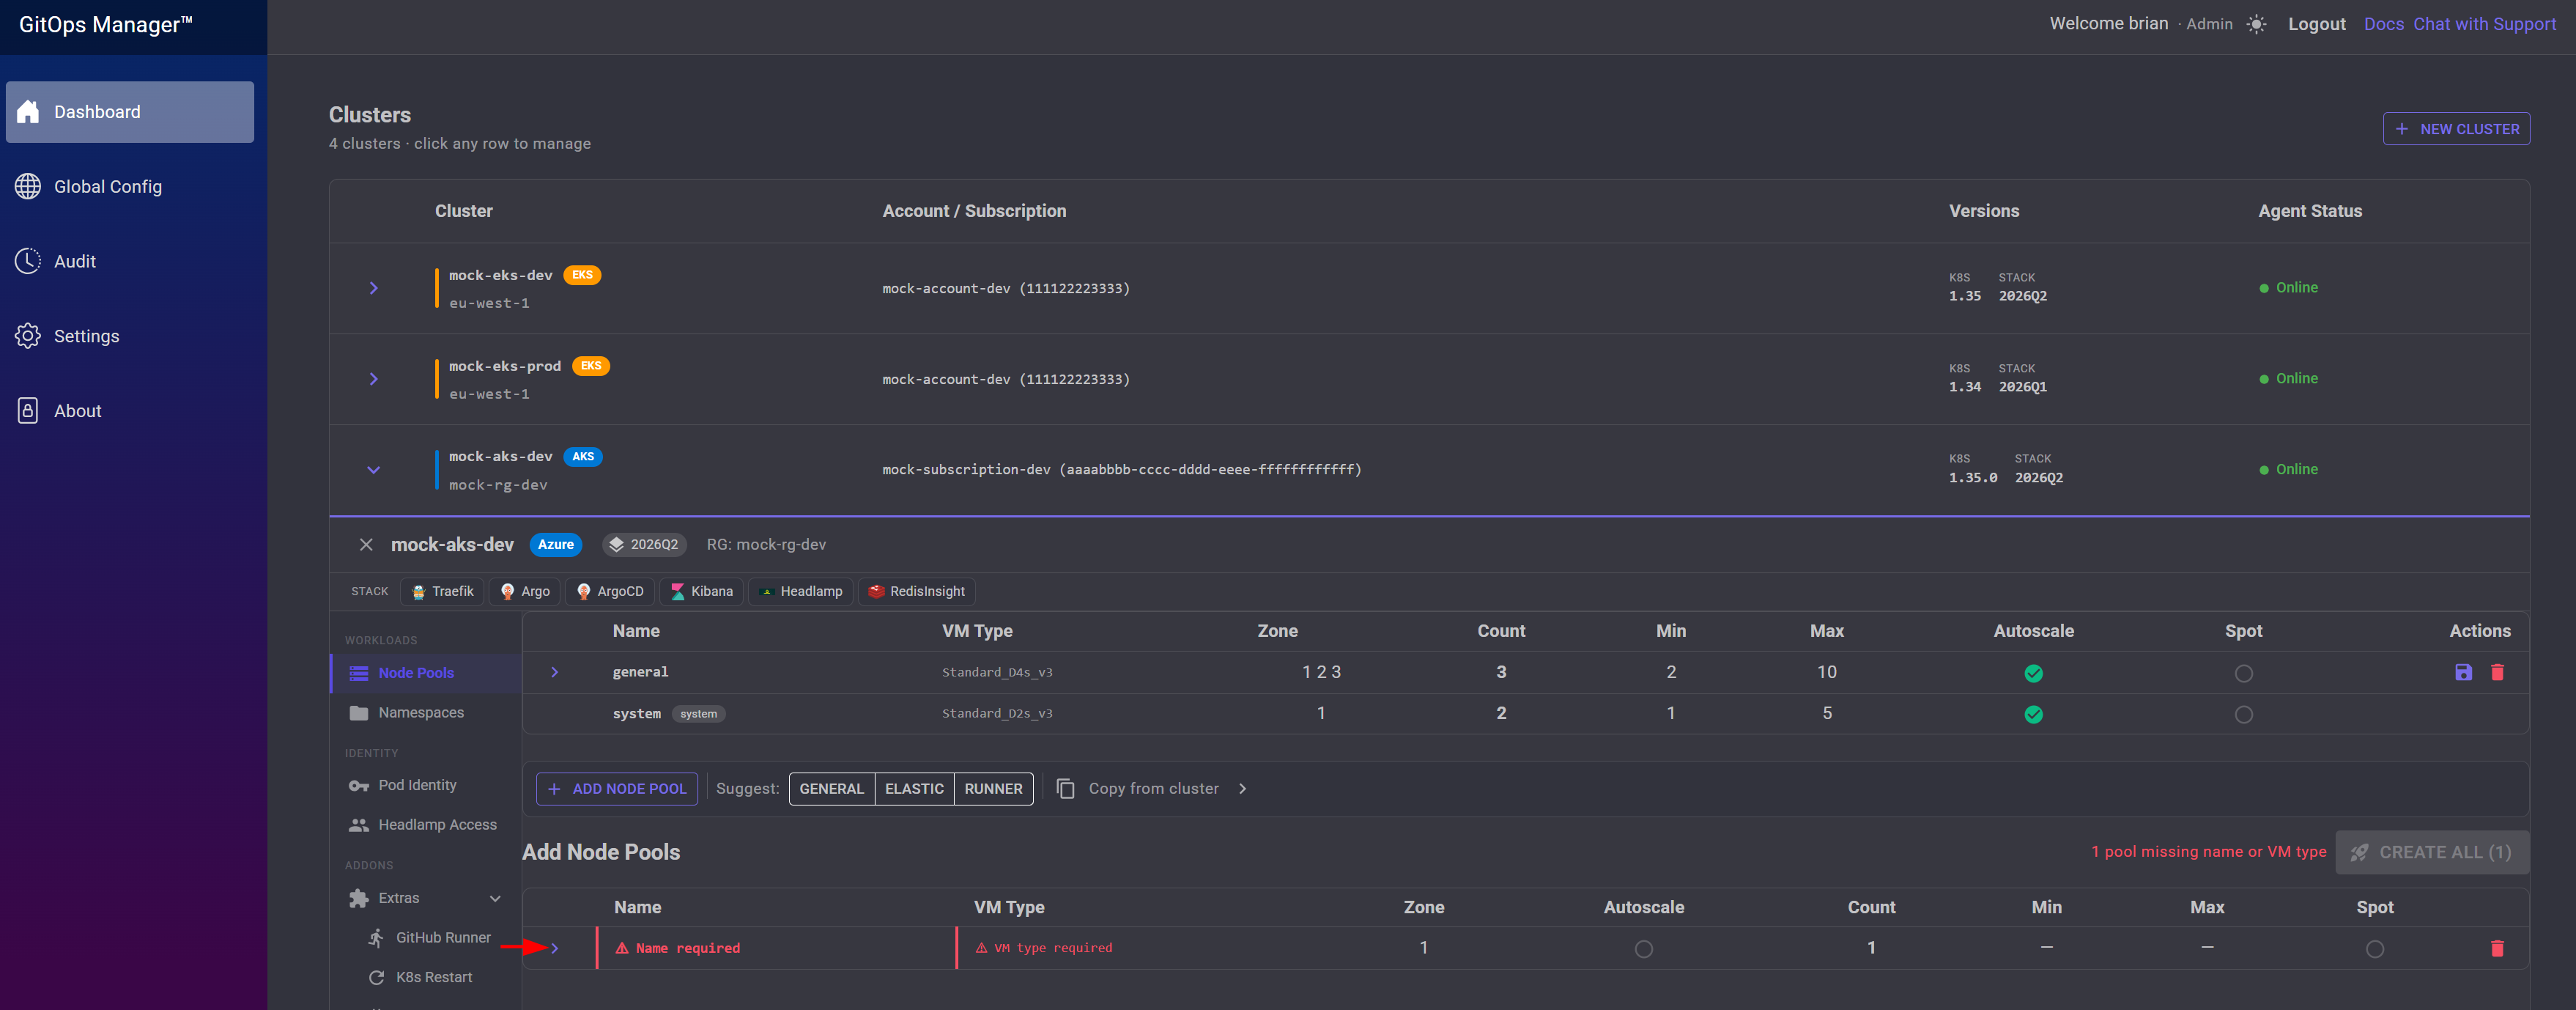
Expand the row and fill in the name, VM size, and any other settings — here a custom largemem pool using an r5.xlarge instance.
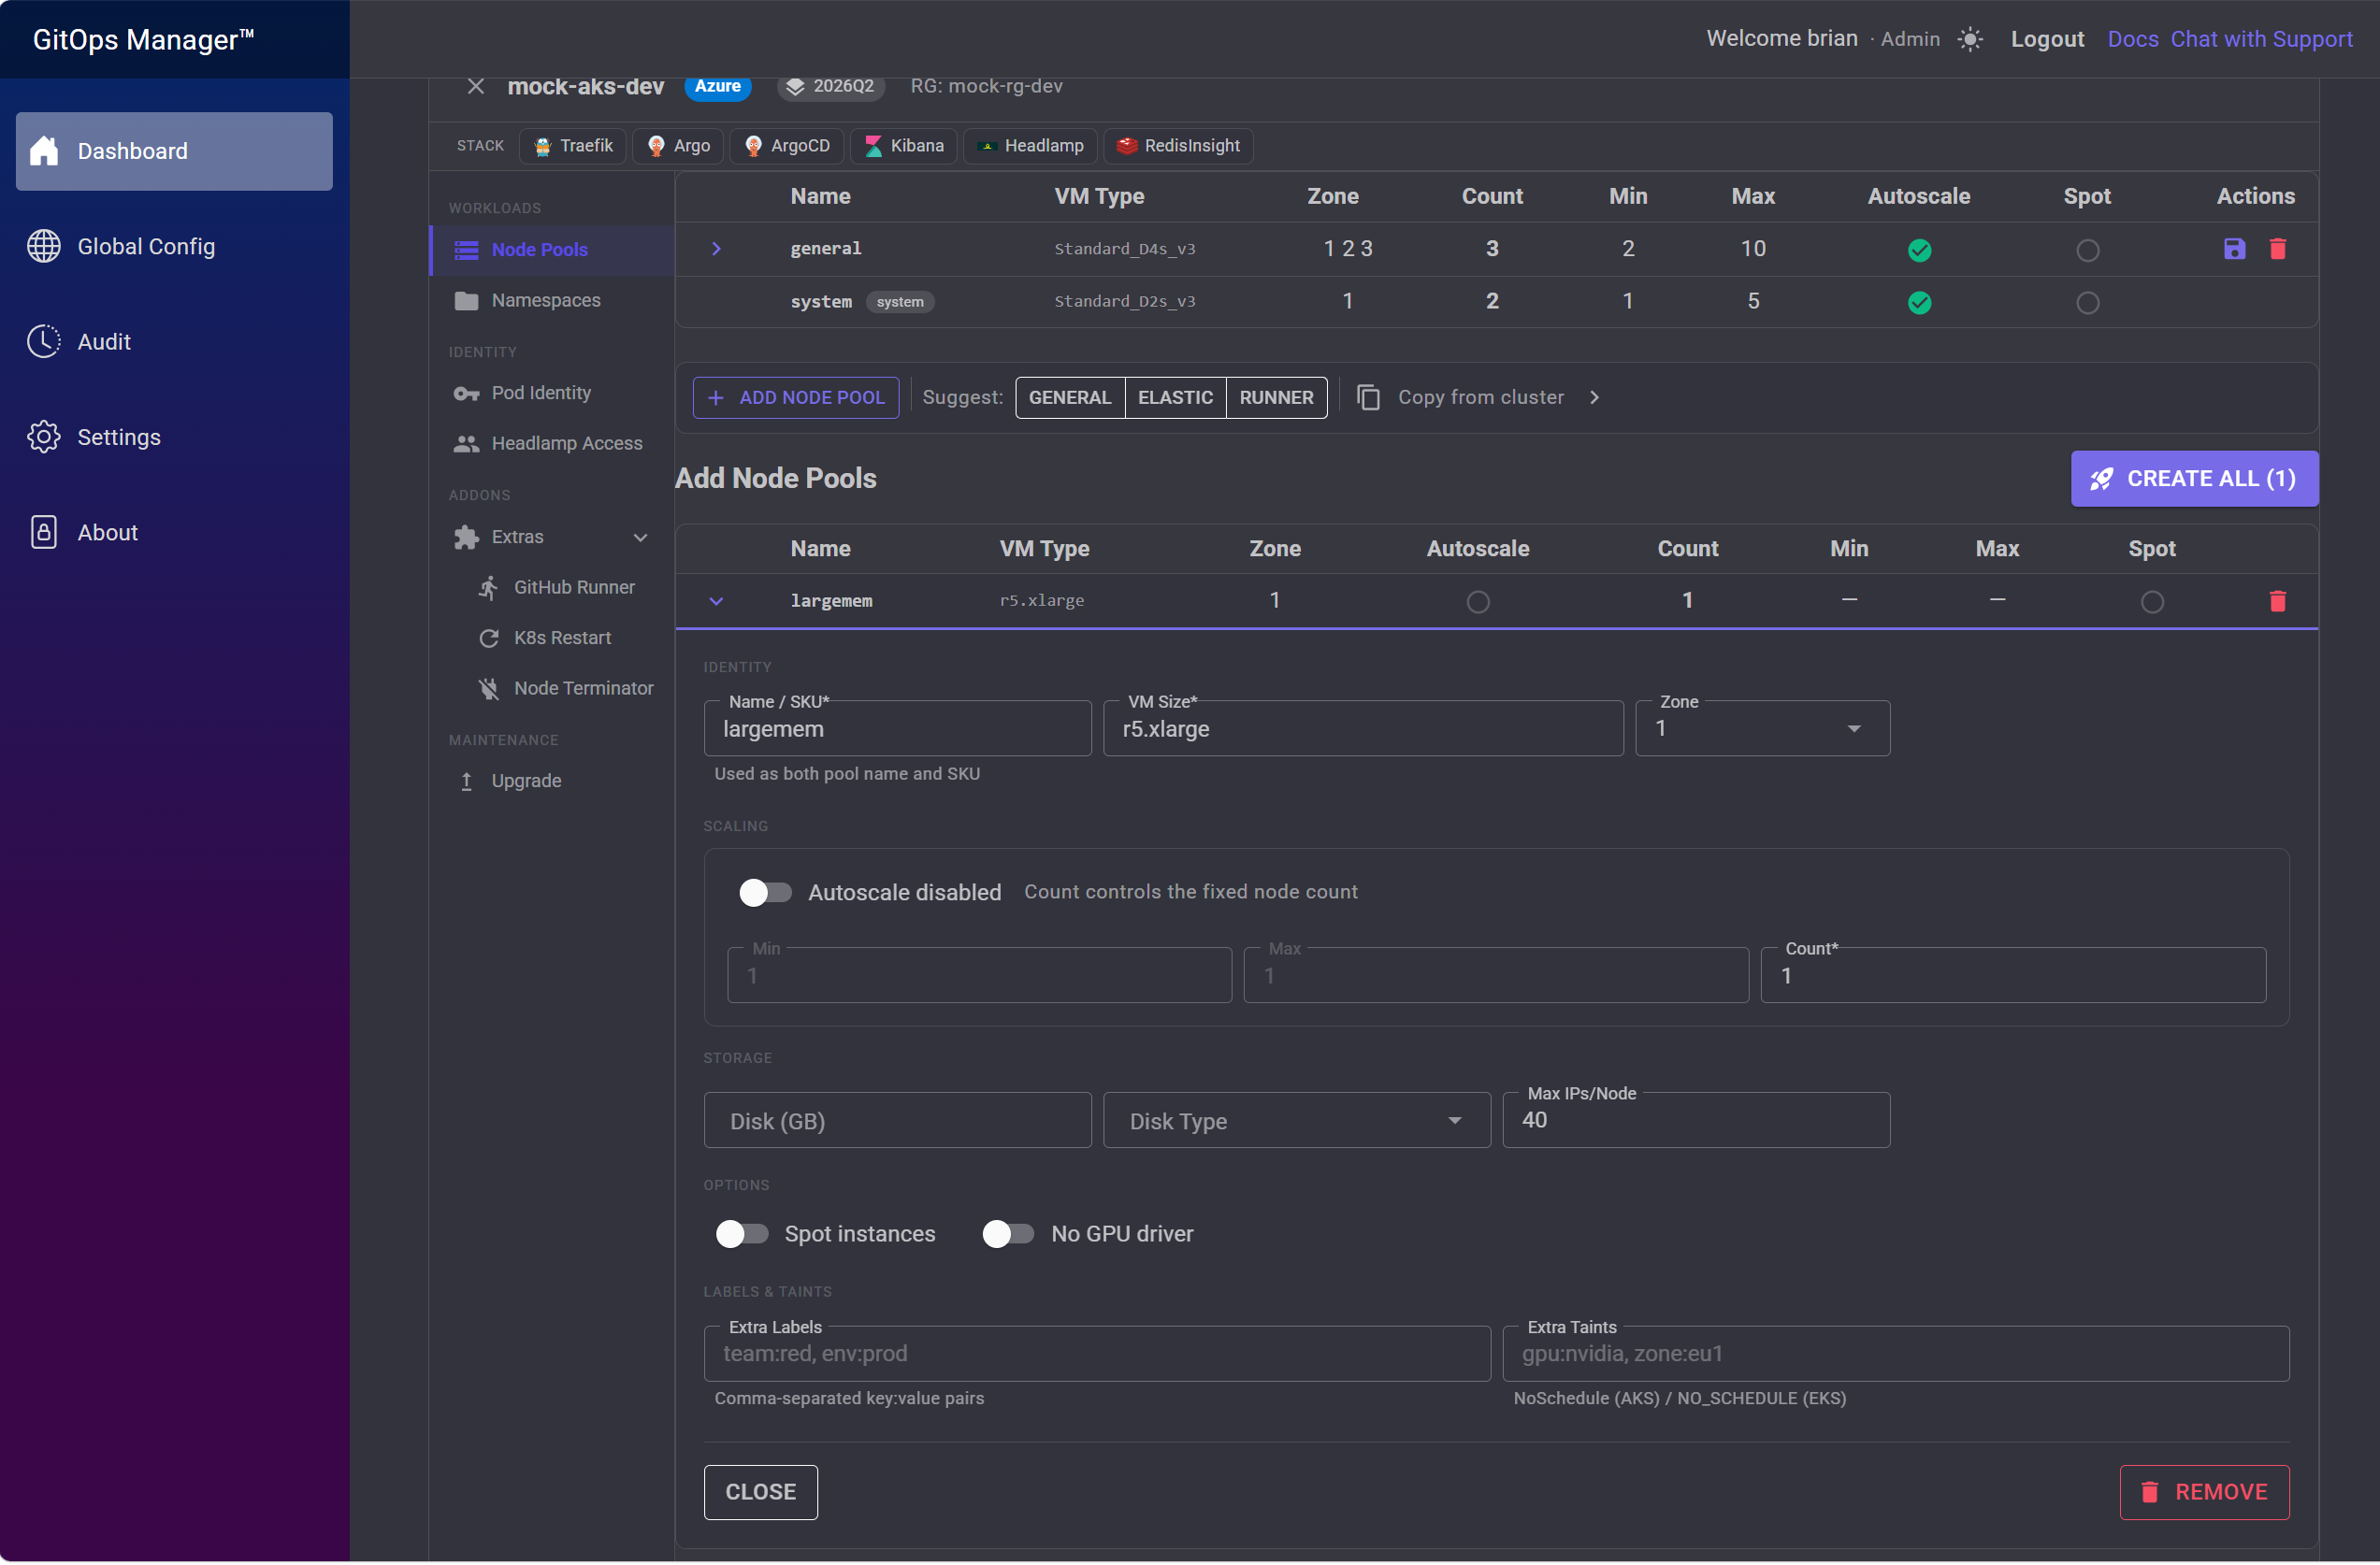
Click a Suggest option (like Elastic) to queue a pre-filled node pool for that workload type — here, ECK (Elastic Cloud on Kubernetes).
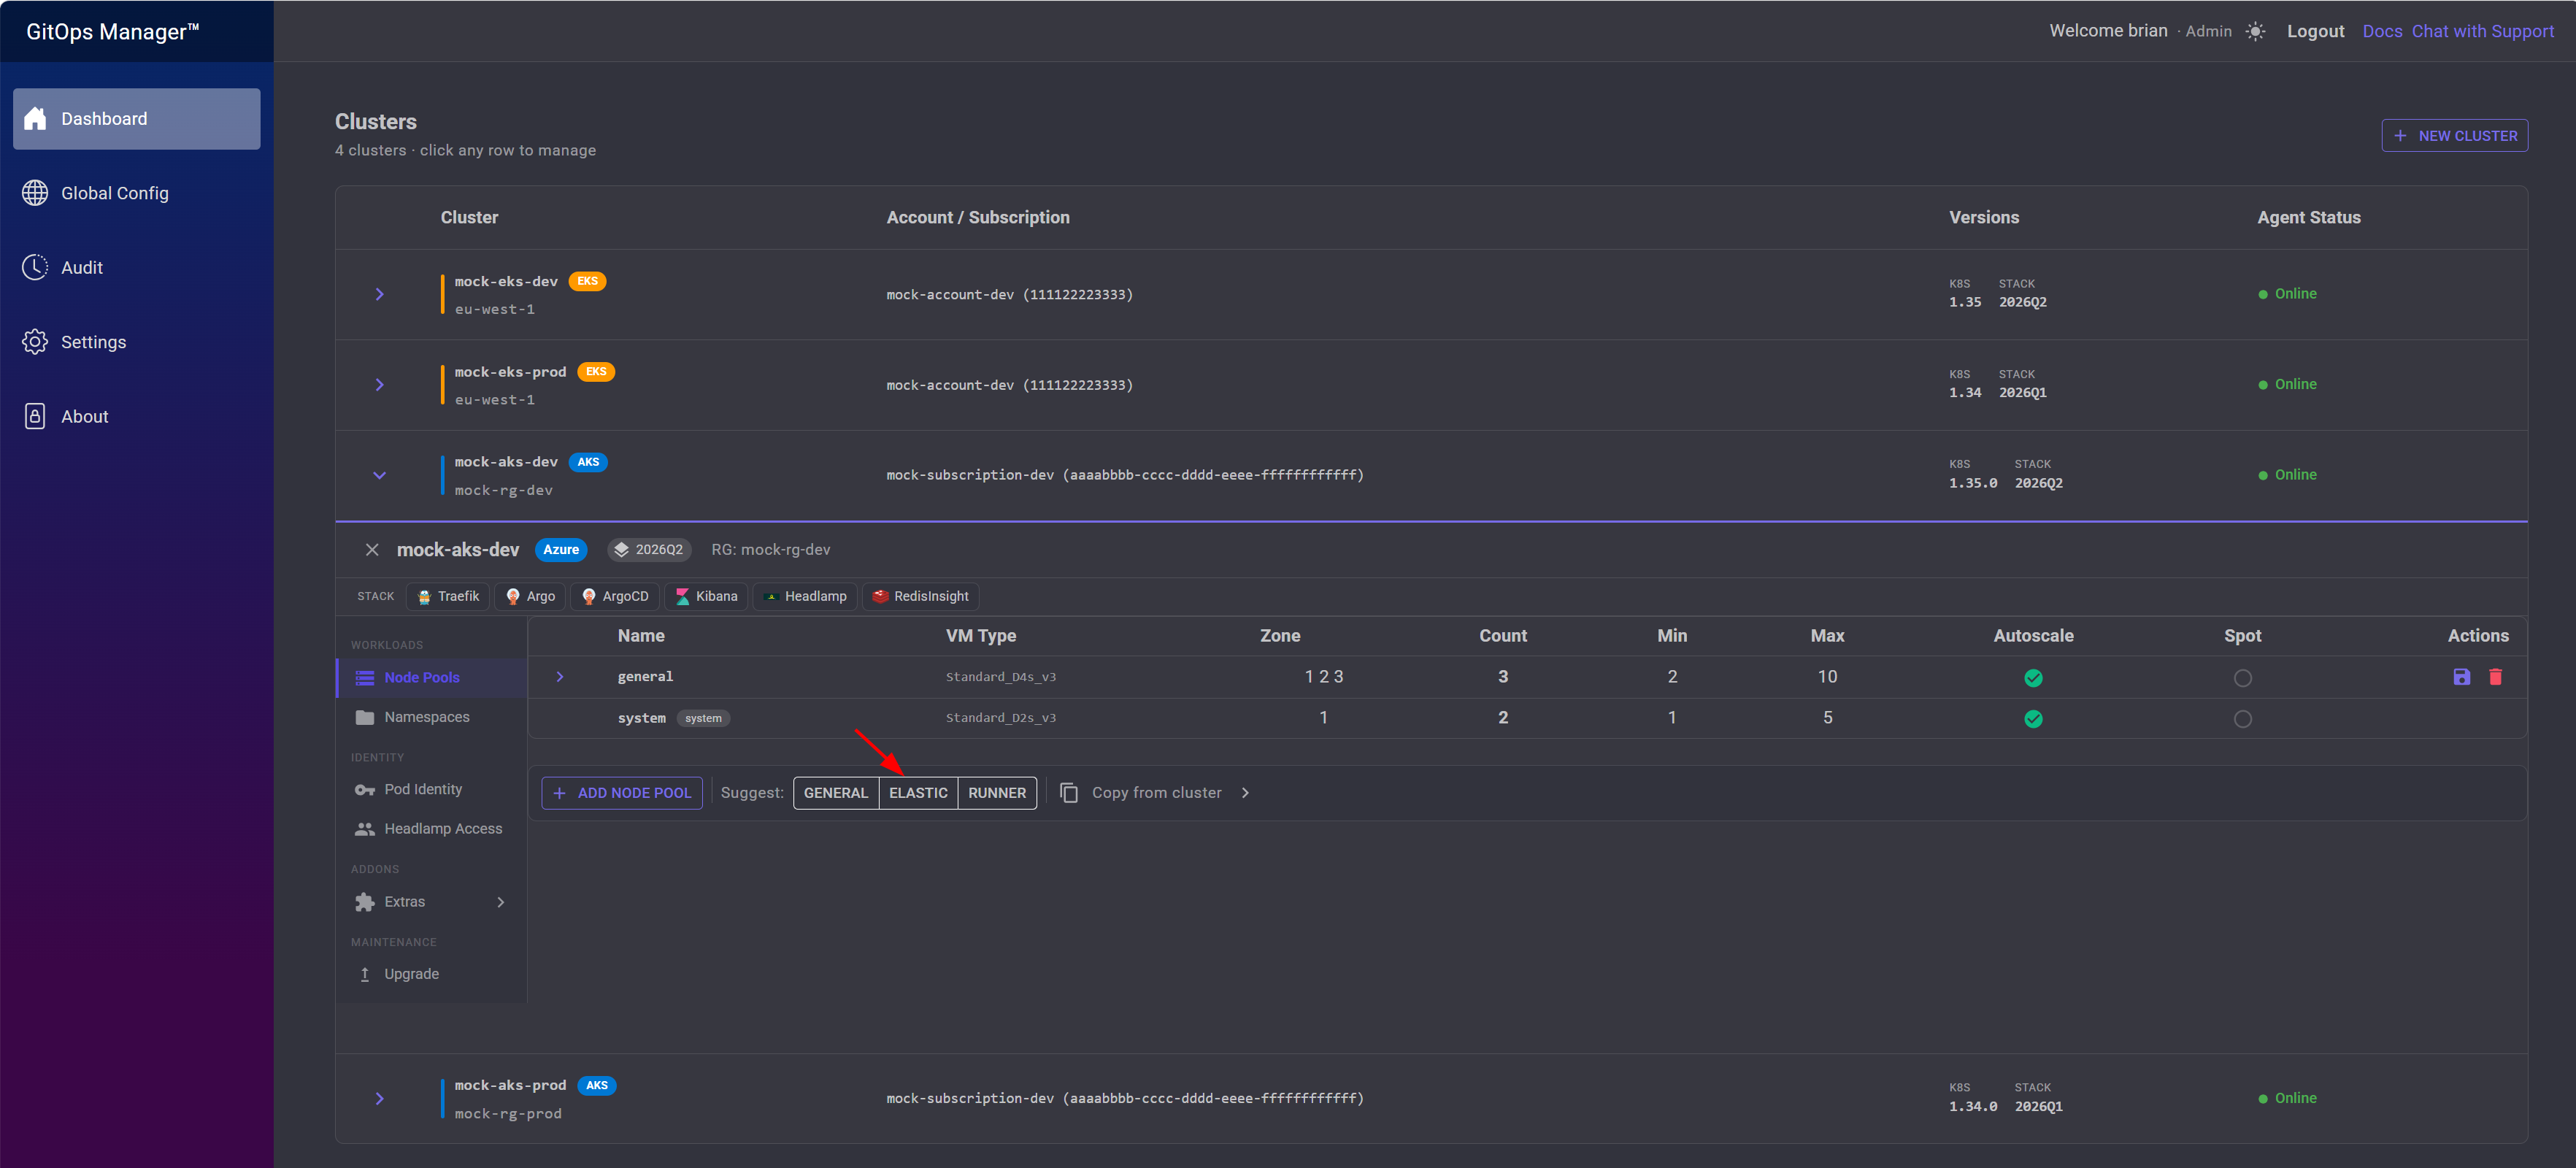
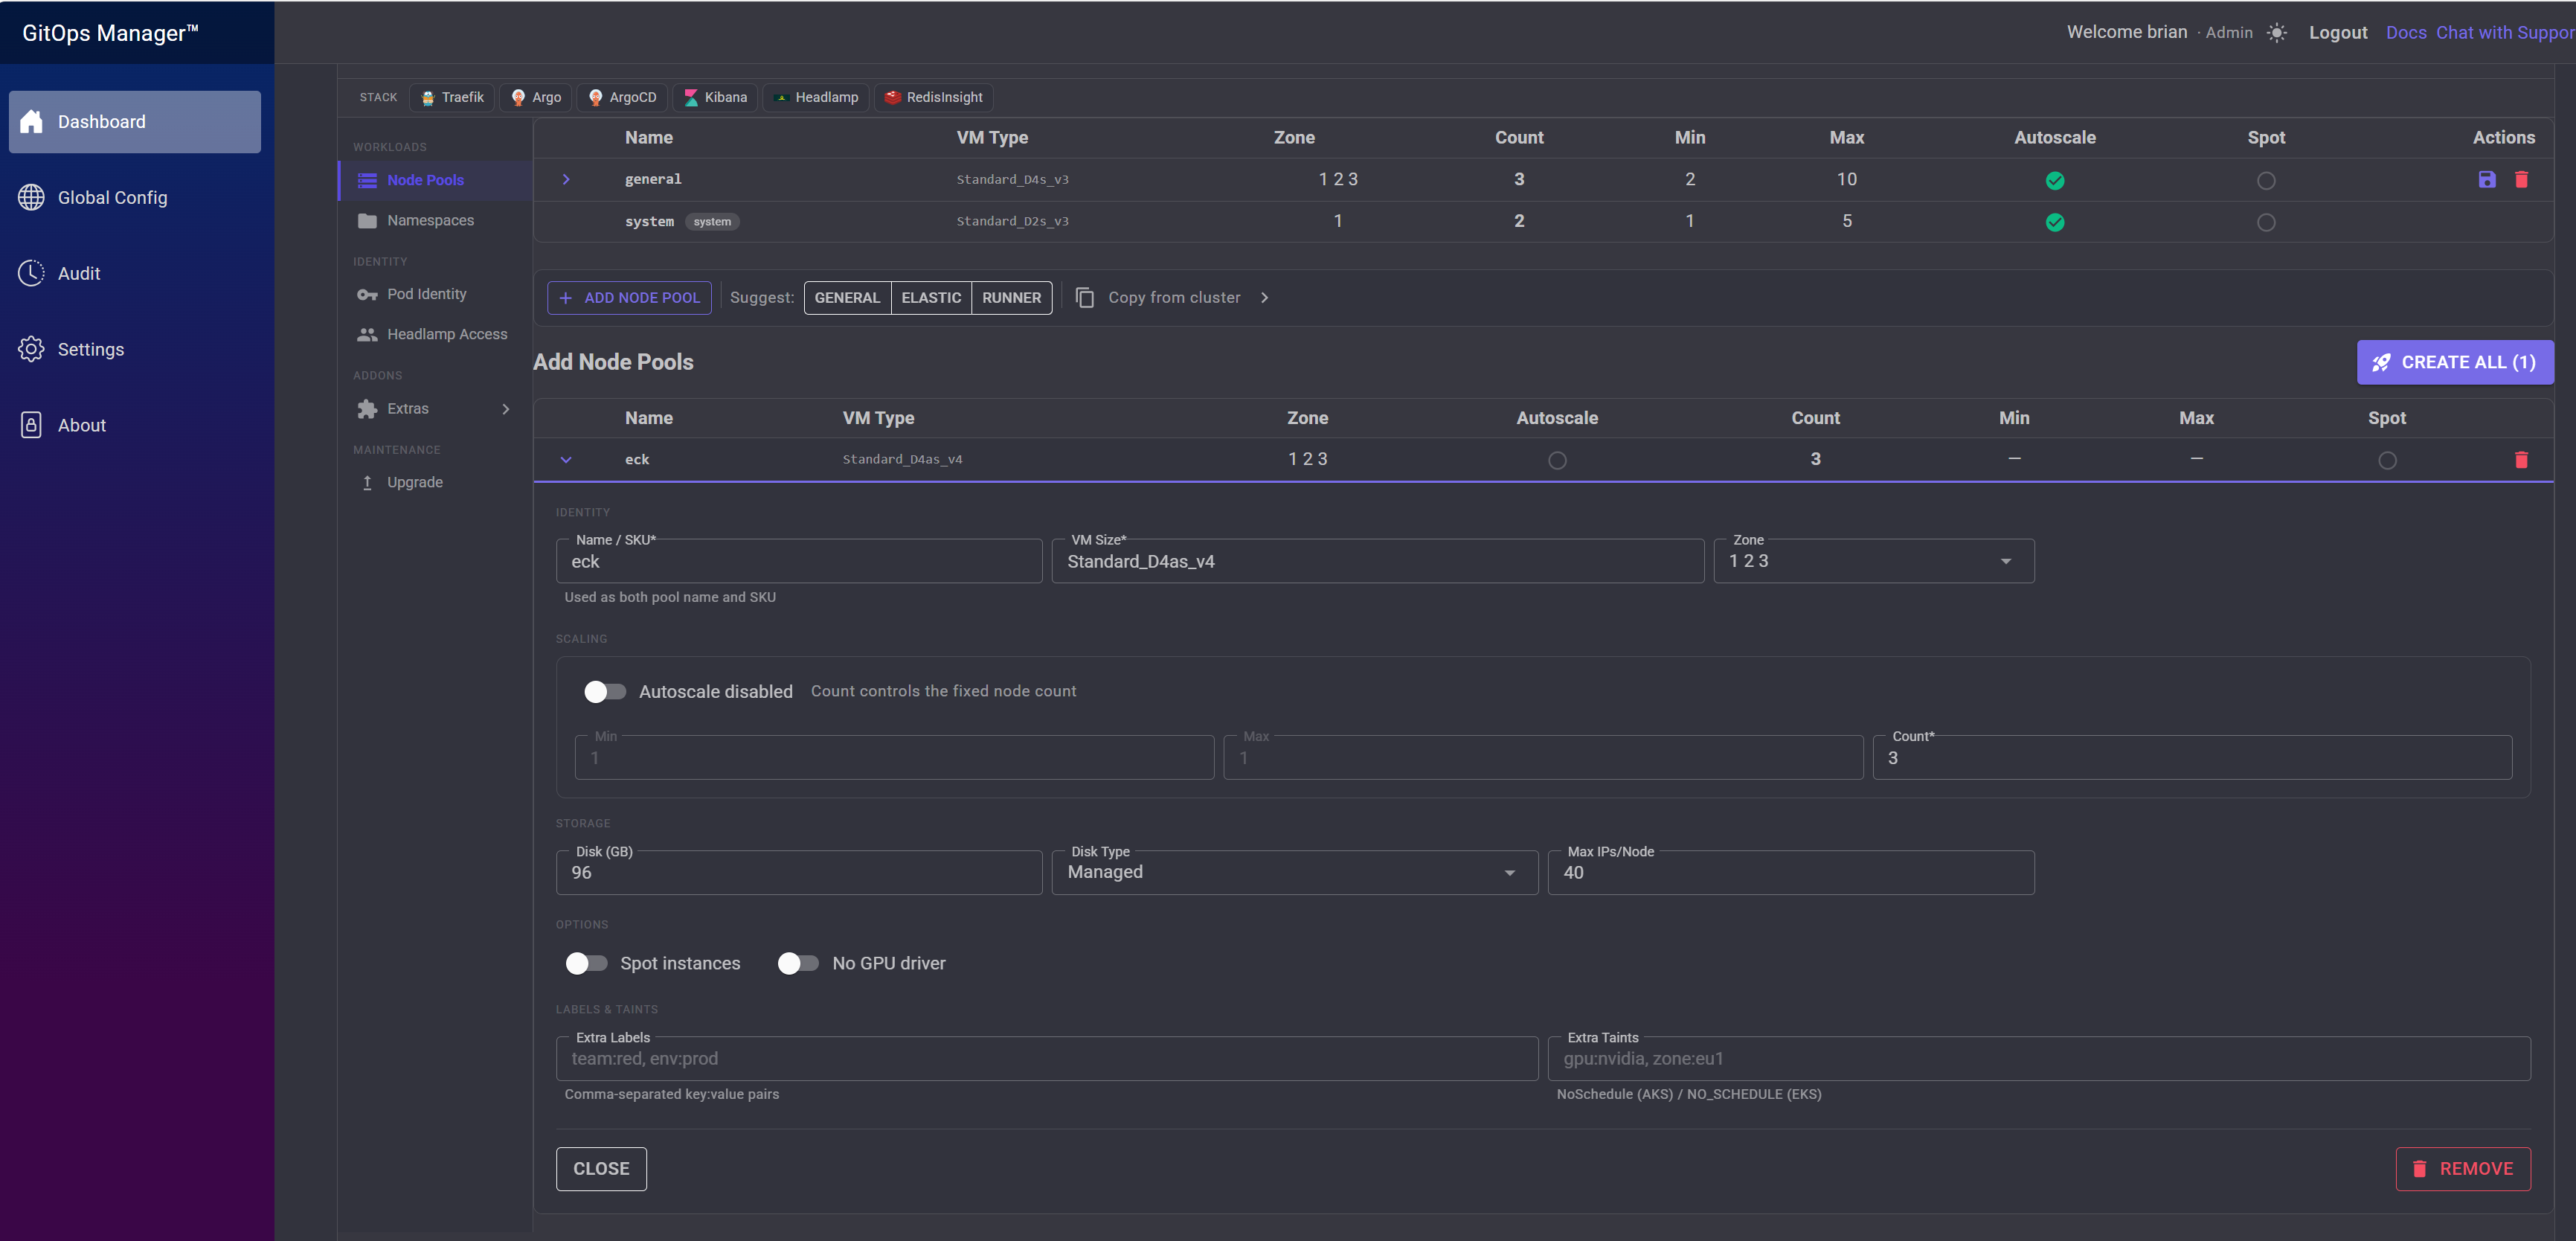
Click the row to expand it and check its settings before creating.
The expanded row shows the full configuration — VM size, zones, scaling, disk, and labels/taints — all editable before creation.
Click Copy from cluster to expand the copy panel.
Pick a Source cluster (same cloud only), then choose which of its node pools to copy.
The selected pool's settings populate a new row in the Add Node Pools list, ready to edit or create as-is.
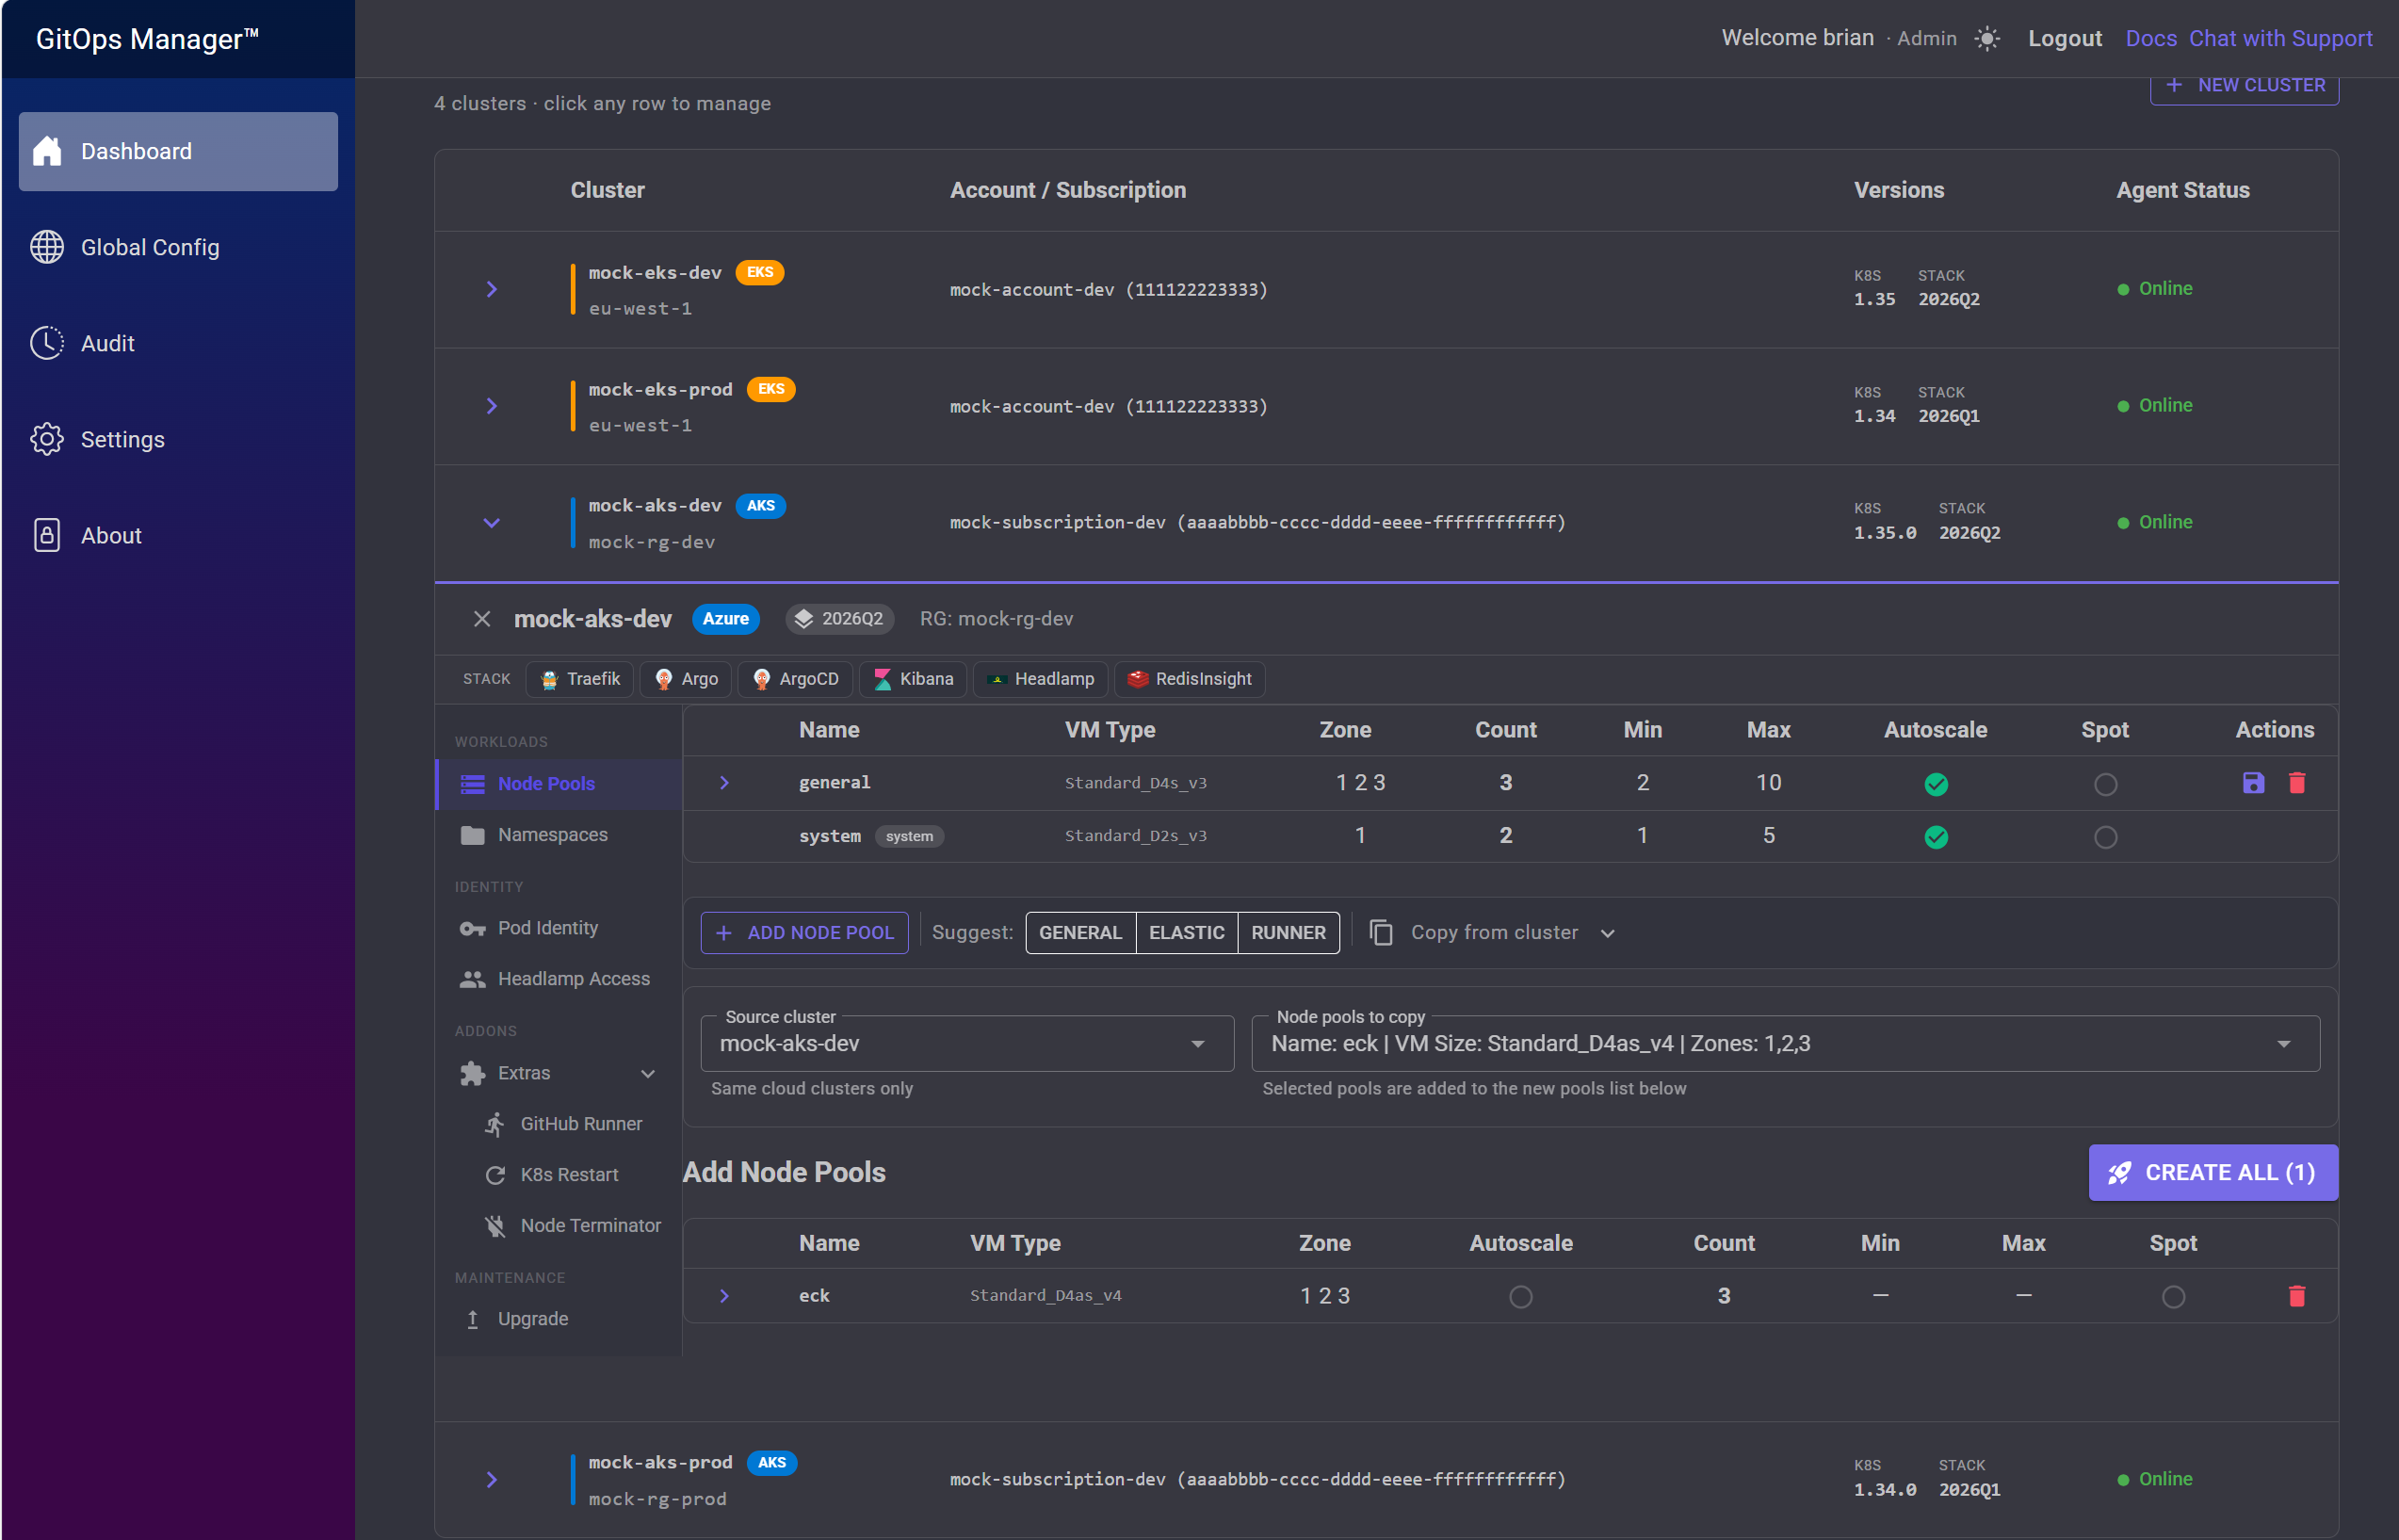
Once every node pool you want is queued up — whichever method(s) you used to add them — click Create All.
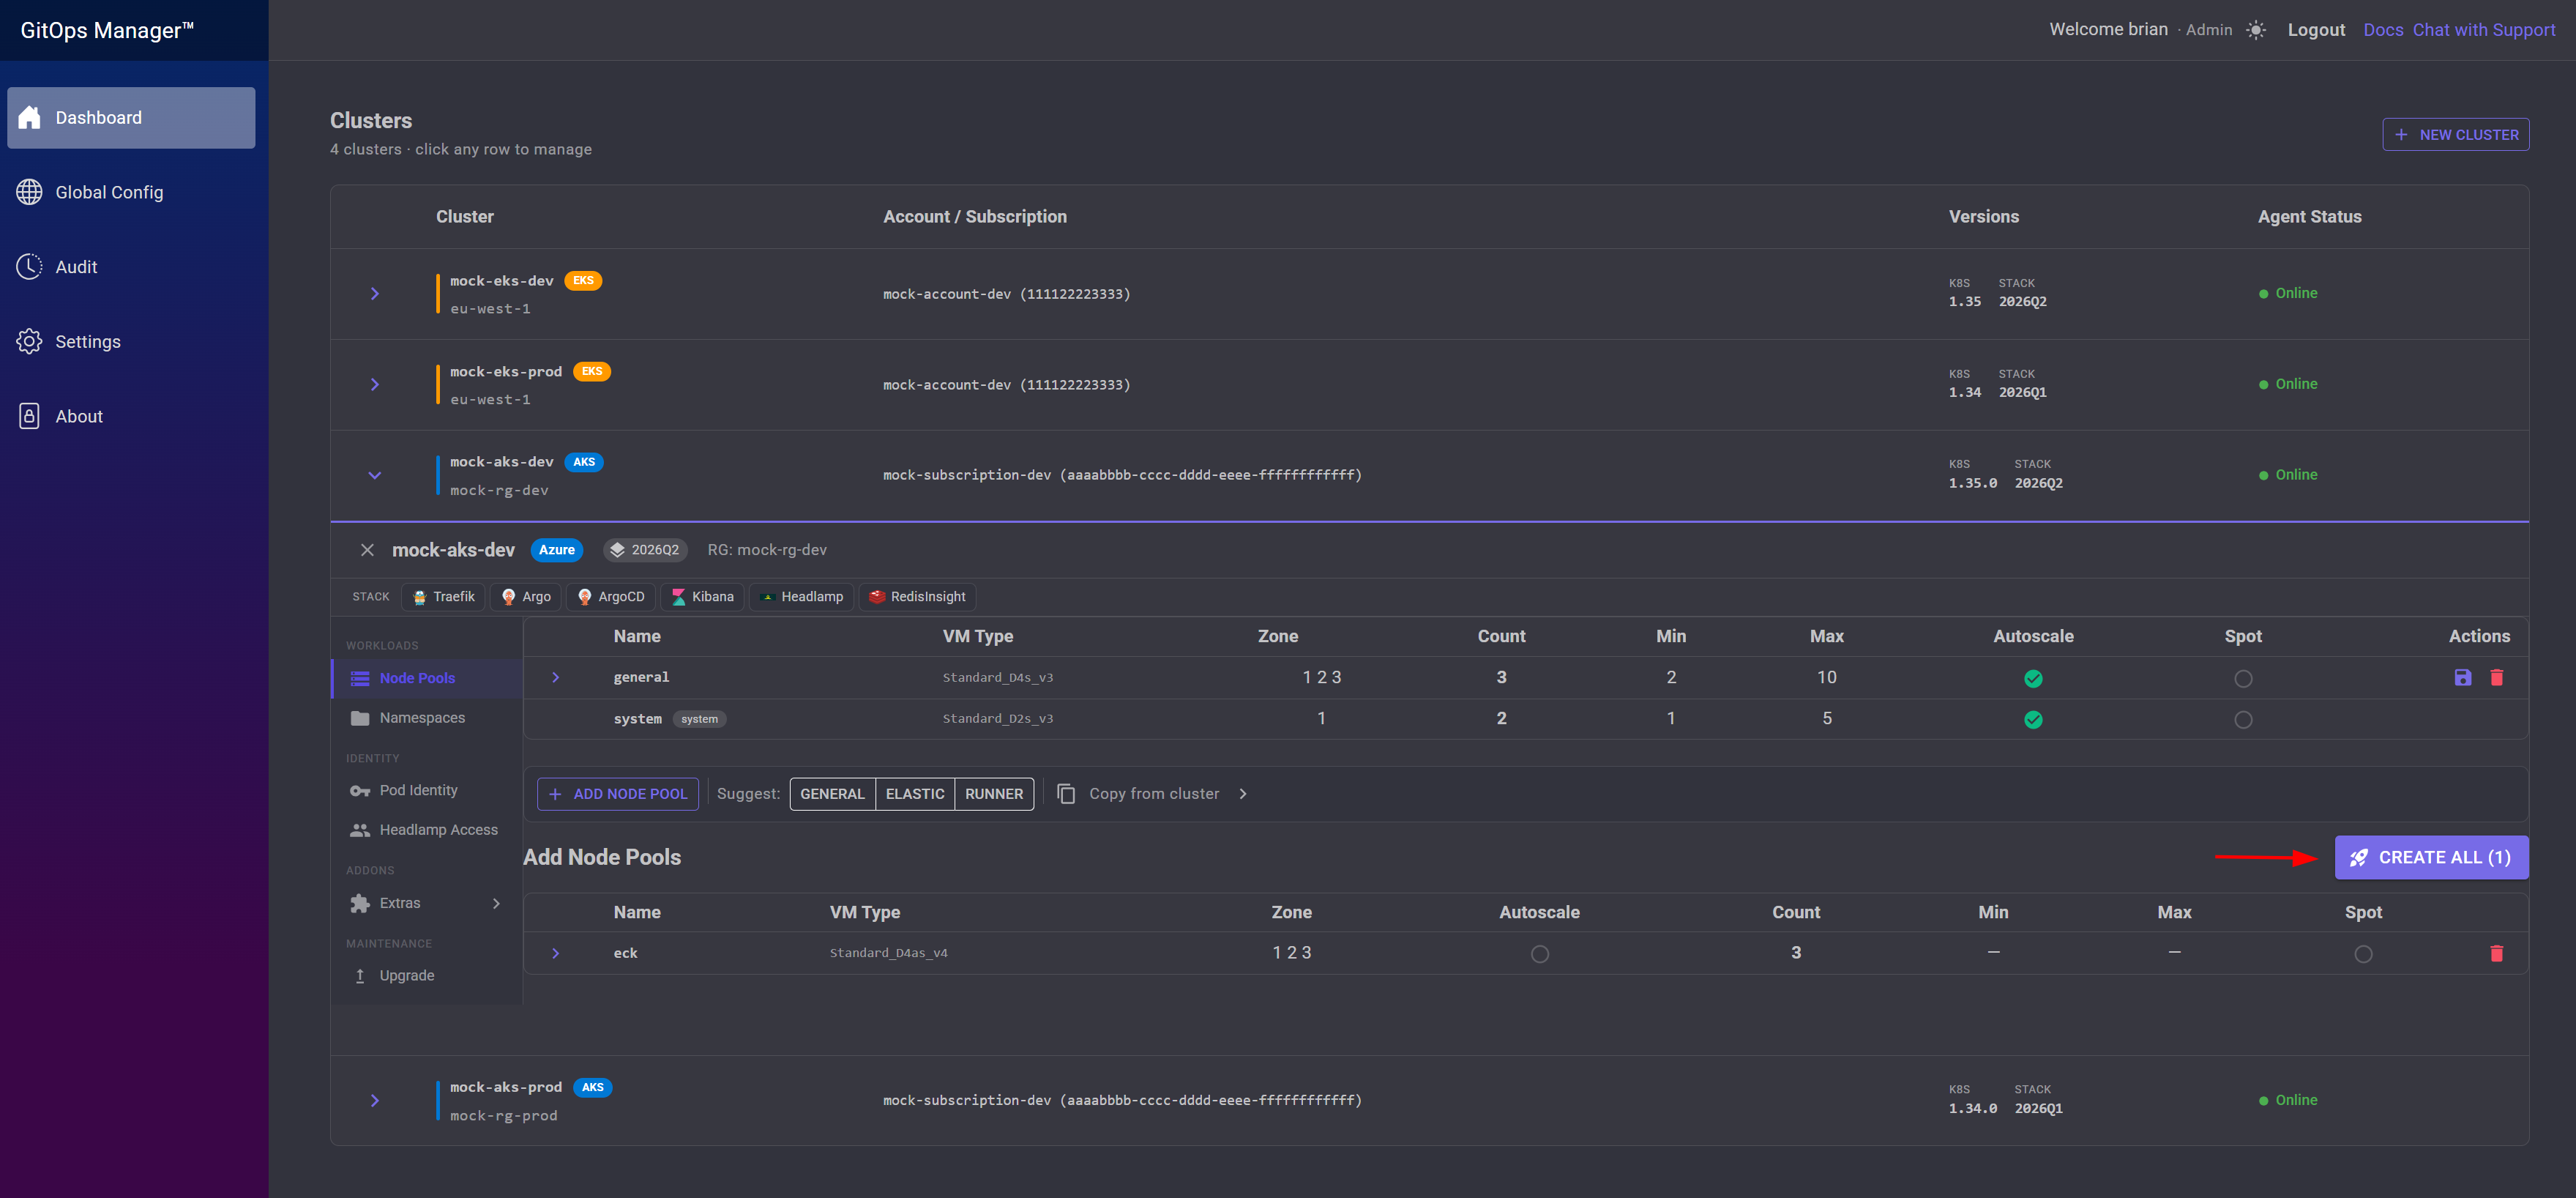
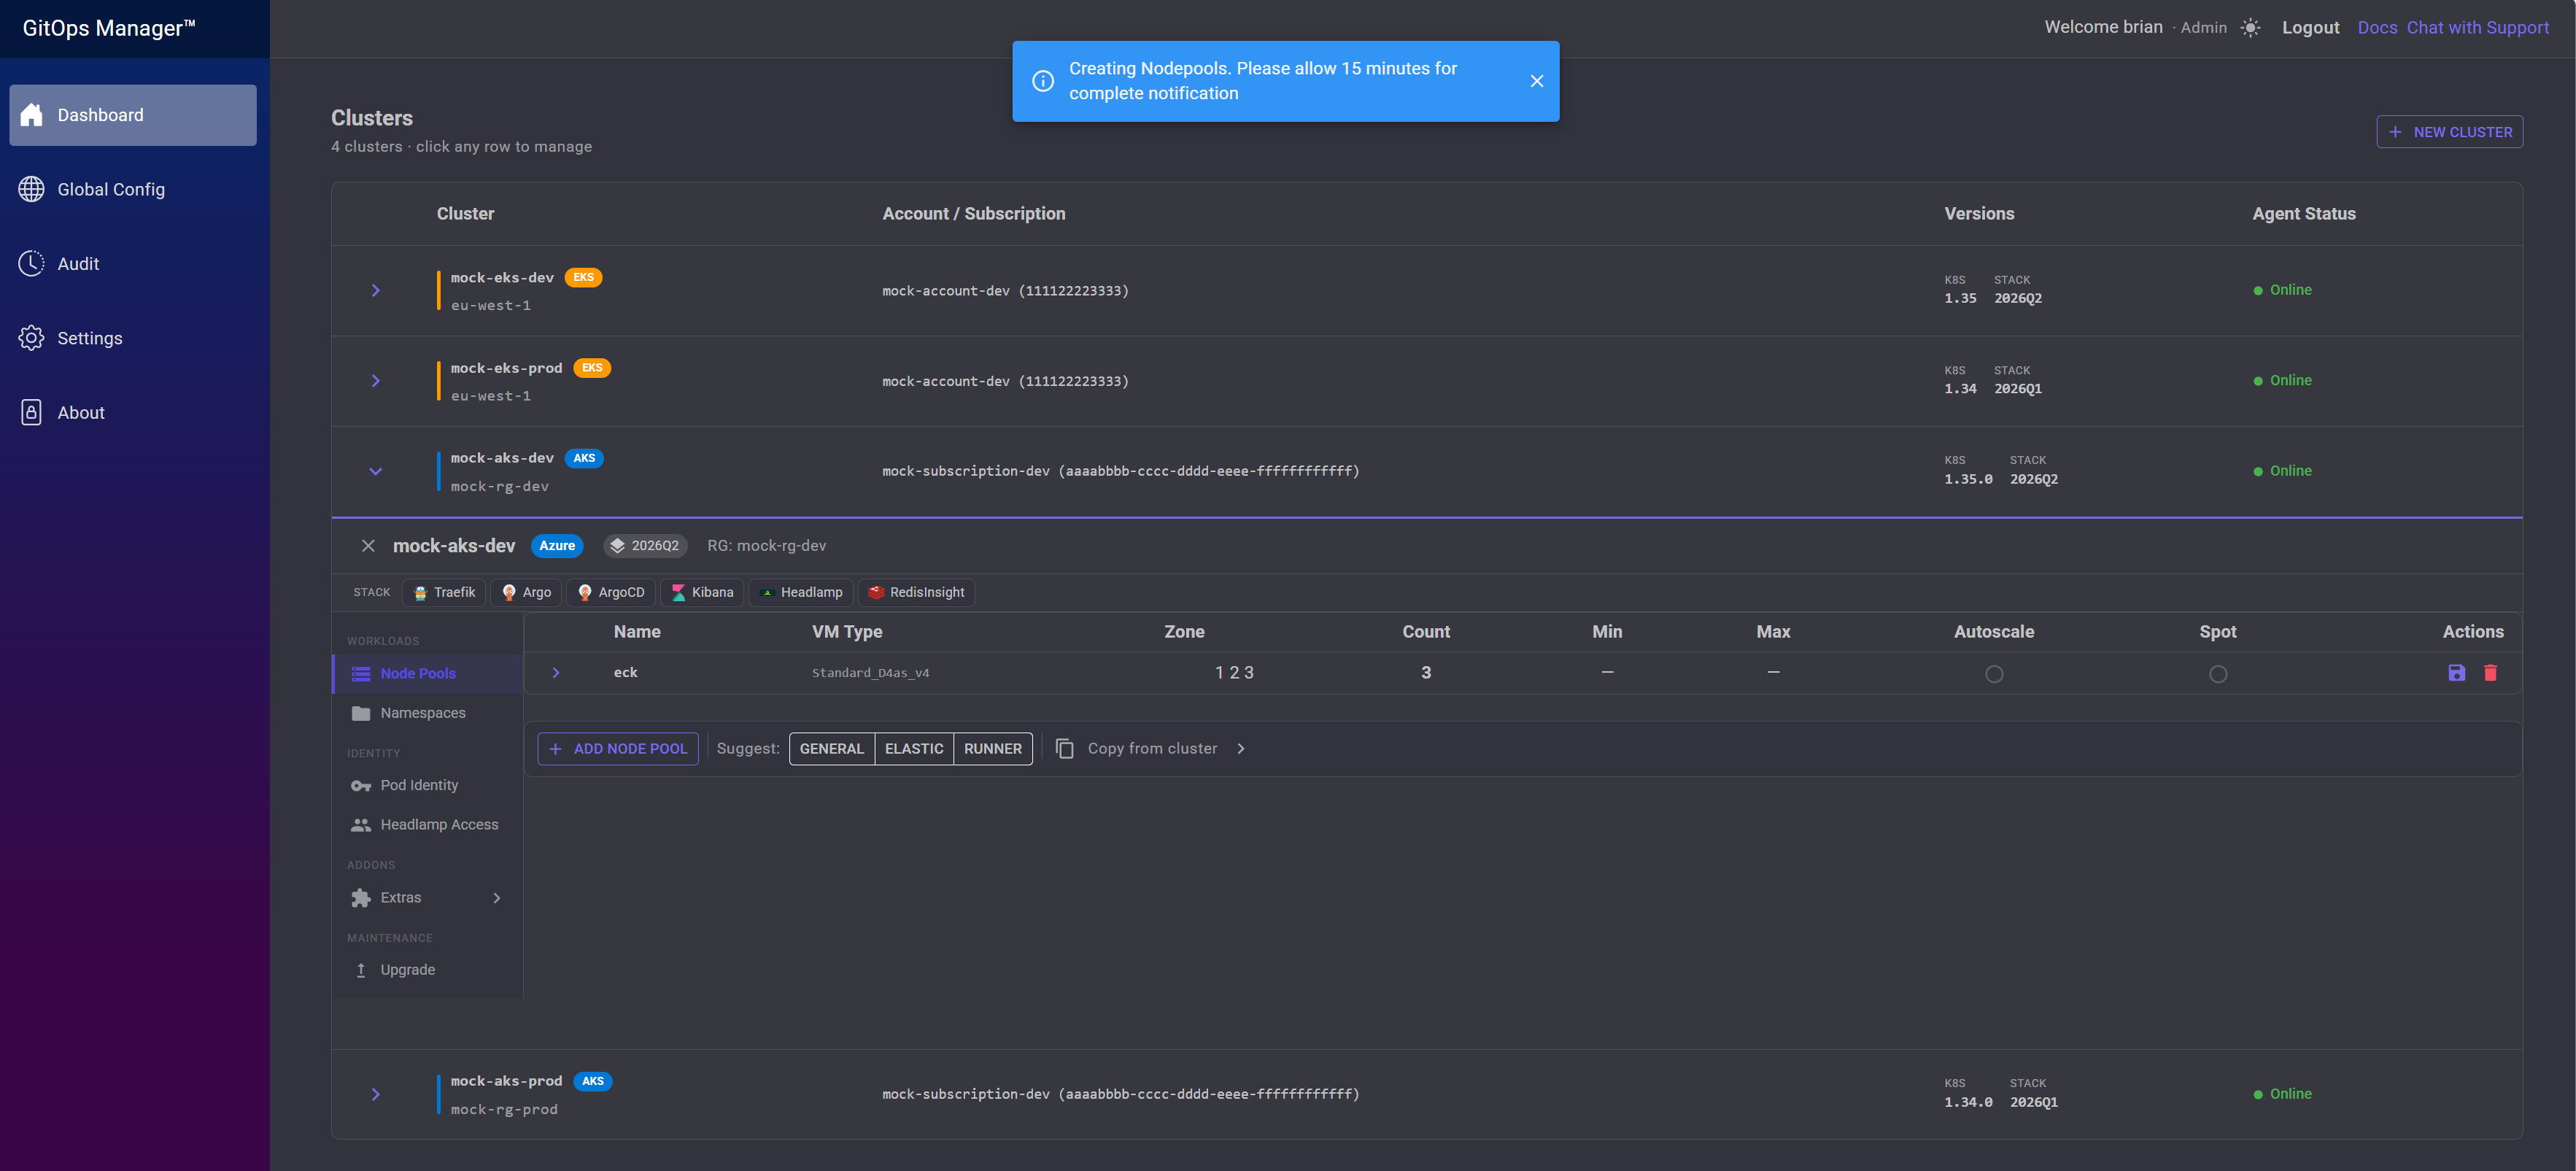
A notification confirms the node pool(s) are being created — allow about 15 minutes.
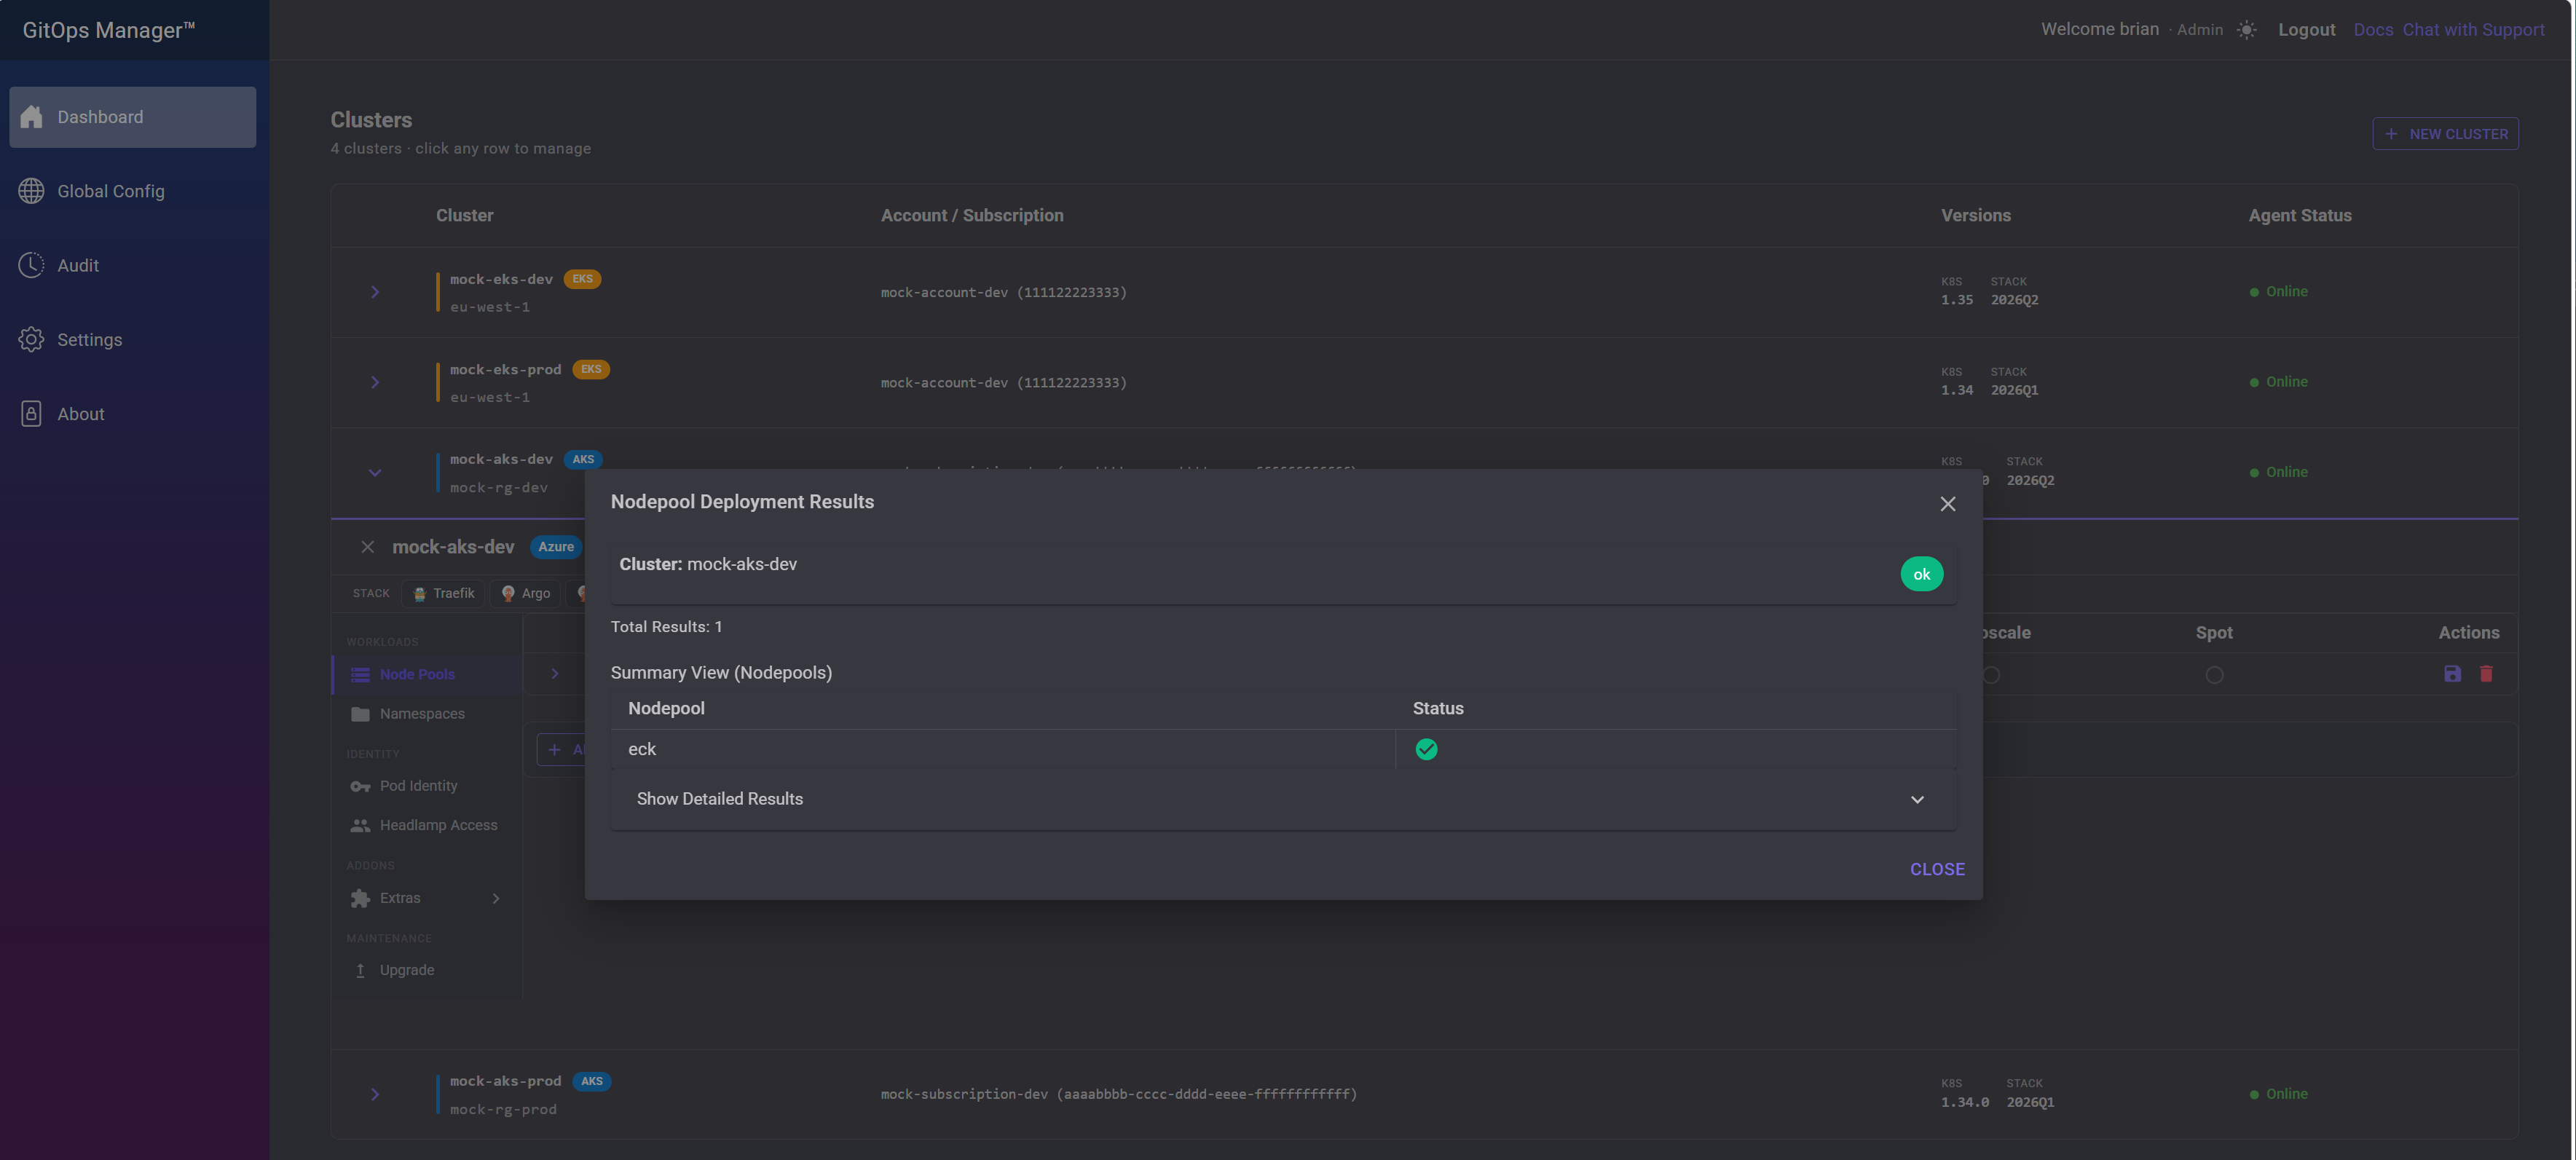
The Nodepool Deployment Results dialog confirms the pool was created successfully.
Install Core Stack of Tools / Upgrade Cluster
Installing the core DevOps tooling on a new cluster from the Upgrade Cluster screen.
Before you start: make sure you've added all the node pools you'll need first. ECK needs its own dedicated node pool, and self-hosted GitHub Action Runners will want a Runner node pool too. If you haven't done that yet, head back to Managing Node Pools and come back here when you're ready.
Click Upgrade in the left sidebar of the cluster panel.
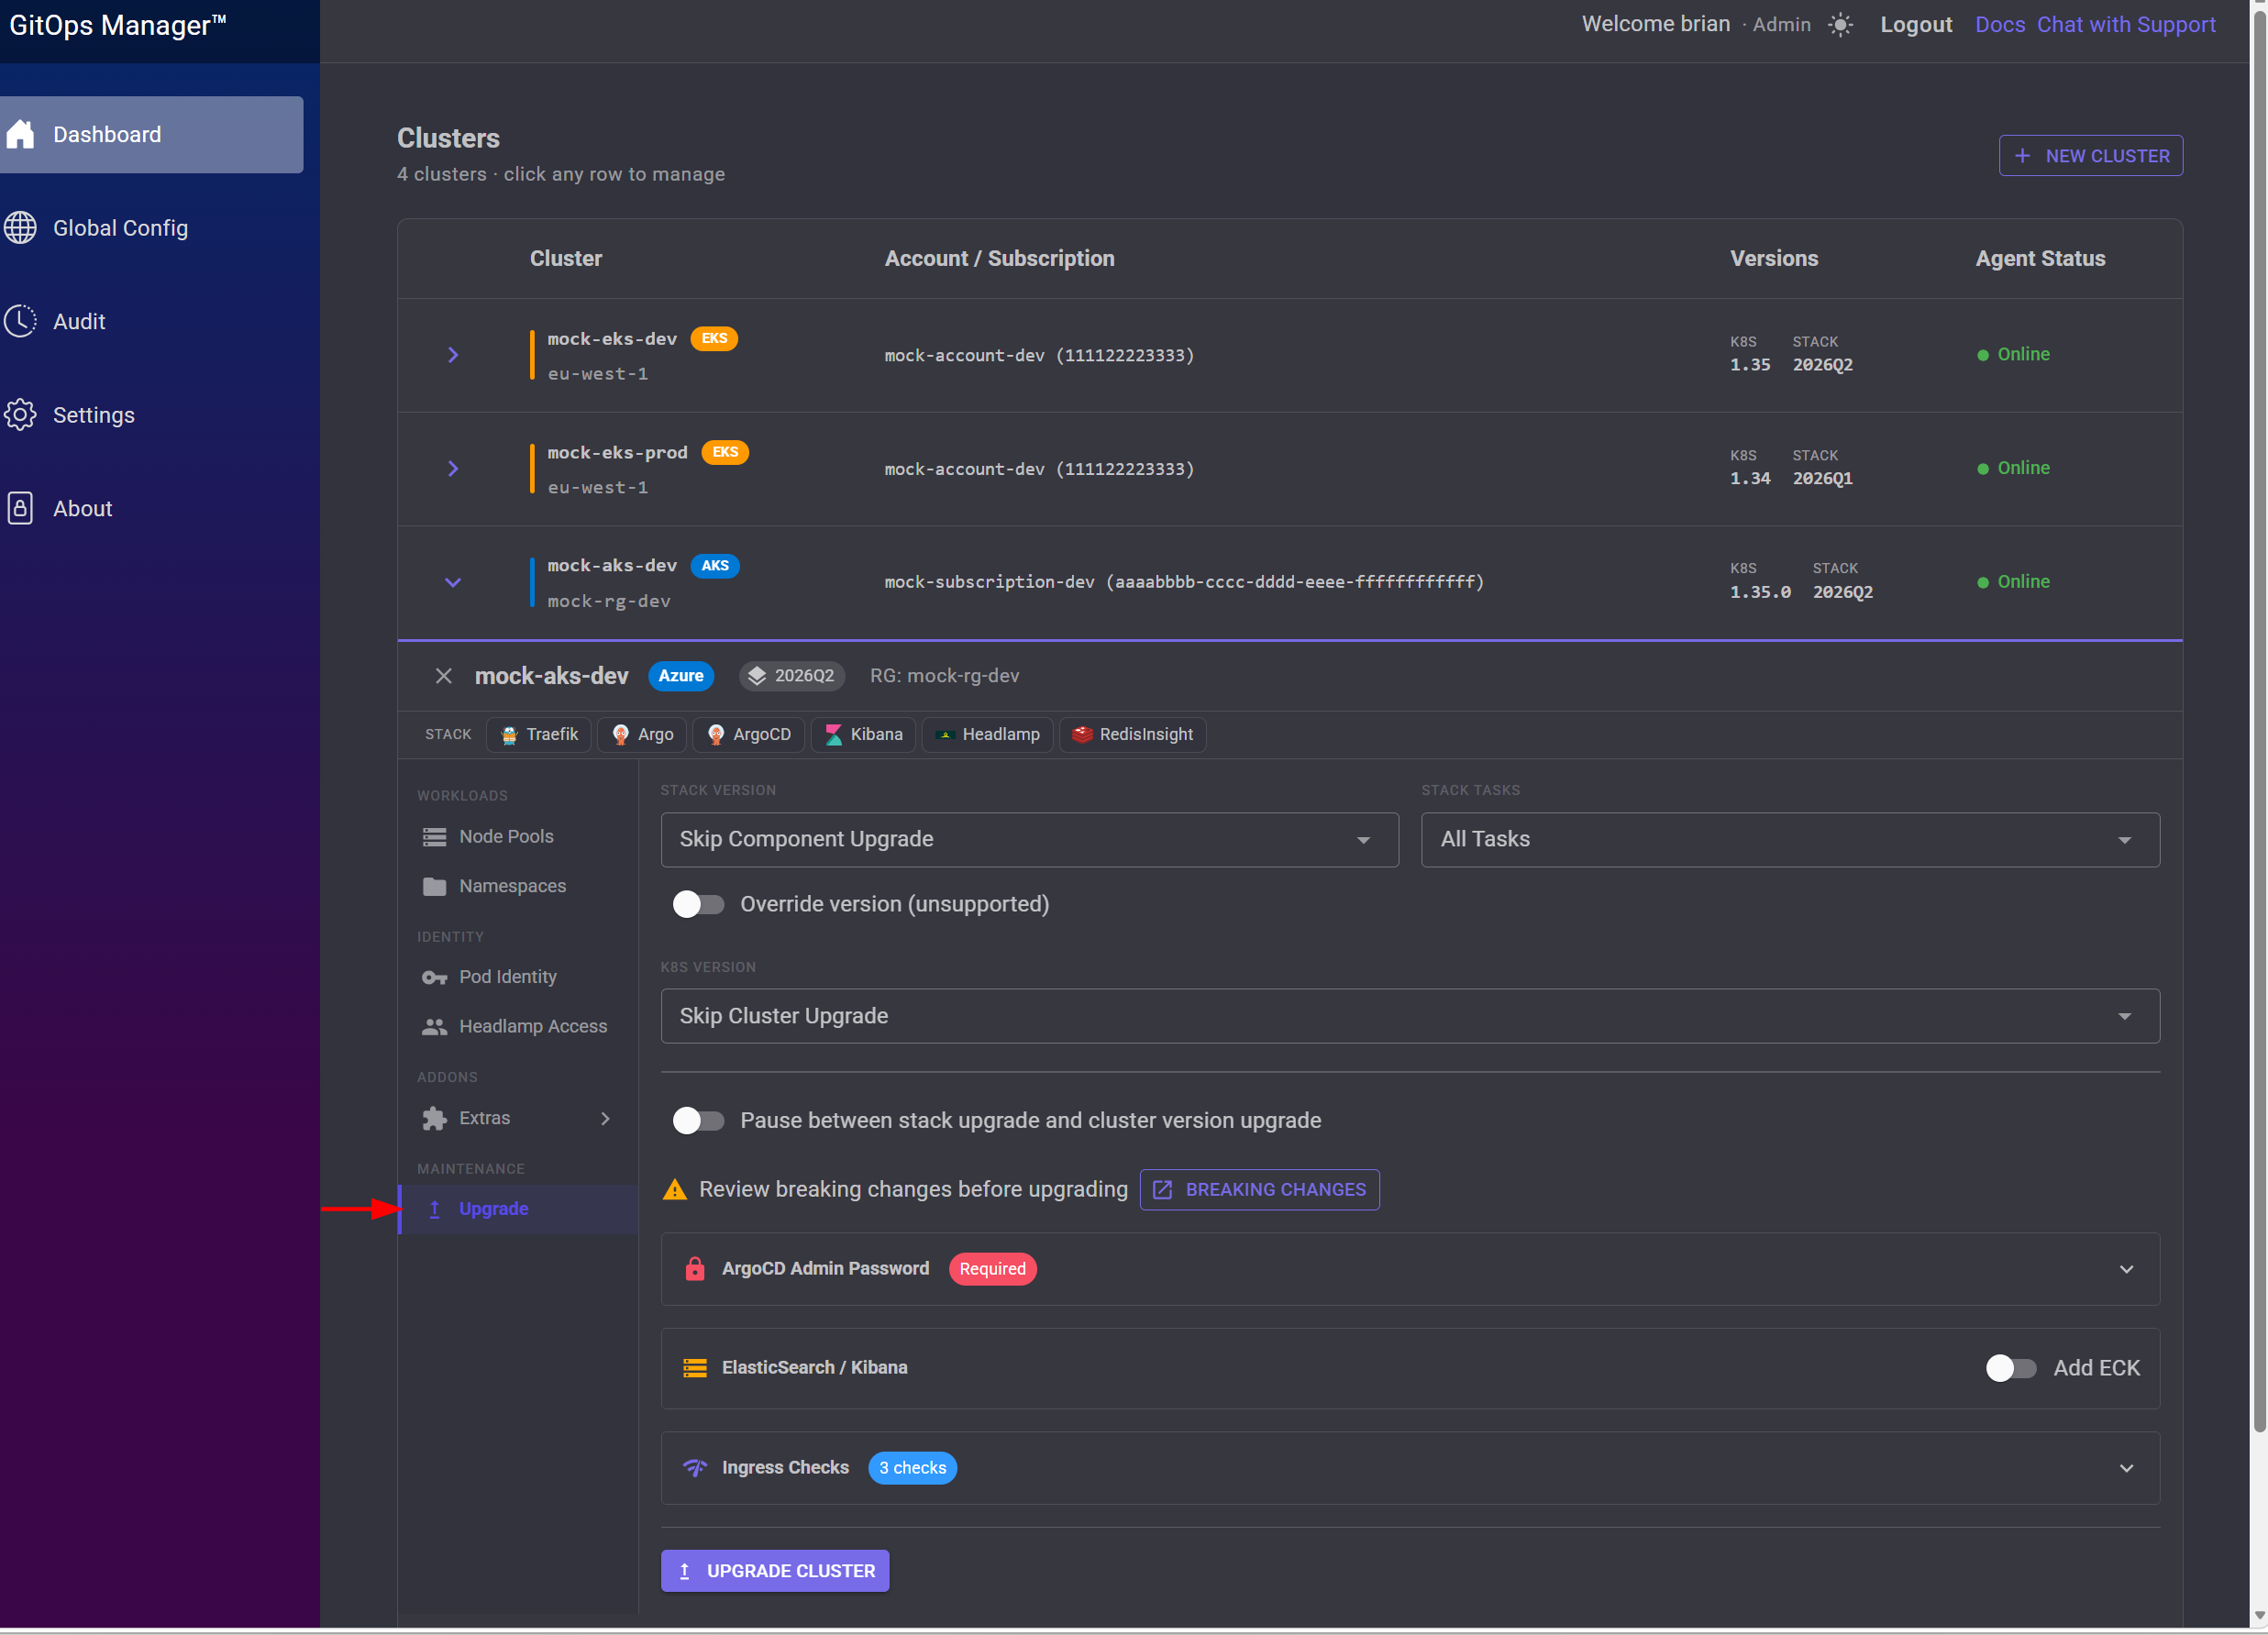
The core stack is listed as a row of icons at the top of the cluster panel, and stays greyed out/disabled until it's installed. Here's what each tool does:
- Traefik — the NLB load balancer service for the cluster.
- External DNS — creates A records for your services in the DNS Zone automatically.
- Argo — handles batch processing (Argo Workflows).
- ArgoCD — deploys manifests using GitOps Manager's CI/CD workflows.
- ECK / Kibana — monitoring for all workloads across the cluster: CPU/memory metrics and pod logging over time.
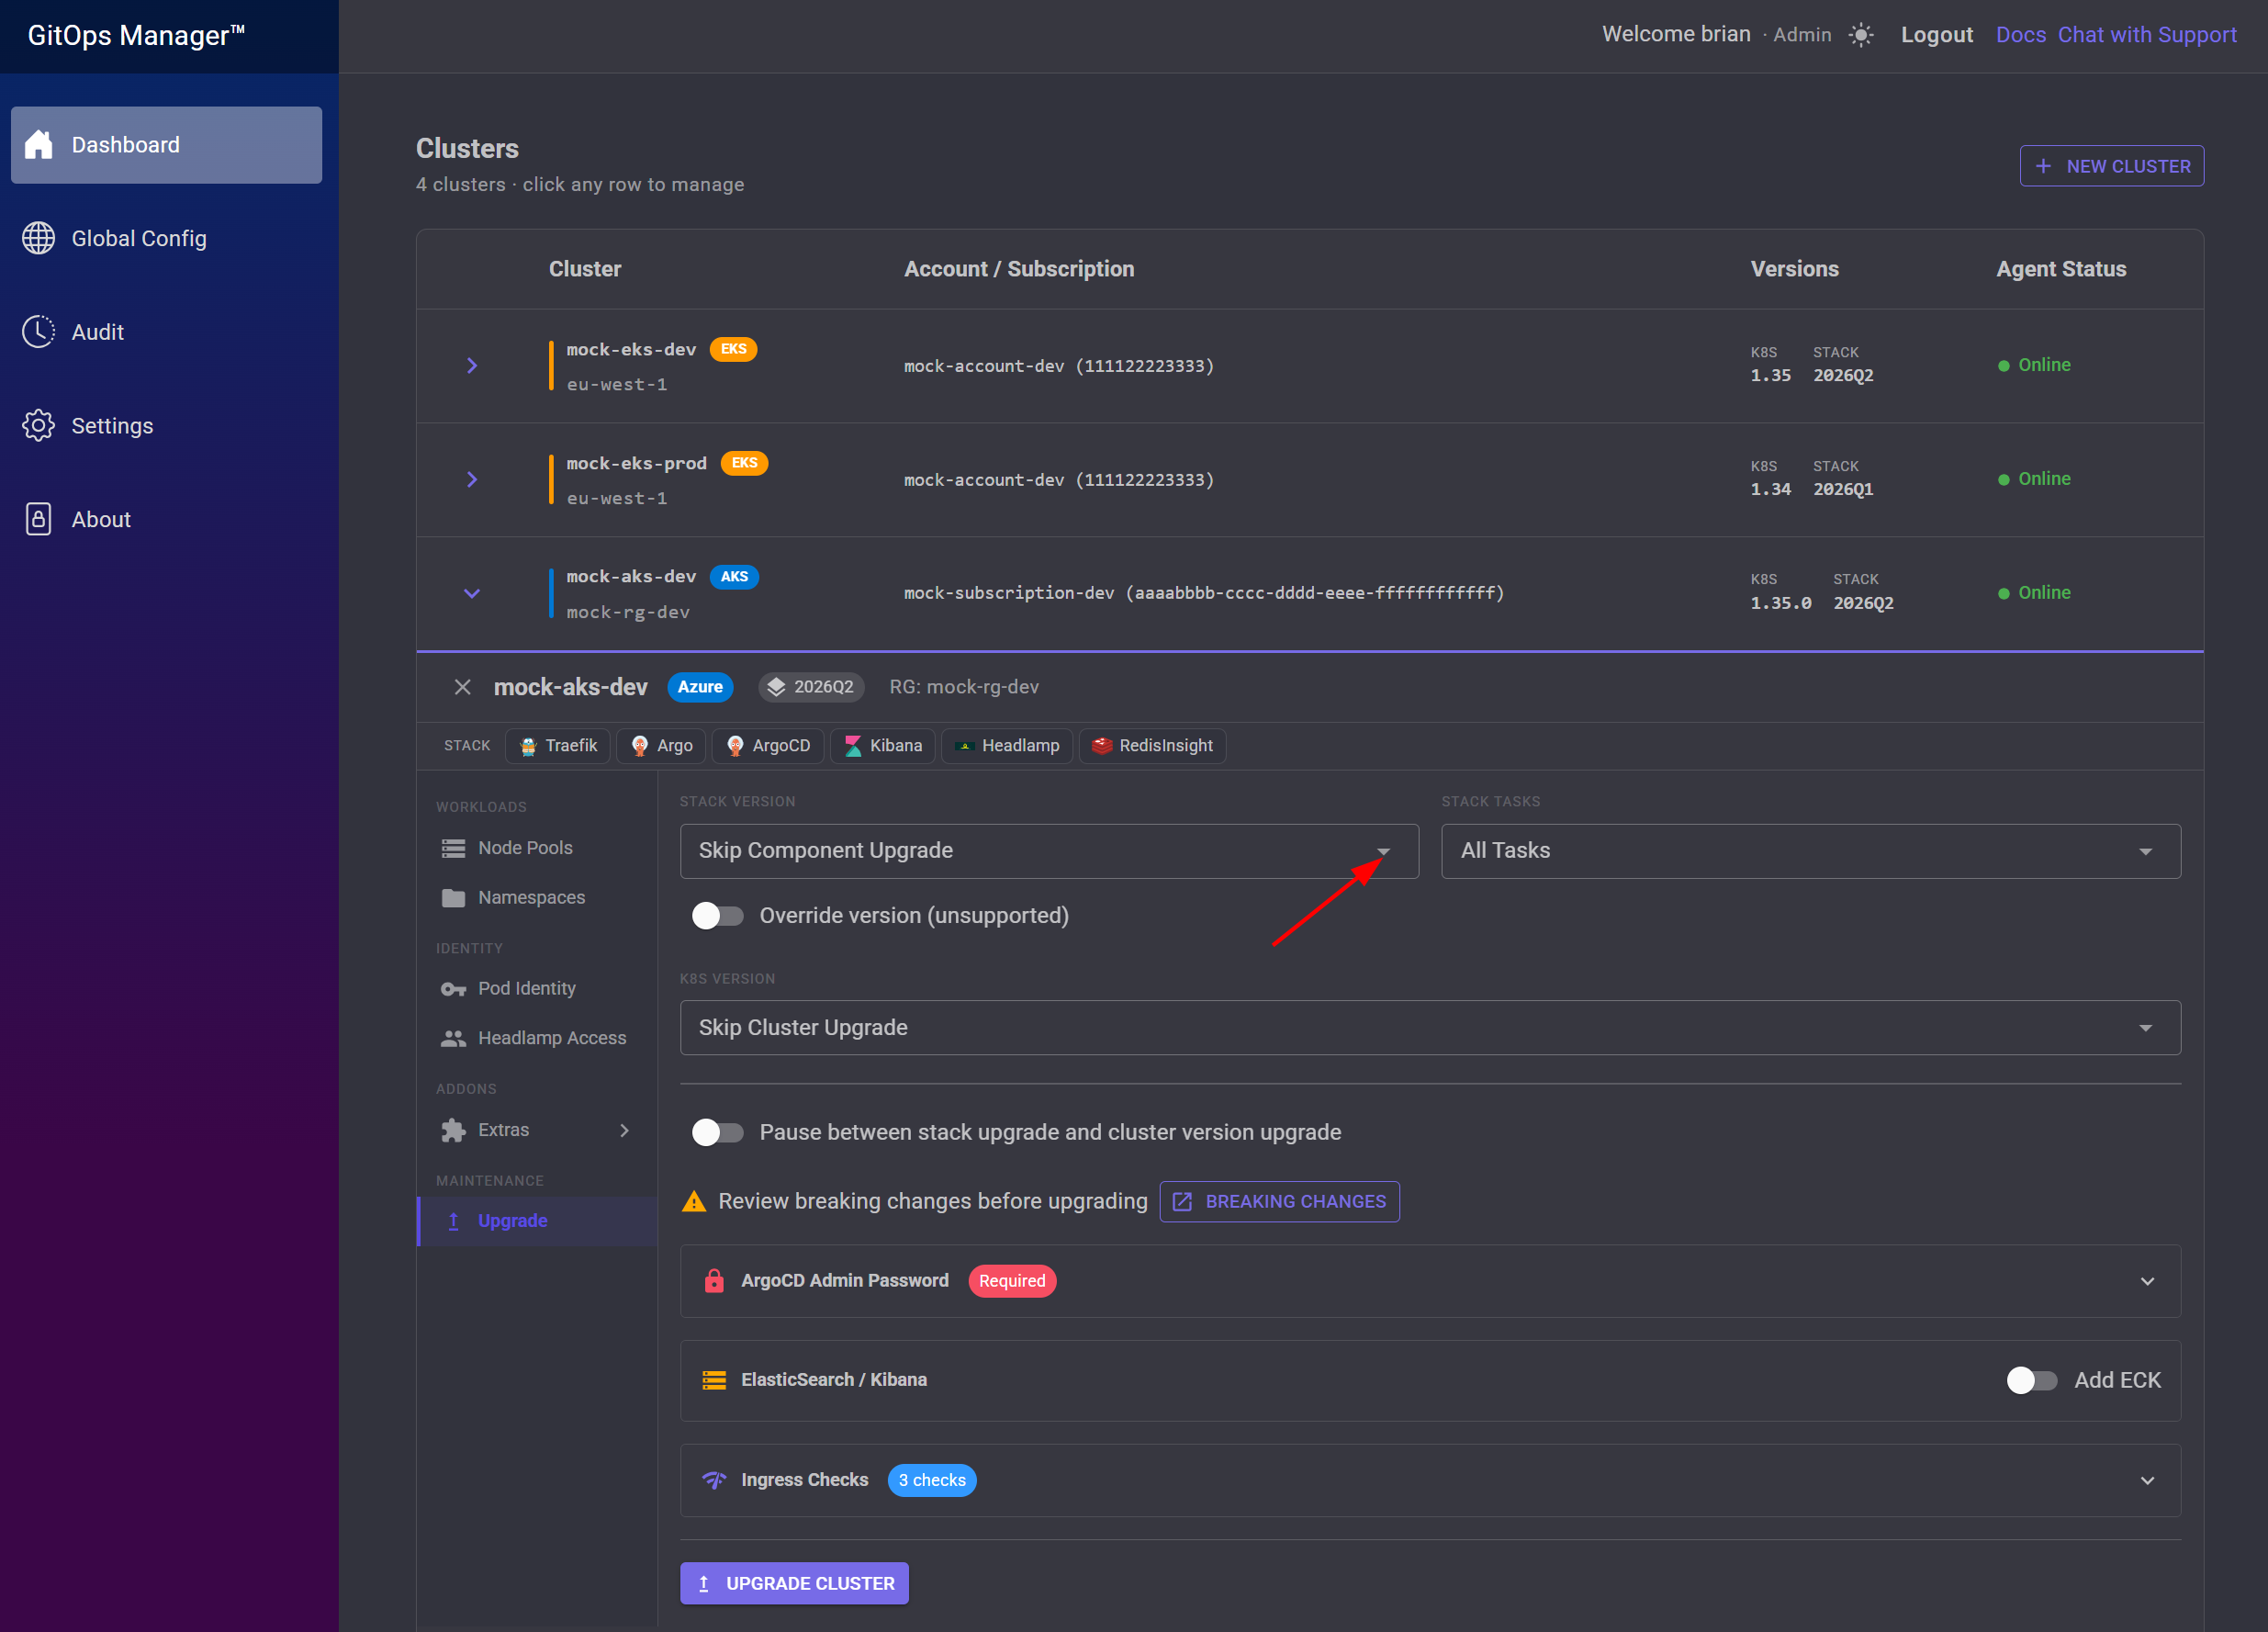
Choose which quarterly stack version to install from the Stack Version dropdown.
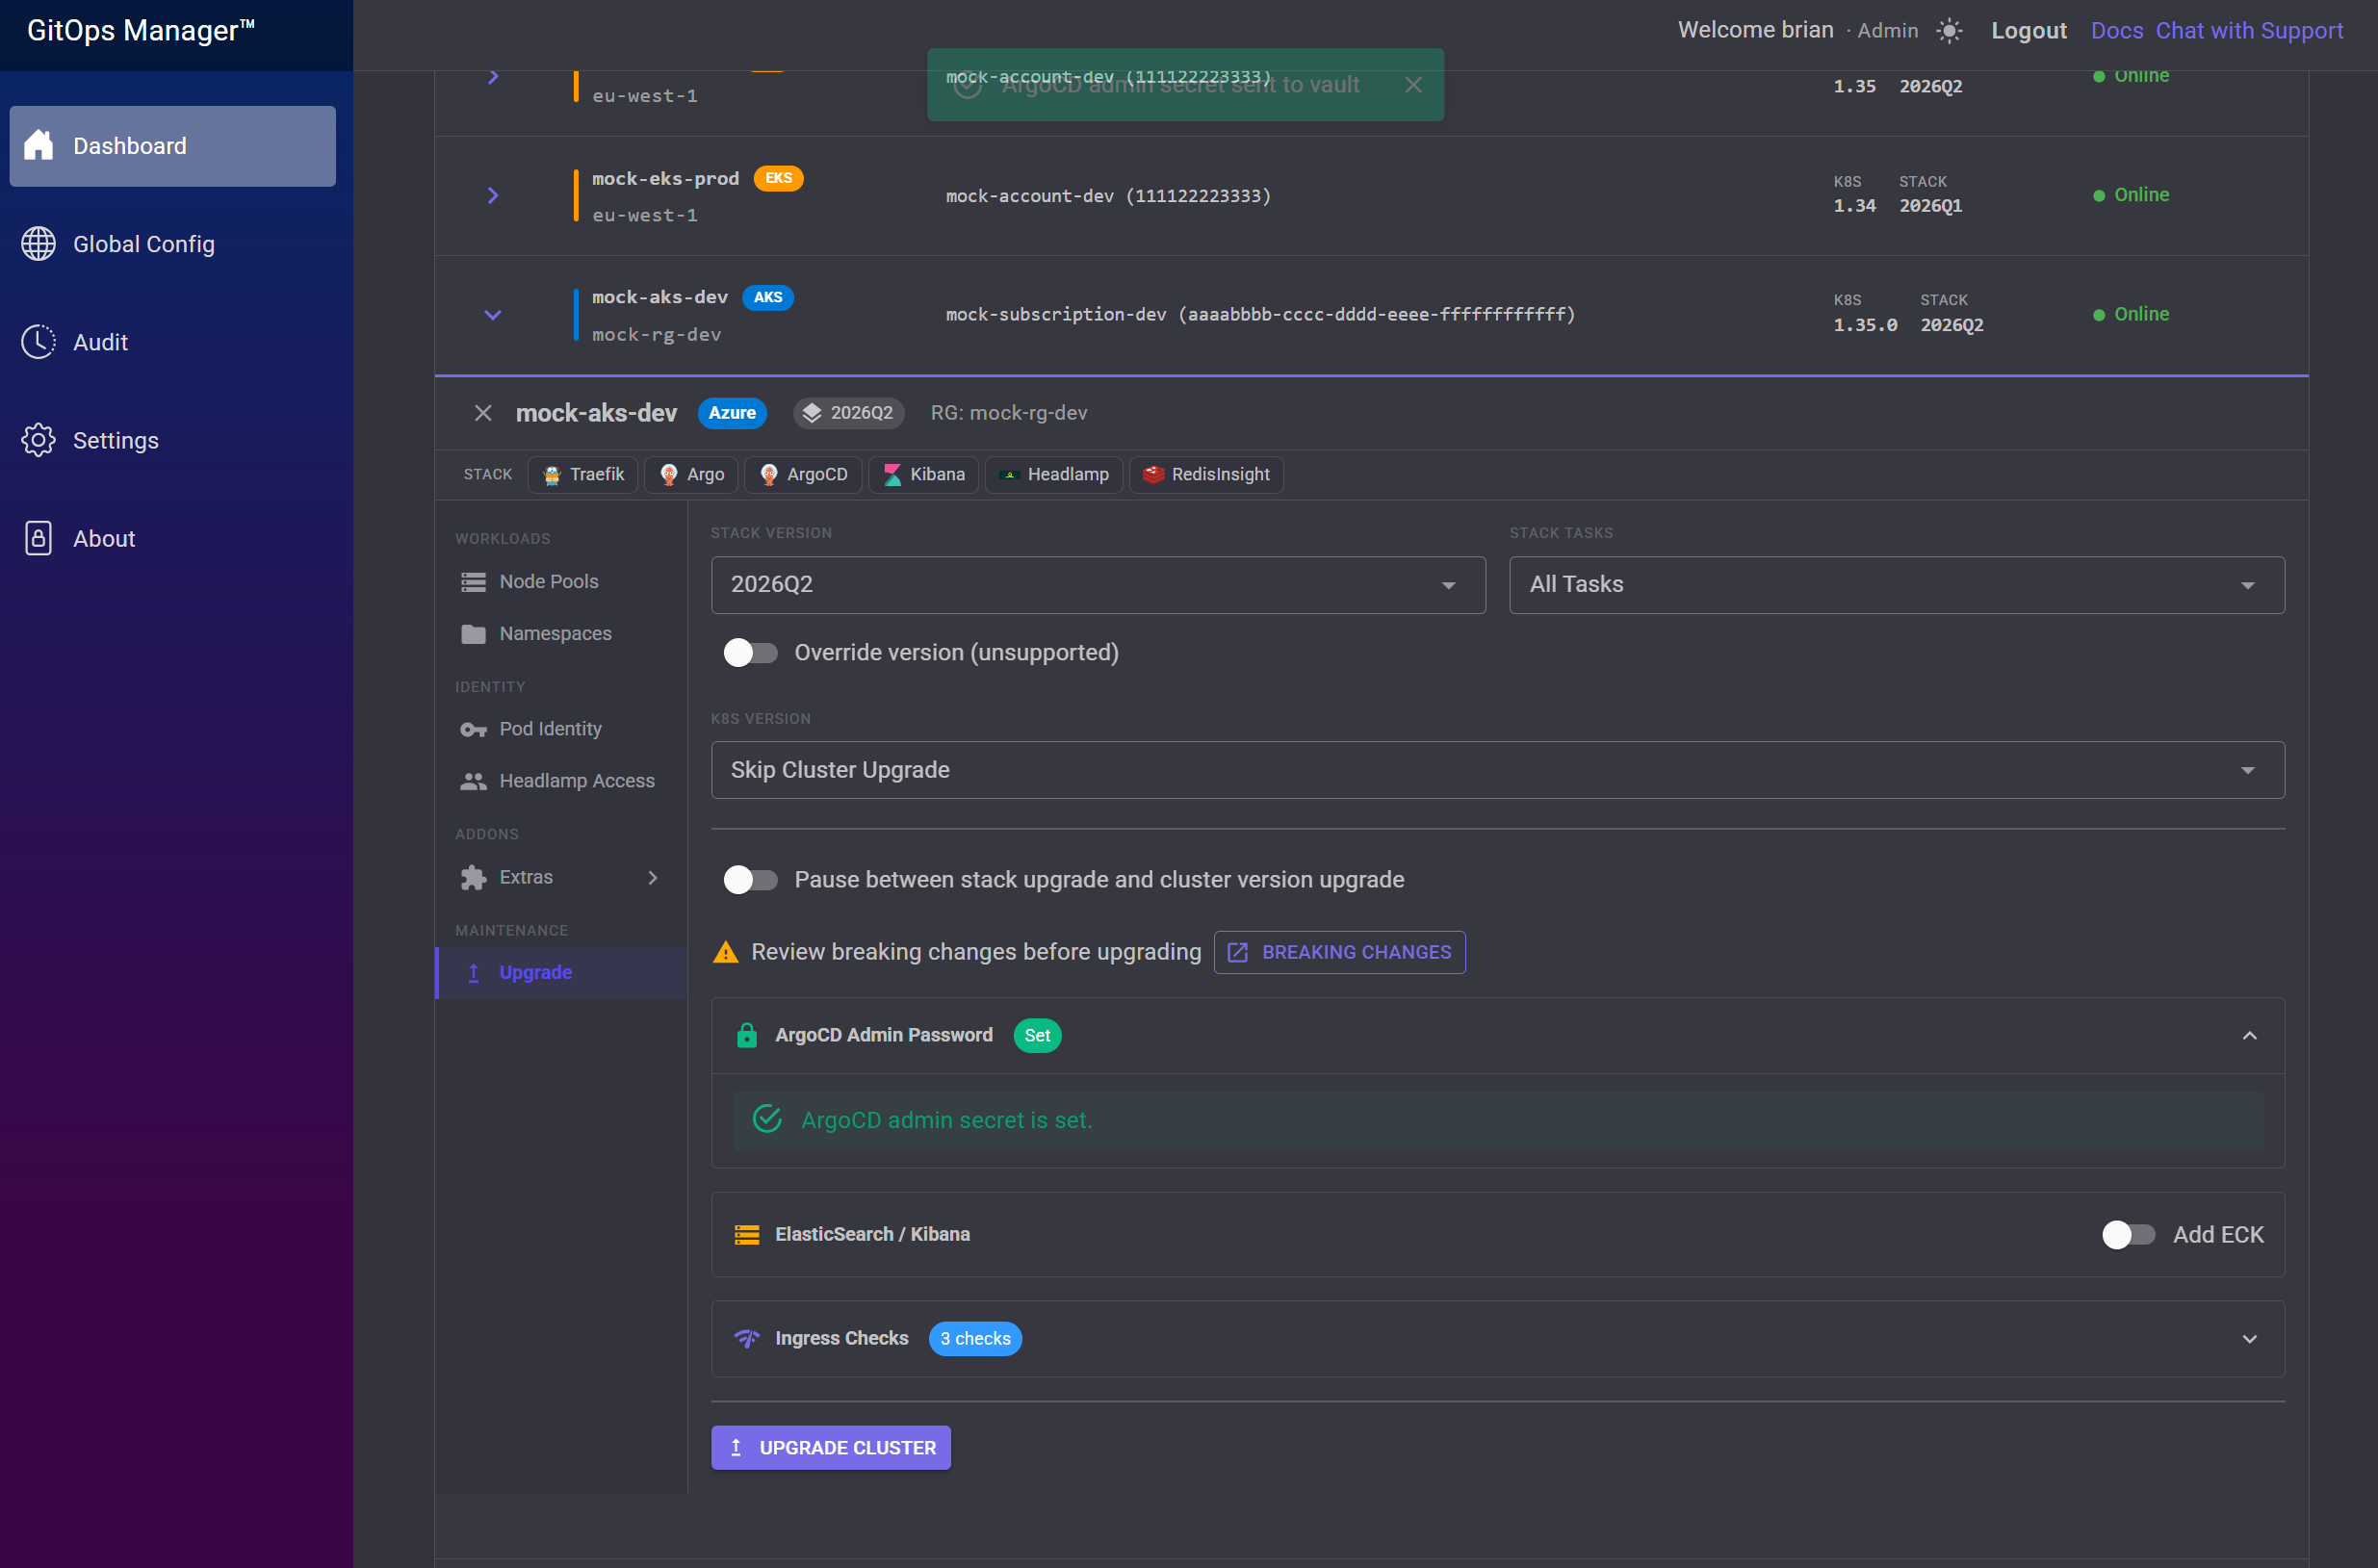
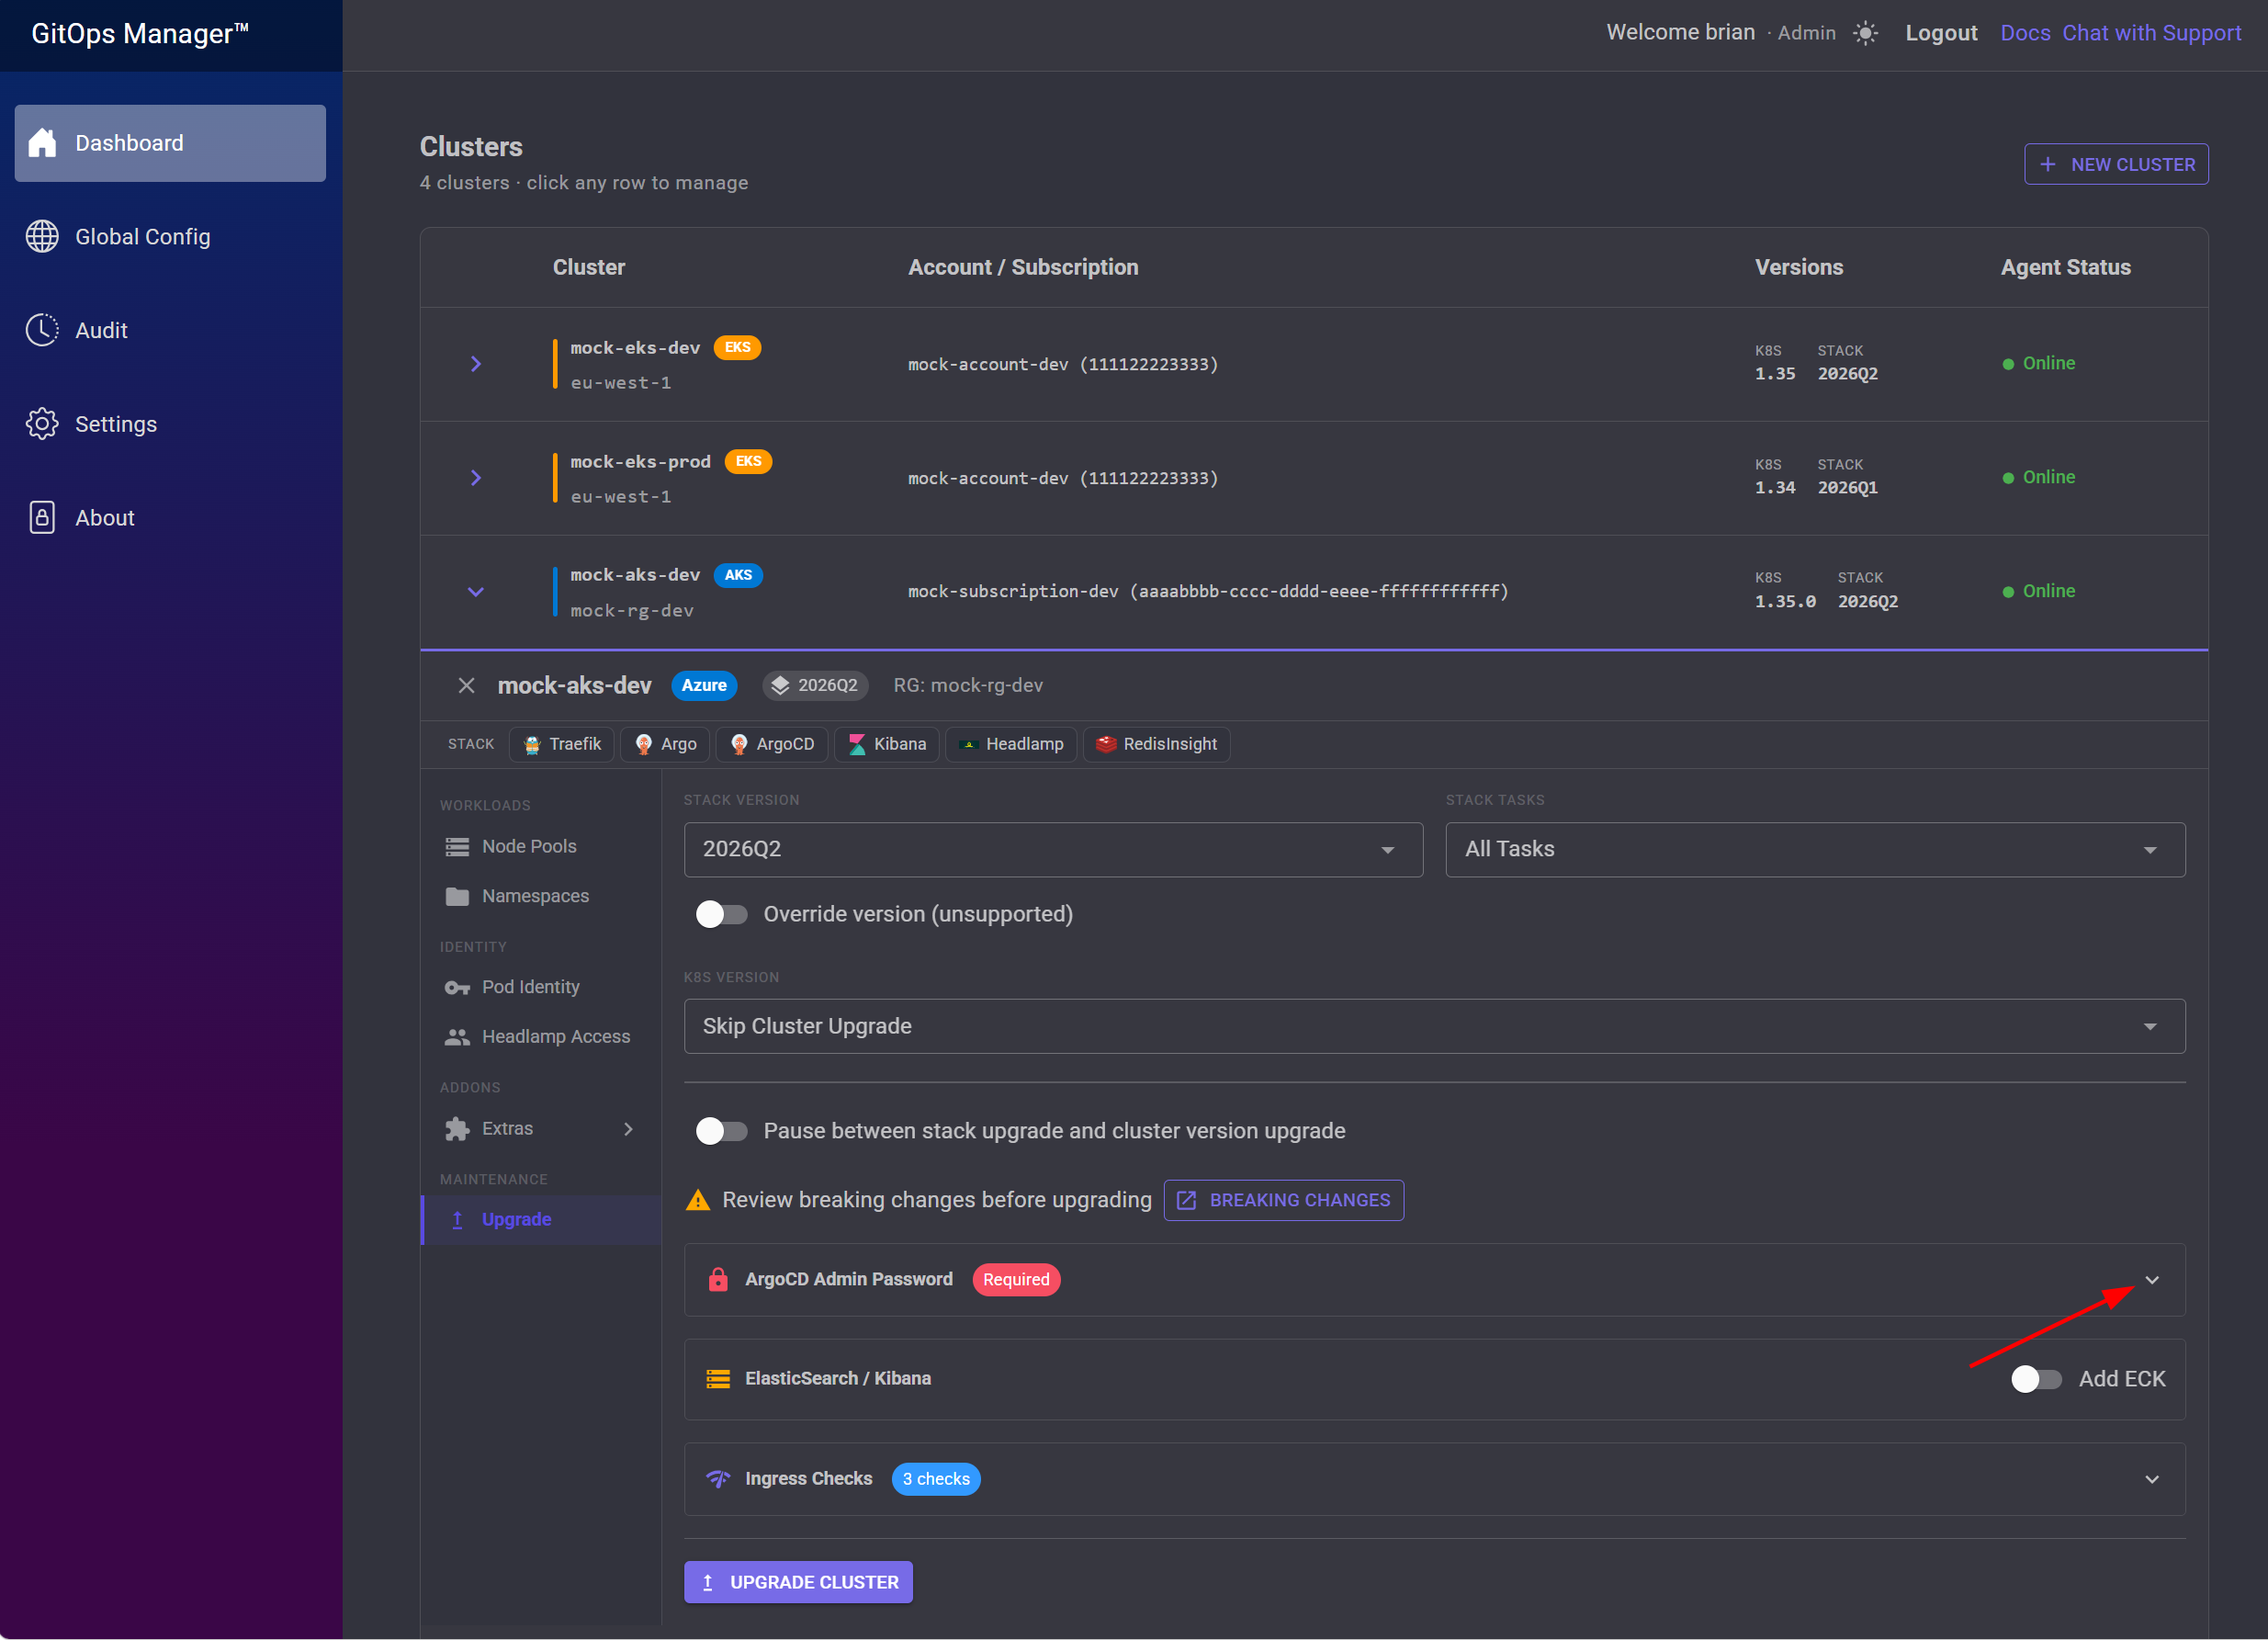
The ArgoCD Admin Password is required before the stack can be installed. Click to expand it.
Type the password, then click Saved to Vault / Secrets Manager.
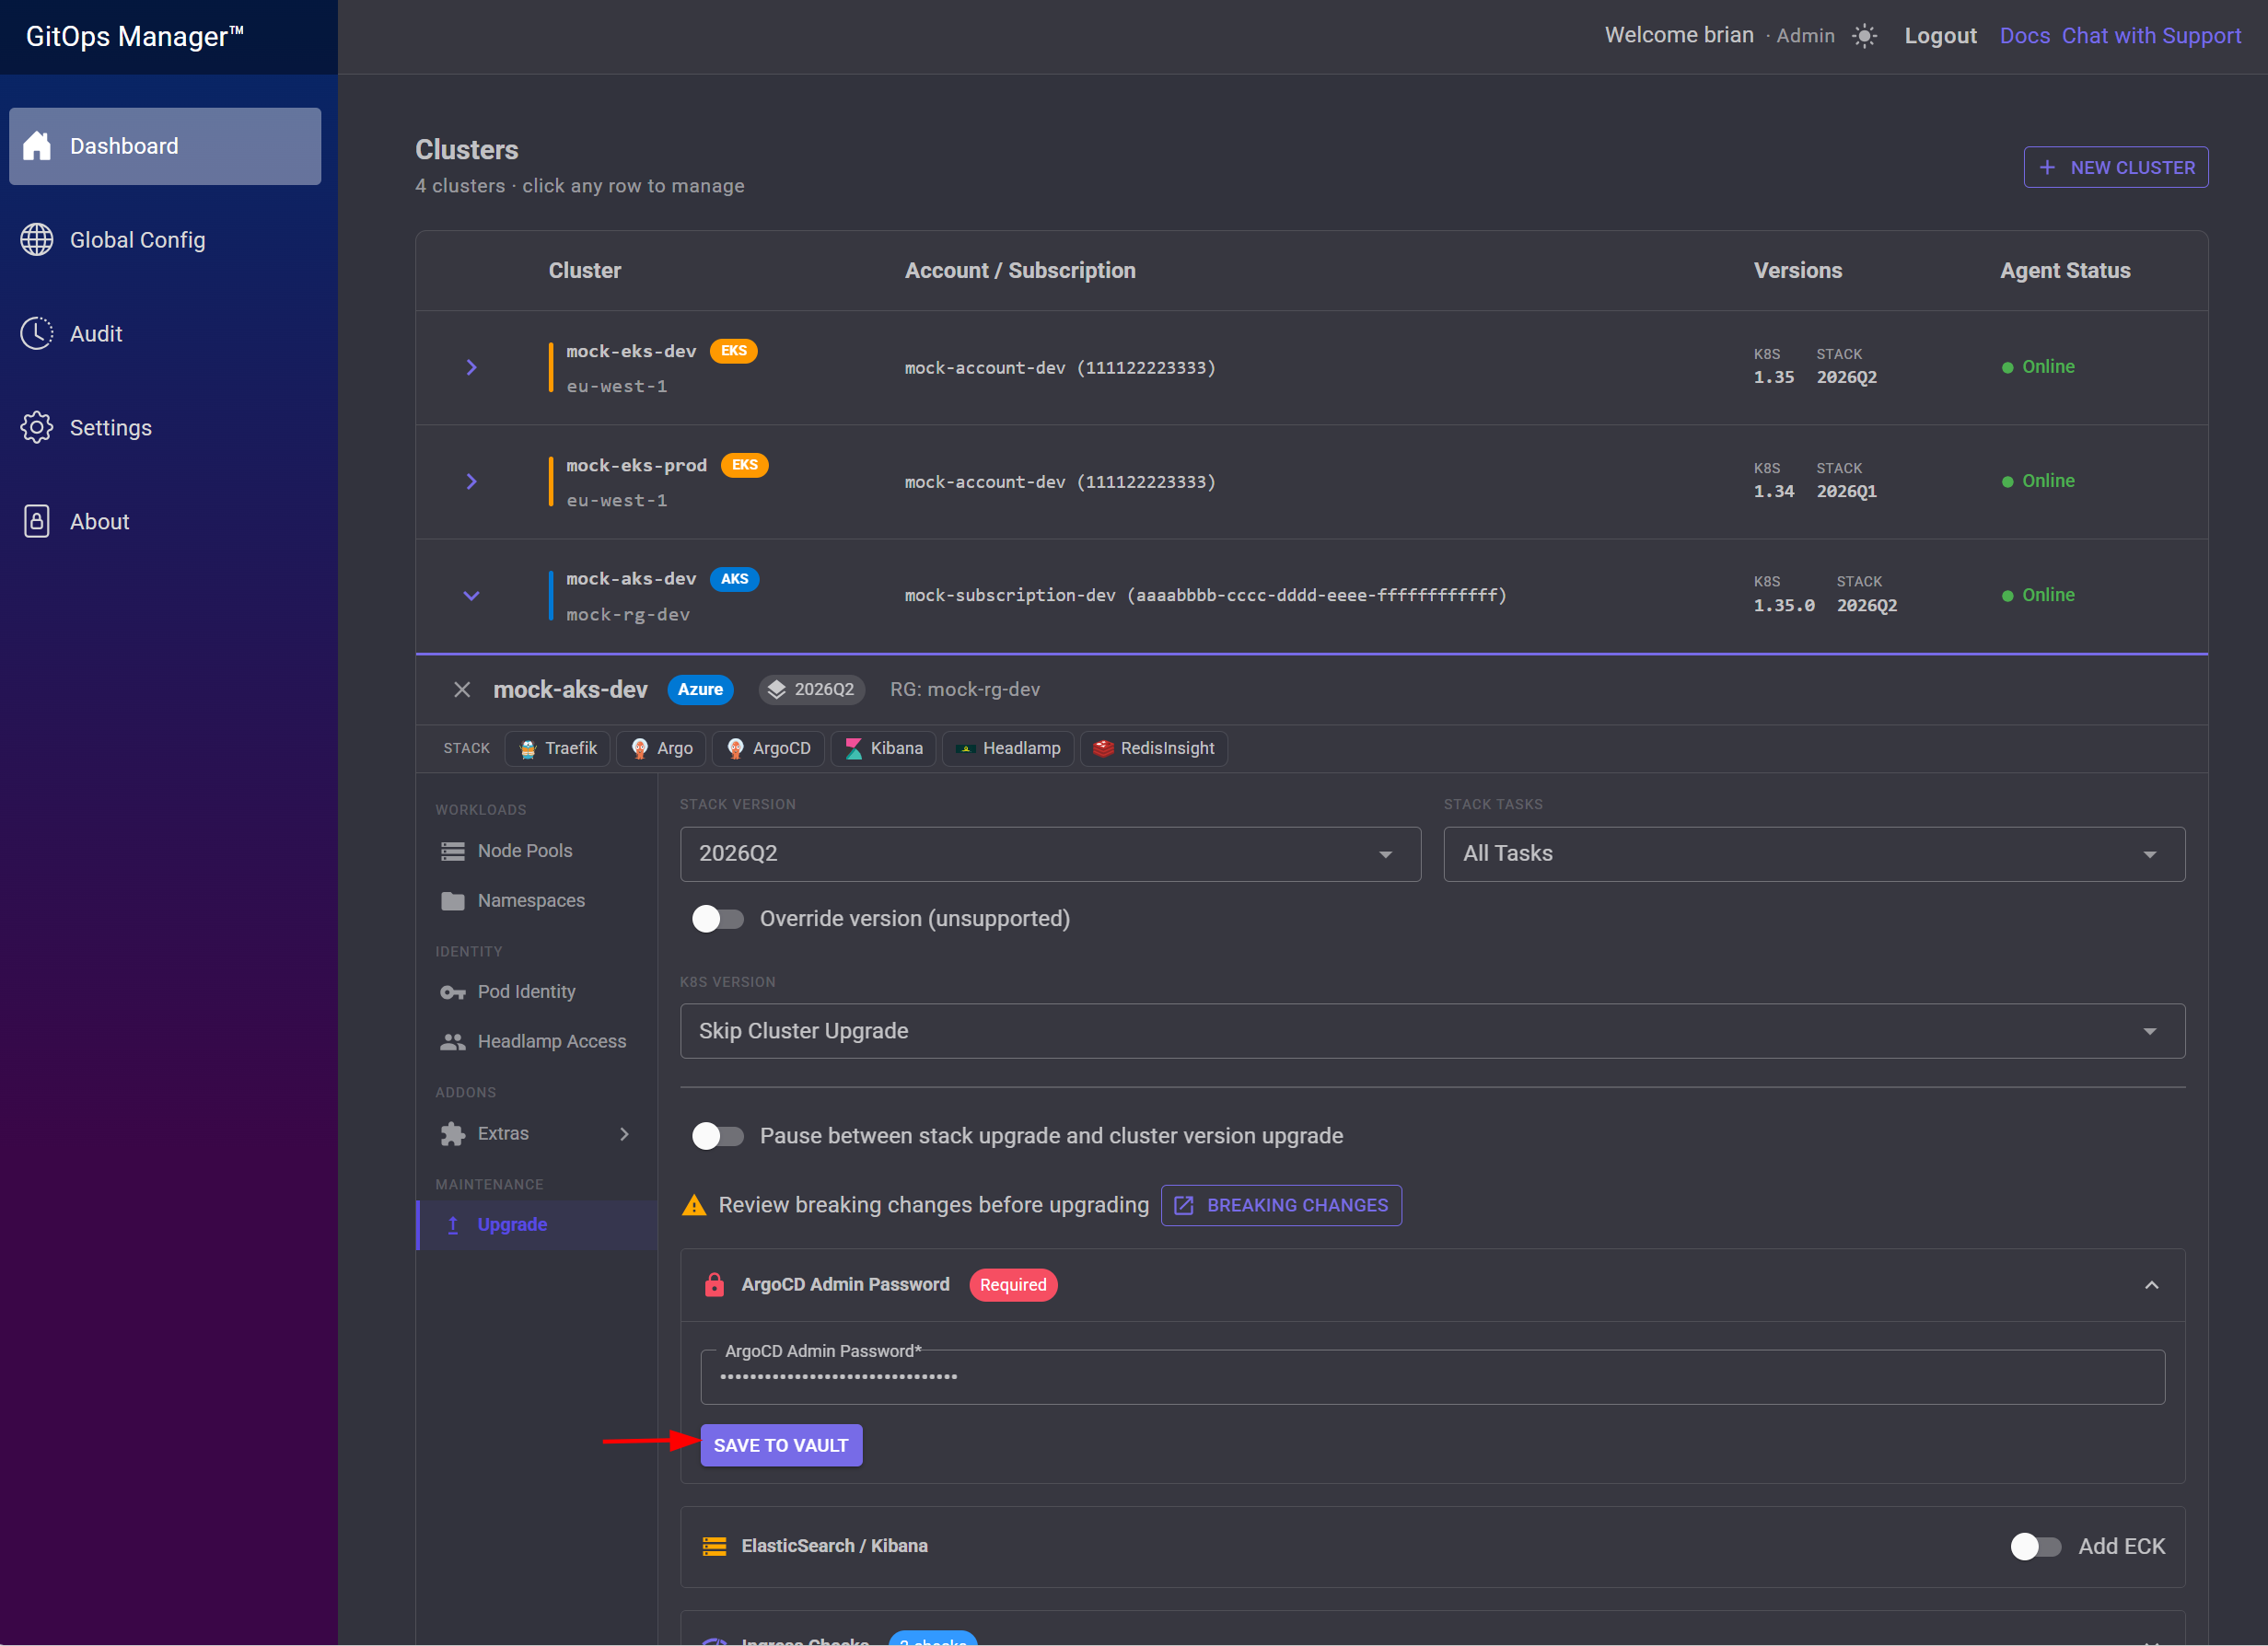
A confirmation notification shows the ArgoCD admin secret was saved. With that set — and ECK/other add-ons toggled on as needed — click Upgrade Cluster to install the stack.